The method to connect to TDSQL Boundless is as follows:
Private Network Connection (Recommended): Connect to the cloud database via the private network address. Use CVM to directly connect to the cloud database's private network address. This connection method uses the private network's high-speed network, resulting in low latency.
The CVM and the database must belong to the same account and reside within the same VPC (to ensure they are in the same region).
The private network address is provided by default and can be viewed in the instance list of the TDSQL Boundless console.
Note:
For CVM and database under different VPCs (including the same account/different accounts, same region/different regions), the private network connection method see CCN.
Public Network Access: TDSQL Boundless by default only provides a private network (VPC) access address to ensure the security and high performance of data transmission. If you need to connect to the database over the public network, we recommend using Tencent Cloud Load Balancer(CLB) as a relay.
Connect Using the DMC Database Management Console: DMC (Database Management Center) is a database management tool provided by Tencent Cloud. It offers a comprehensive database management service that integrates table-level operations, real-time monitoring, instance session management, SQL windows, and data management. You can use the DMC database management console to connect to TDSQL Boundless.
Preparations
Creating an Account
1. Log in to the TDSQL Boundless console. In the instance list, click Instance ID or Manage in the Operation column to go to the instance management page.
2. On the instance management page, select the Account Management page and click Create Account.
3. In the pop-up dialog box, enter the account name, password, and remarks. After confirming the information is correct, click OK.
4. Accounts created will have the following permissions:
After an account is created and the private network address is obtained, you can connect to TDSQL Boundless using third-party tools or programmatic drivers.
On the Windows side, command-line connection, client connection, and JDBC driver connection are used as examples.
On the Linux side, command-line connection is used as an example.
1. Open the Windows command line and enter the following command in the correct path of MySQL.
mysql -hprivate_network_address -Pport number -uusername -p
Enter password: ********** (enter the password).
2. After you enter the relevant code correctly, the following information is displayed, indicating successful connection to the database. Next, you can proceed with related operations in the database.
Welcome to the MySQL monitor. Commands end with ; or \\g.
Connecting via the Windows Client
1. Download a standard SQL client, such as MySQL Workbench or SQLyog. This document uses SQLyog as an example.
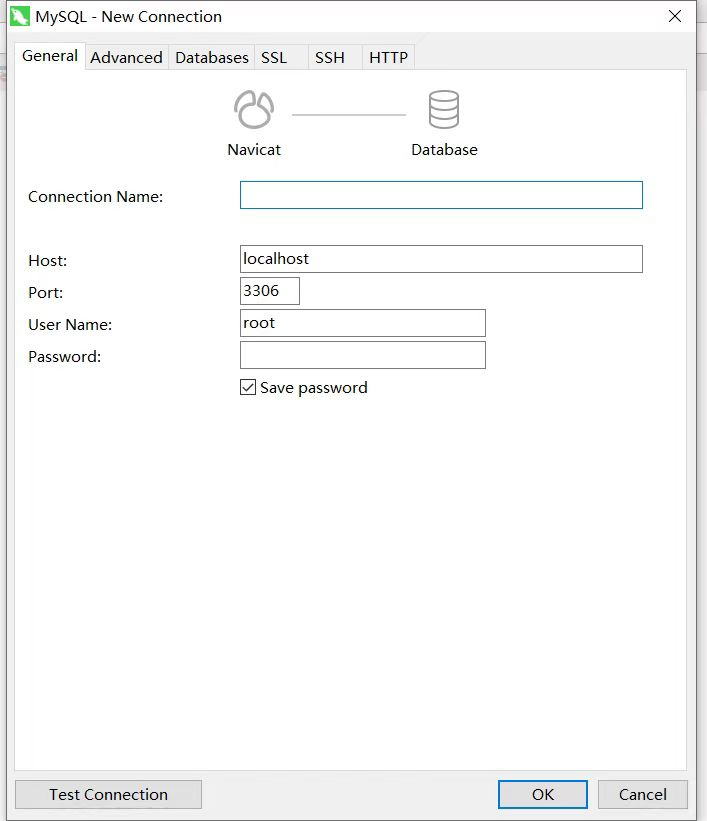
2. Open SQLyog, choose File > New Connection, enter the corresponding host address, port number, username, and password, and click Connect.
Host: Enter the private network address obtained earlier.
User Name: Enter the created account name.
Password: Enter the corresponding password of the account. If you forget your password, you can go to the console to modify it.
Port: Enter the port corresponding to the address.
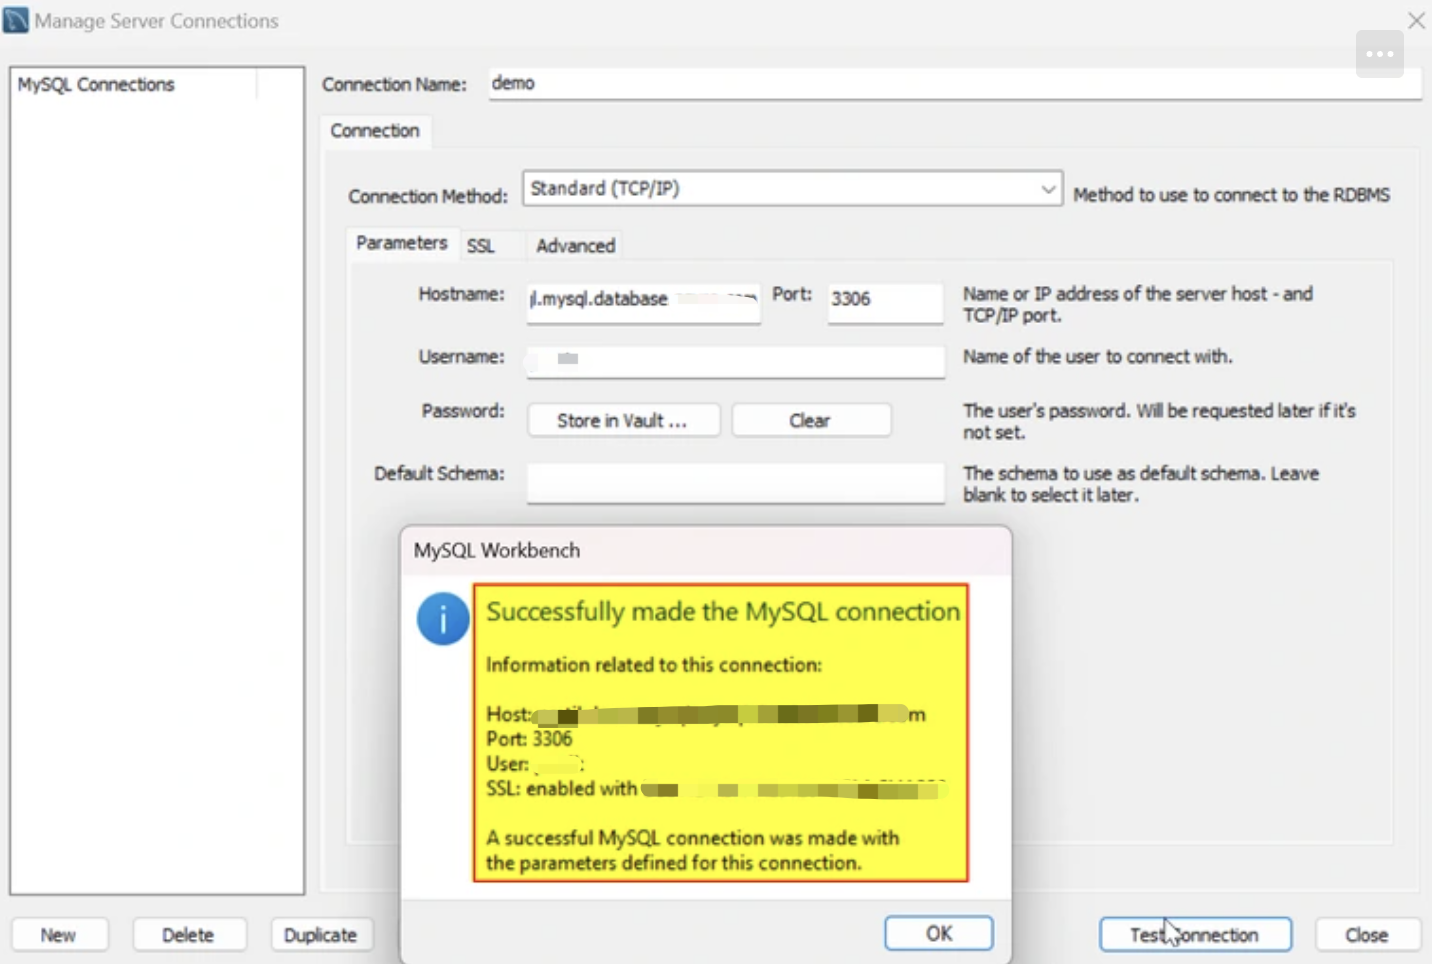
3. Connection succeeded page is as shown in the following figure. On this page, you can perform related operations in the database.
JDBC Driver Connection for Windows
TDSQL Boundless supports programmatic driver connectivity. This document uses Java connecting via JDBC Driver for MySQL (Connector/J) as an example.
1. Download a JDBC jar package at MySQL's official website. Import it to the library referenced by Java.
2. Call JDBC codes as follows:
public static final String url ="private network address";
public static final String name ="com.mysql.jdbc.Driver"; //Call the JDBC driver.
3. After the connection is successful, you can proceed with other operations in the database.
Connecting from the Linux Side
Command Line Connection for Linux
This document uses the CentOS 7.2 64-bit system in Tencent CVMs as an example. See Purchasing Method for purchasing CVMs.
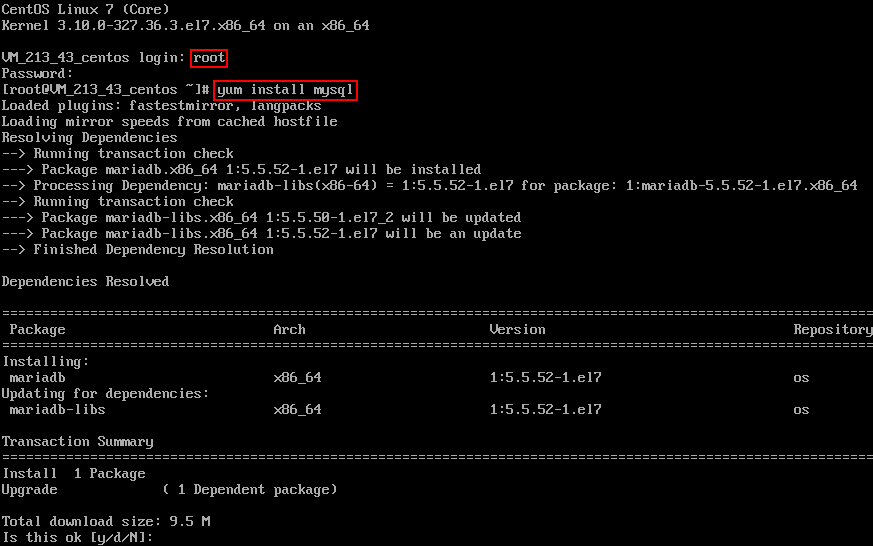
1. Log in to Linux, enter the command yum install mysql, and use yum, the package management software that comes with CentOS, to download and install the MySQL client from the Tencent Cloud mirror source.
2. When the command line shows "complete", it indicates that the MySQL client installation is complete.
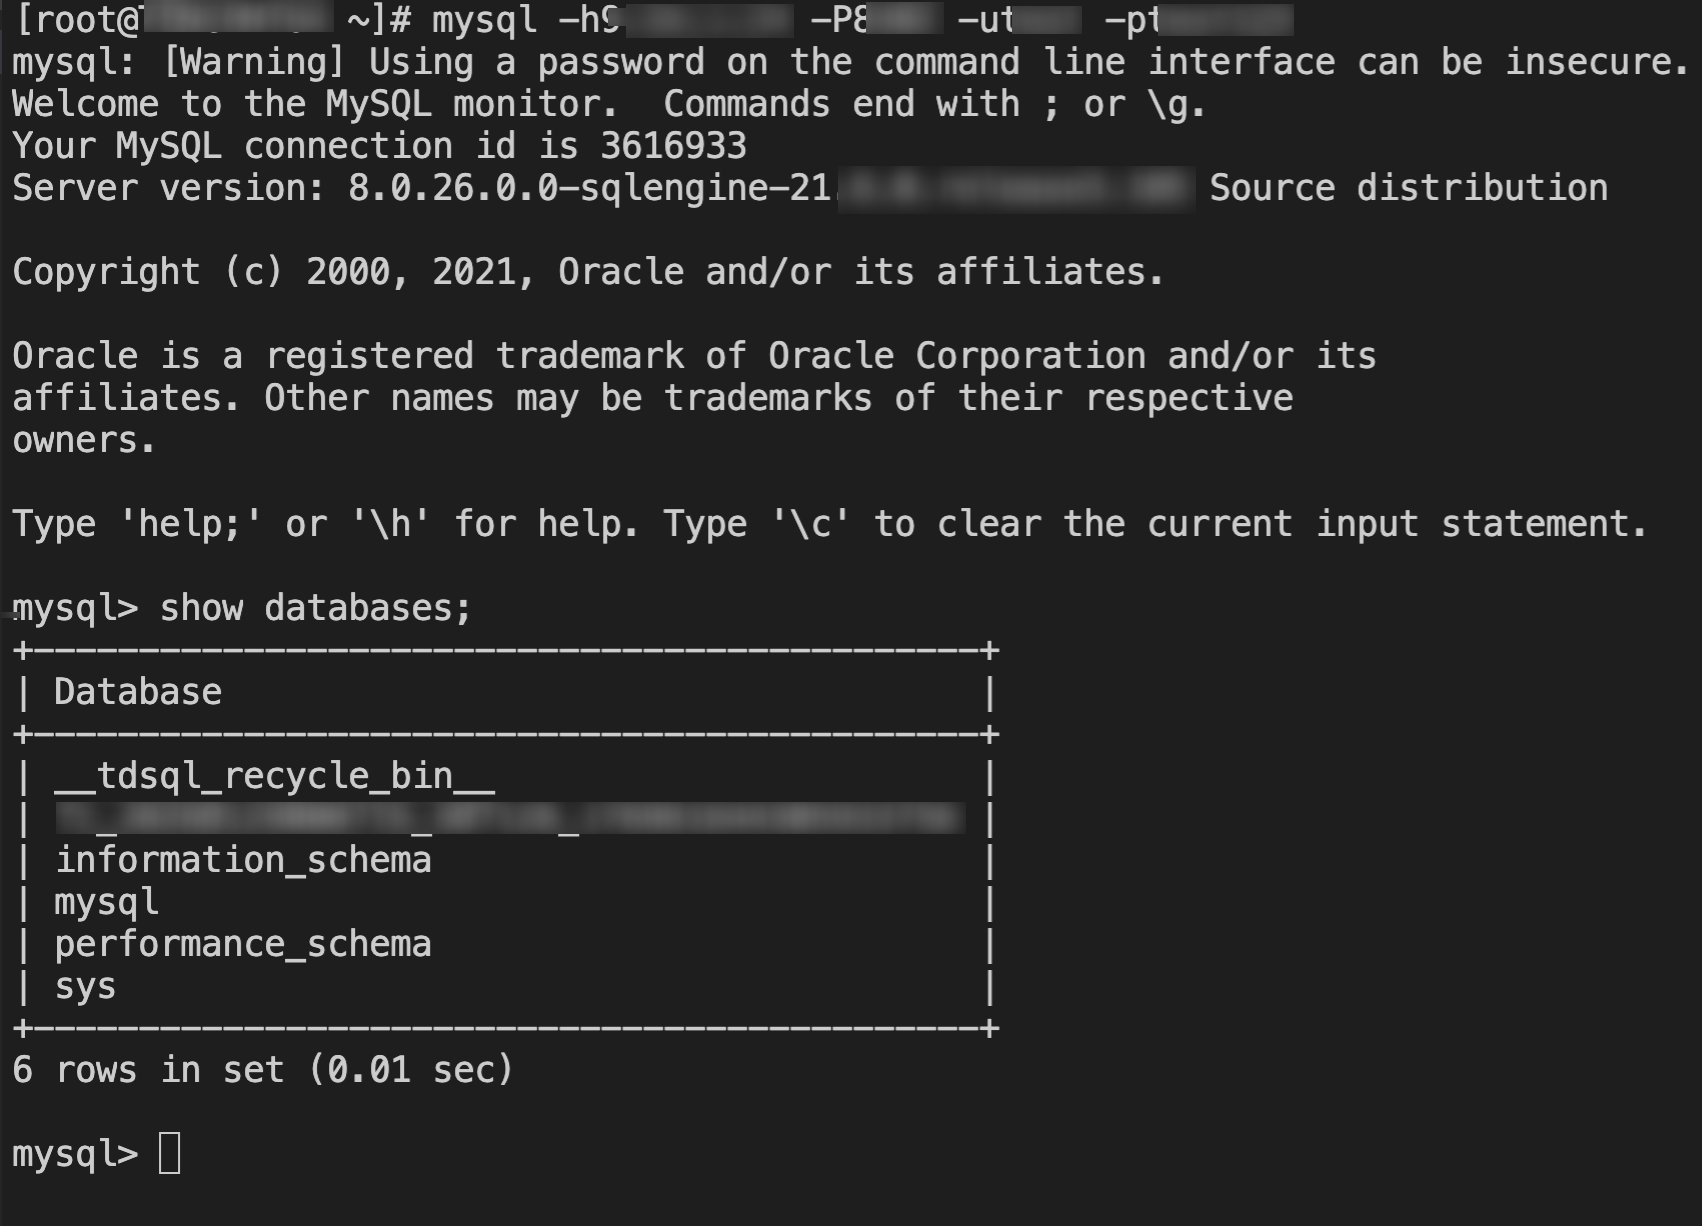
3. Enter the command mysql -h private network address -P port -u username -p to connect to the database, then you can proceed with sharding operations.
The following figure uses show databases; as an example.
Connecting via the DMC Console
DMC (Database Management Center) is a database management tool provided by Tencent Cloud. It offers a comprehensive database management service that integrates table-level operations, real-time monitoring, instance session management, SQL windows, and data management. You can use the DMC database management console when you need to manage TDSQL Boundless databases, execute SQL statements, manage tables, and monitor instance performance through the Web interface.
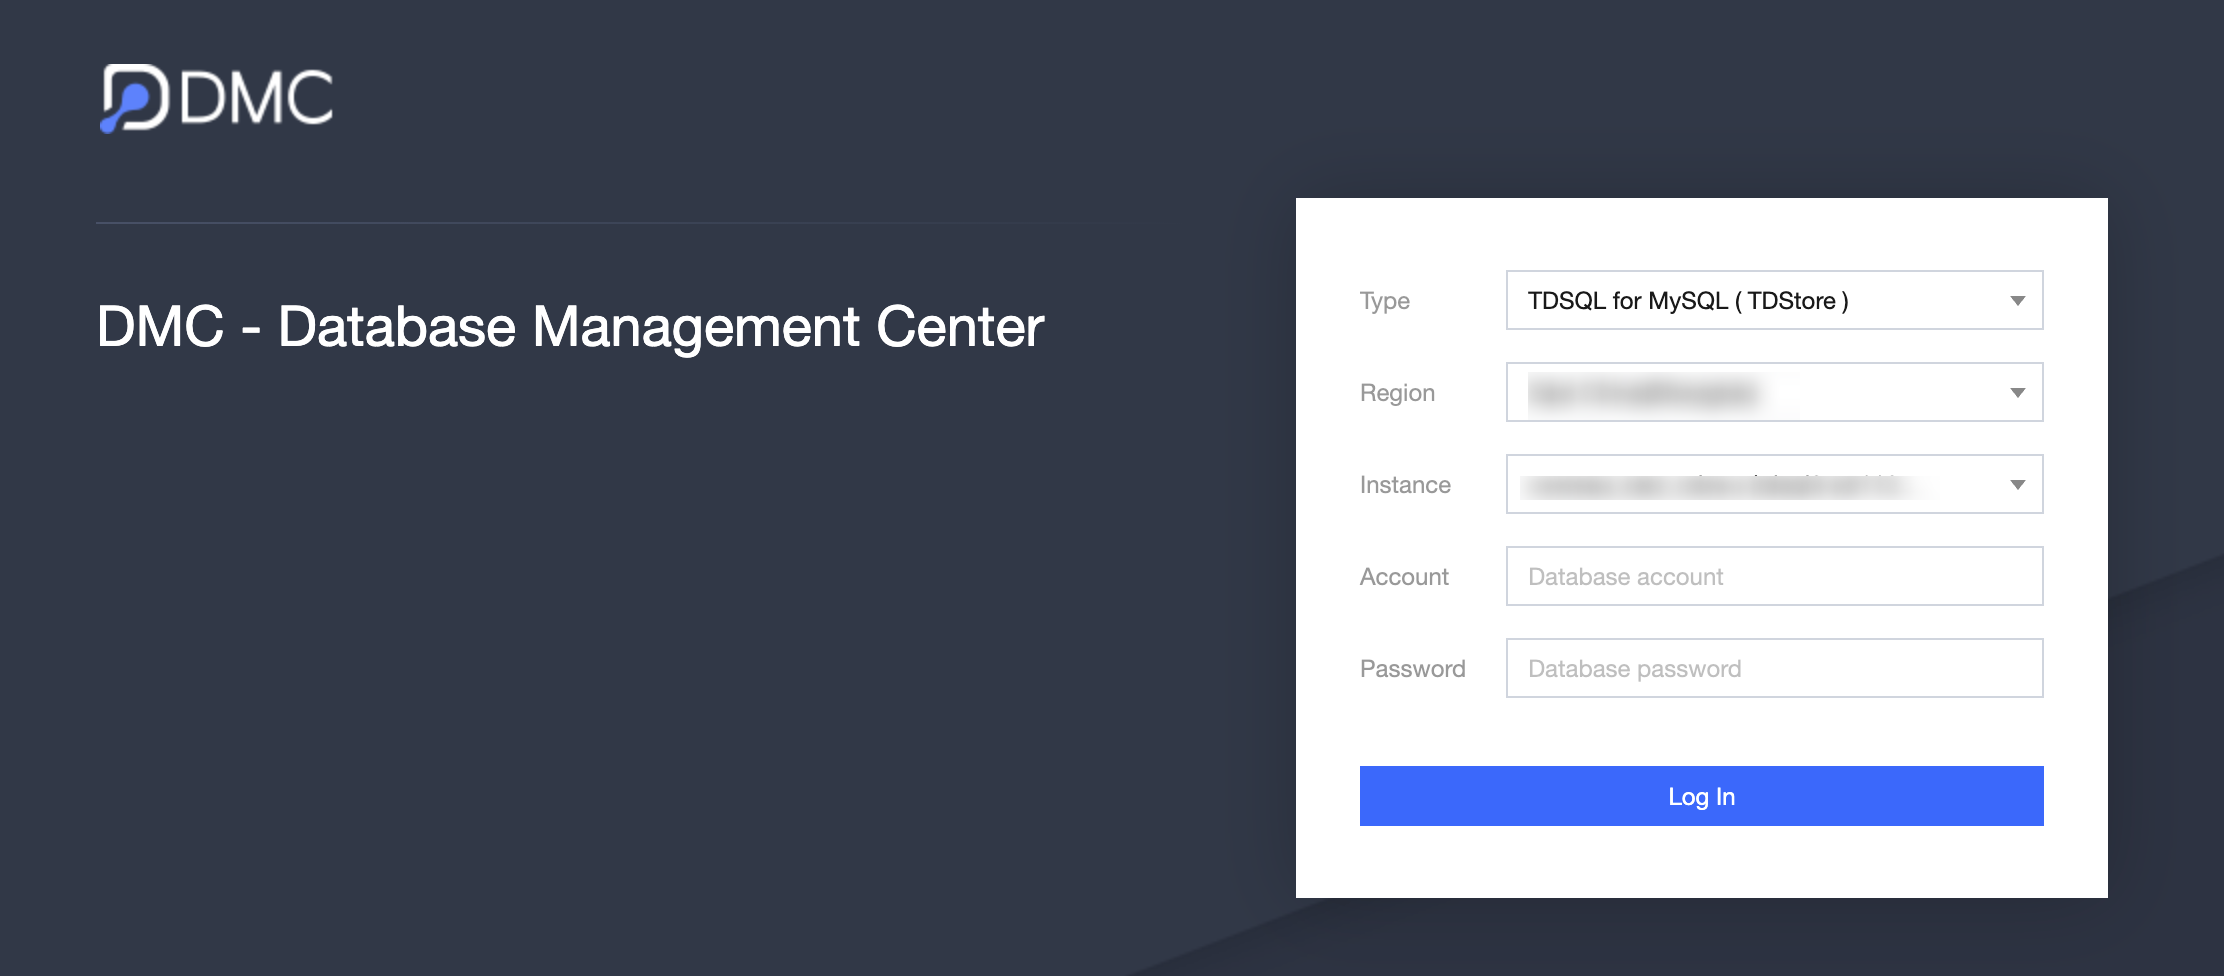
1. Log in to the DMC console.
Method 1: On the Instance List page, locate the target instance and click Log In in the Operation column.
Method 2: On the Instance List page, click the Instance ID of the target instance to go to the Instance Details page. Then, click Log In in the upper-right corner of the page.
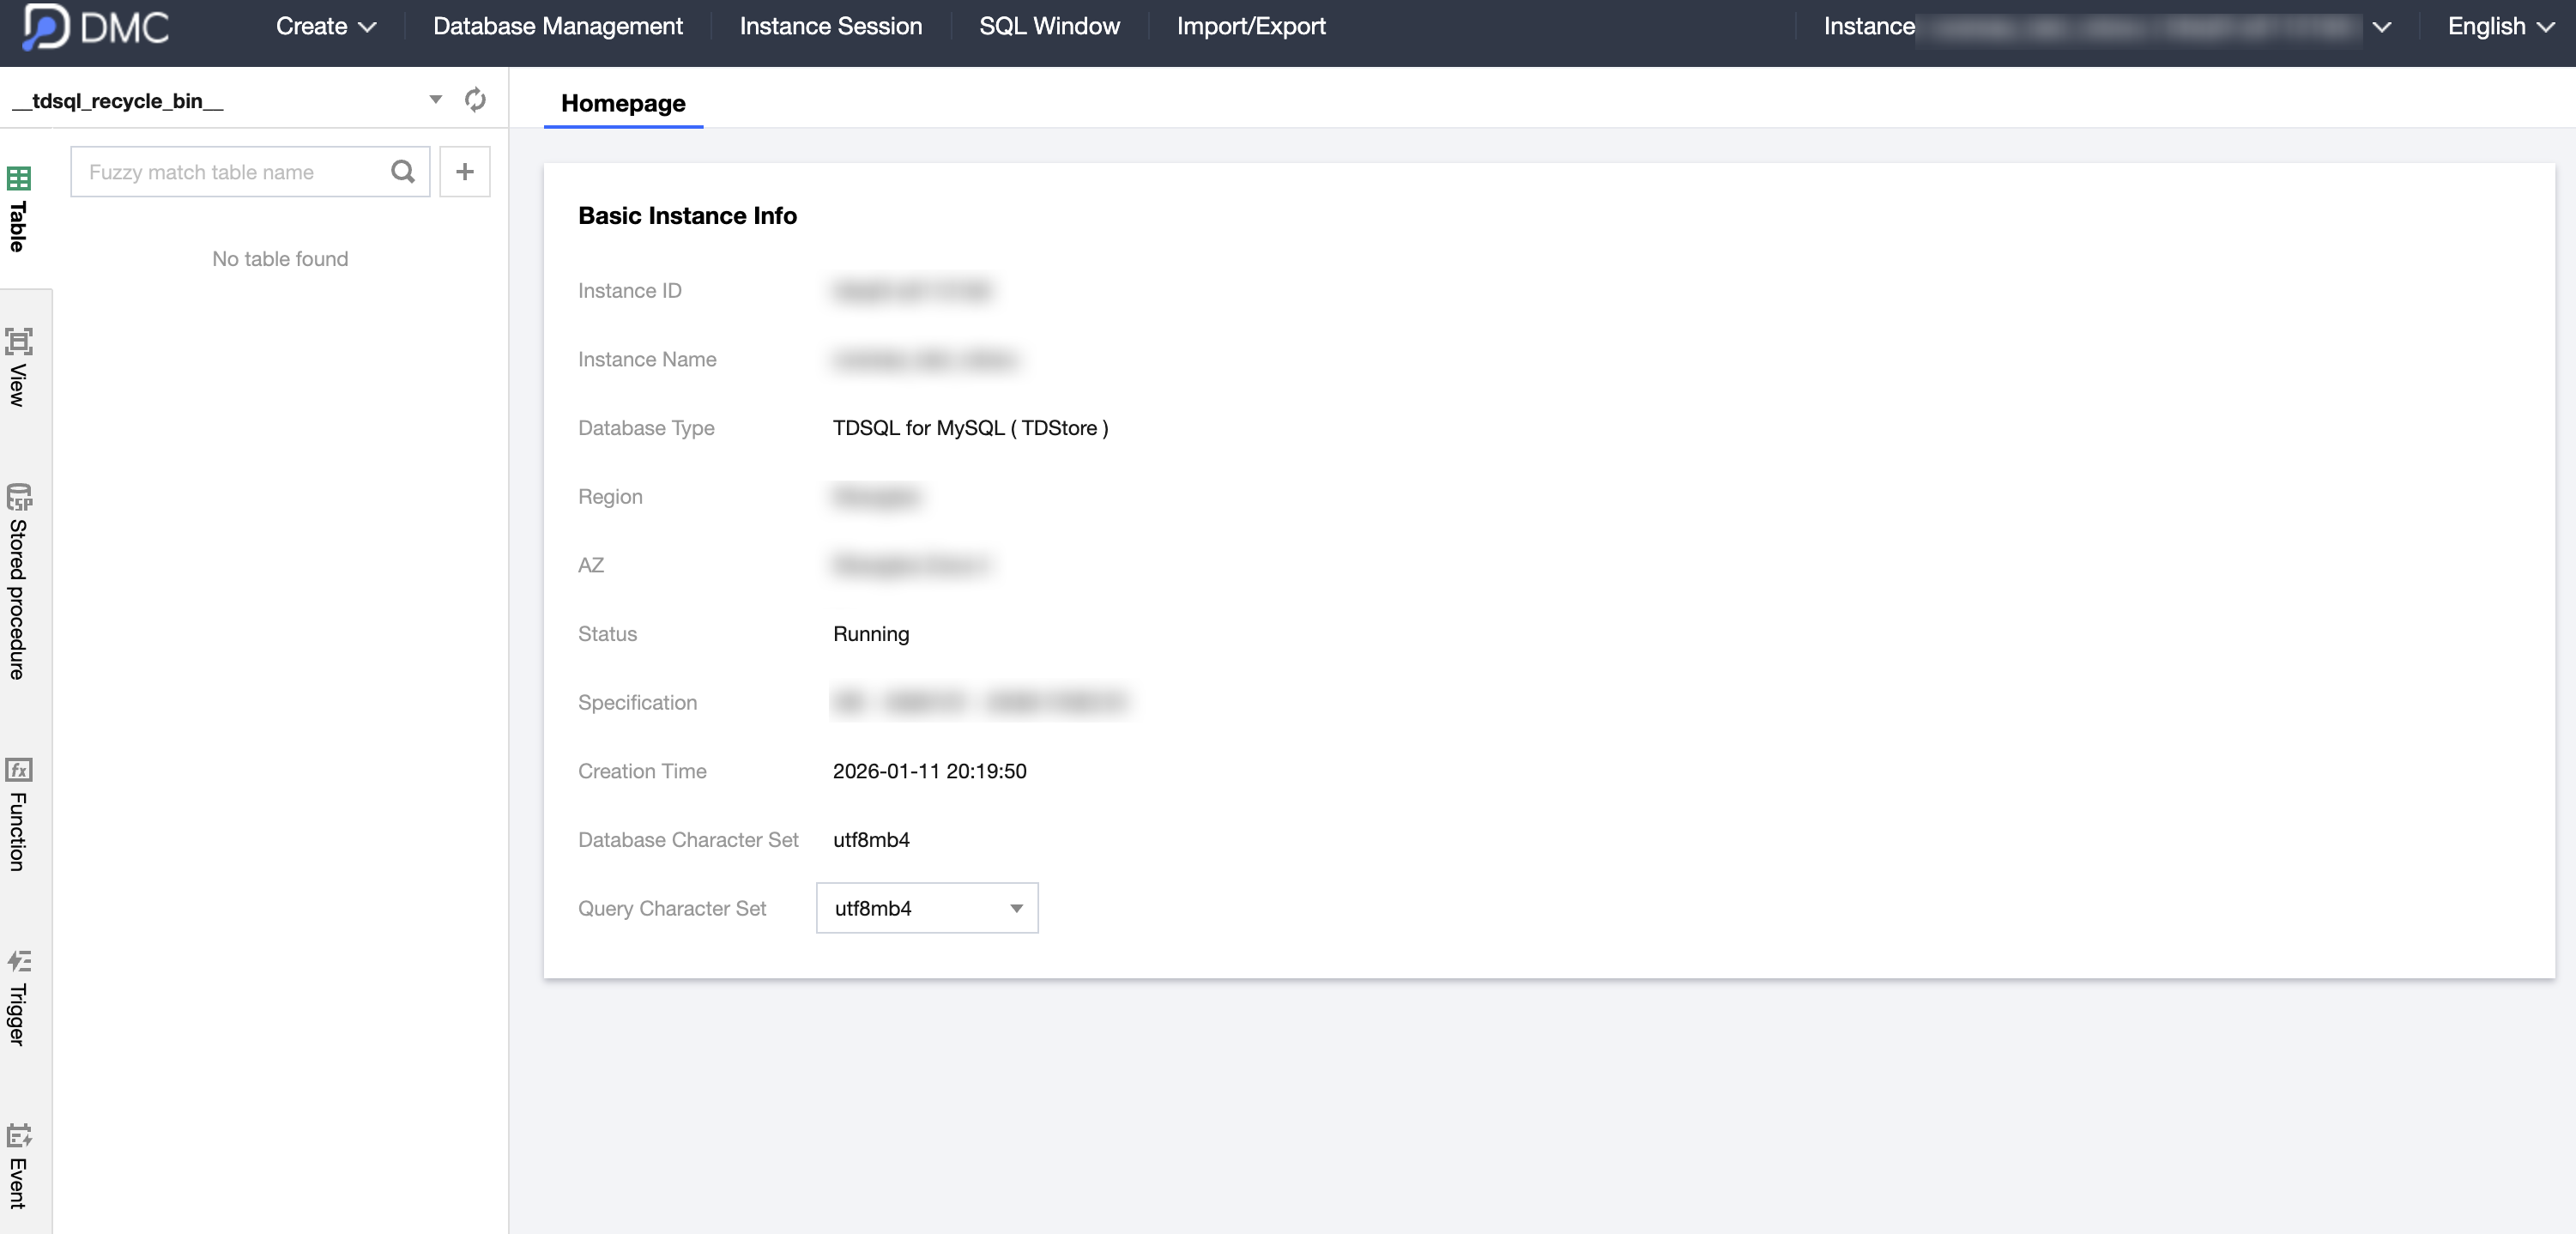
3. After a successful login, you will enter the DMC management page, where you can execute SQL statements, manage tables, view monitoring data, and more. For detailed operations, see DMC-related documentation.