tencent cloud

Tencent Effect SDK

Release Notes and Announcements
Release Notes
Tencent Effect SDK V3.5 Version Released
Tencent Effects SDK V3.0 Version Related API and Material Changes
Product Introduction
Overview
Features
Basic Concepts
Strengths
Use Cases
Purchase Guide
Pricing Overview
Purchase Guide
Payment Overdue and Refund
Tutorial
Demos
Free Trial License
Licenses
Adding and Renewing a License (Mobile)
Adding and Renewing a License (Desktop)
Adding and Renewing a License (Web)
FAQs
SDK Download
Features
SDK Download
Version History
SDK Integration Guide(No UI)
General Integration of Tencent Effect
Integrating Capabilities
SDK Integration Guide(Including UI)
General Integration of Tencent Effect
Integrating Tencent Effect into MLVB SDK
Integrating Tencent Effect into TRTC SDK
Integrating Tencent Effect into UGSV SDK
Virtual Avatars
API Documentation
iOS
Android
Flutter
Web
Feature Guide
Reducing SDK Size
SDK Integration Issue Troubleshooting
Performance Fine-Tuning
Effect Fine-Tuning
Material Usage
Effect Parameters
Recommended Parameters in Beautification Scenarios
UGSV Enterprise Edition Migration Guide
Integrating Tencent Effect for Third-Party Publishers (Flutter)
Integrating Beauty AR Web into Mini Programs
Tencent Effect Studio Usage
Beauty AR Web
Overview
Quick Start
SDK Integration
Parameters and APIs
Console Guide
Demos
Preset Effect List
Practical Tutorial
FAQs
FAQs
General
Technical
License
Legacy Documentation
Recommended Parameters in Beautification Scenarios
Beauty Parameters Table
One-Minute Integration of TRTC
One-Minute Integration of Live Streaming
TE SDK Policy
Privacy Policy
Data Processing And Security Agreement
Contact Us

Hair Dyeing

PDF
Focus Mode
Font Size
Last updated: 2026-03-30 18:03:41

Introduction

Segment the subject's hair from the camera feed to apply hair coloring or special effects to specific hair regions. The hair coloring module's segmentation feature lets you apply different colors to hair. Tencent Effect automatically generates a hair segmentation mask and a yin-yang hair mask, enabling fast implementation of full-head, left-side, or right-side hair coloring effects.

Basic Usage

Create Hair Coloring Object

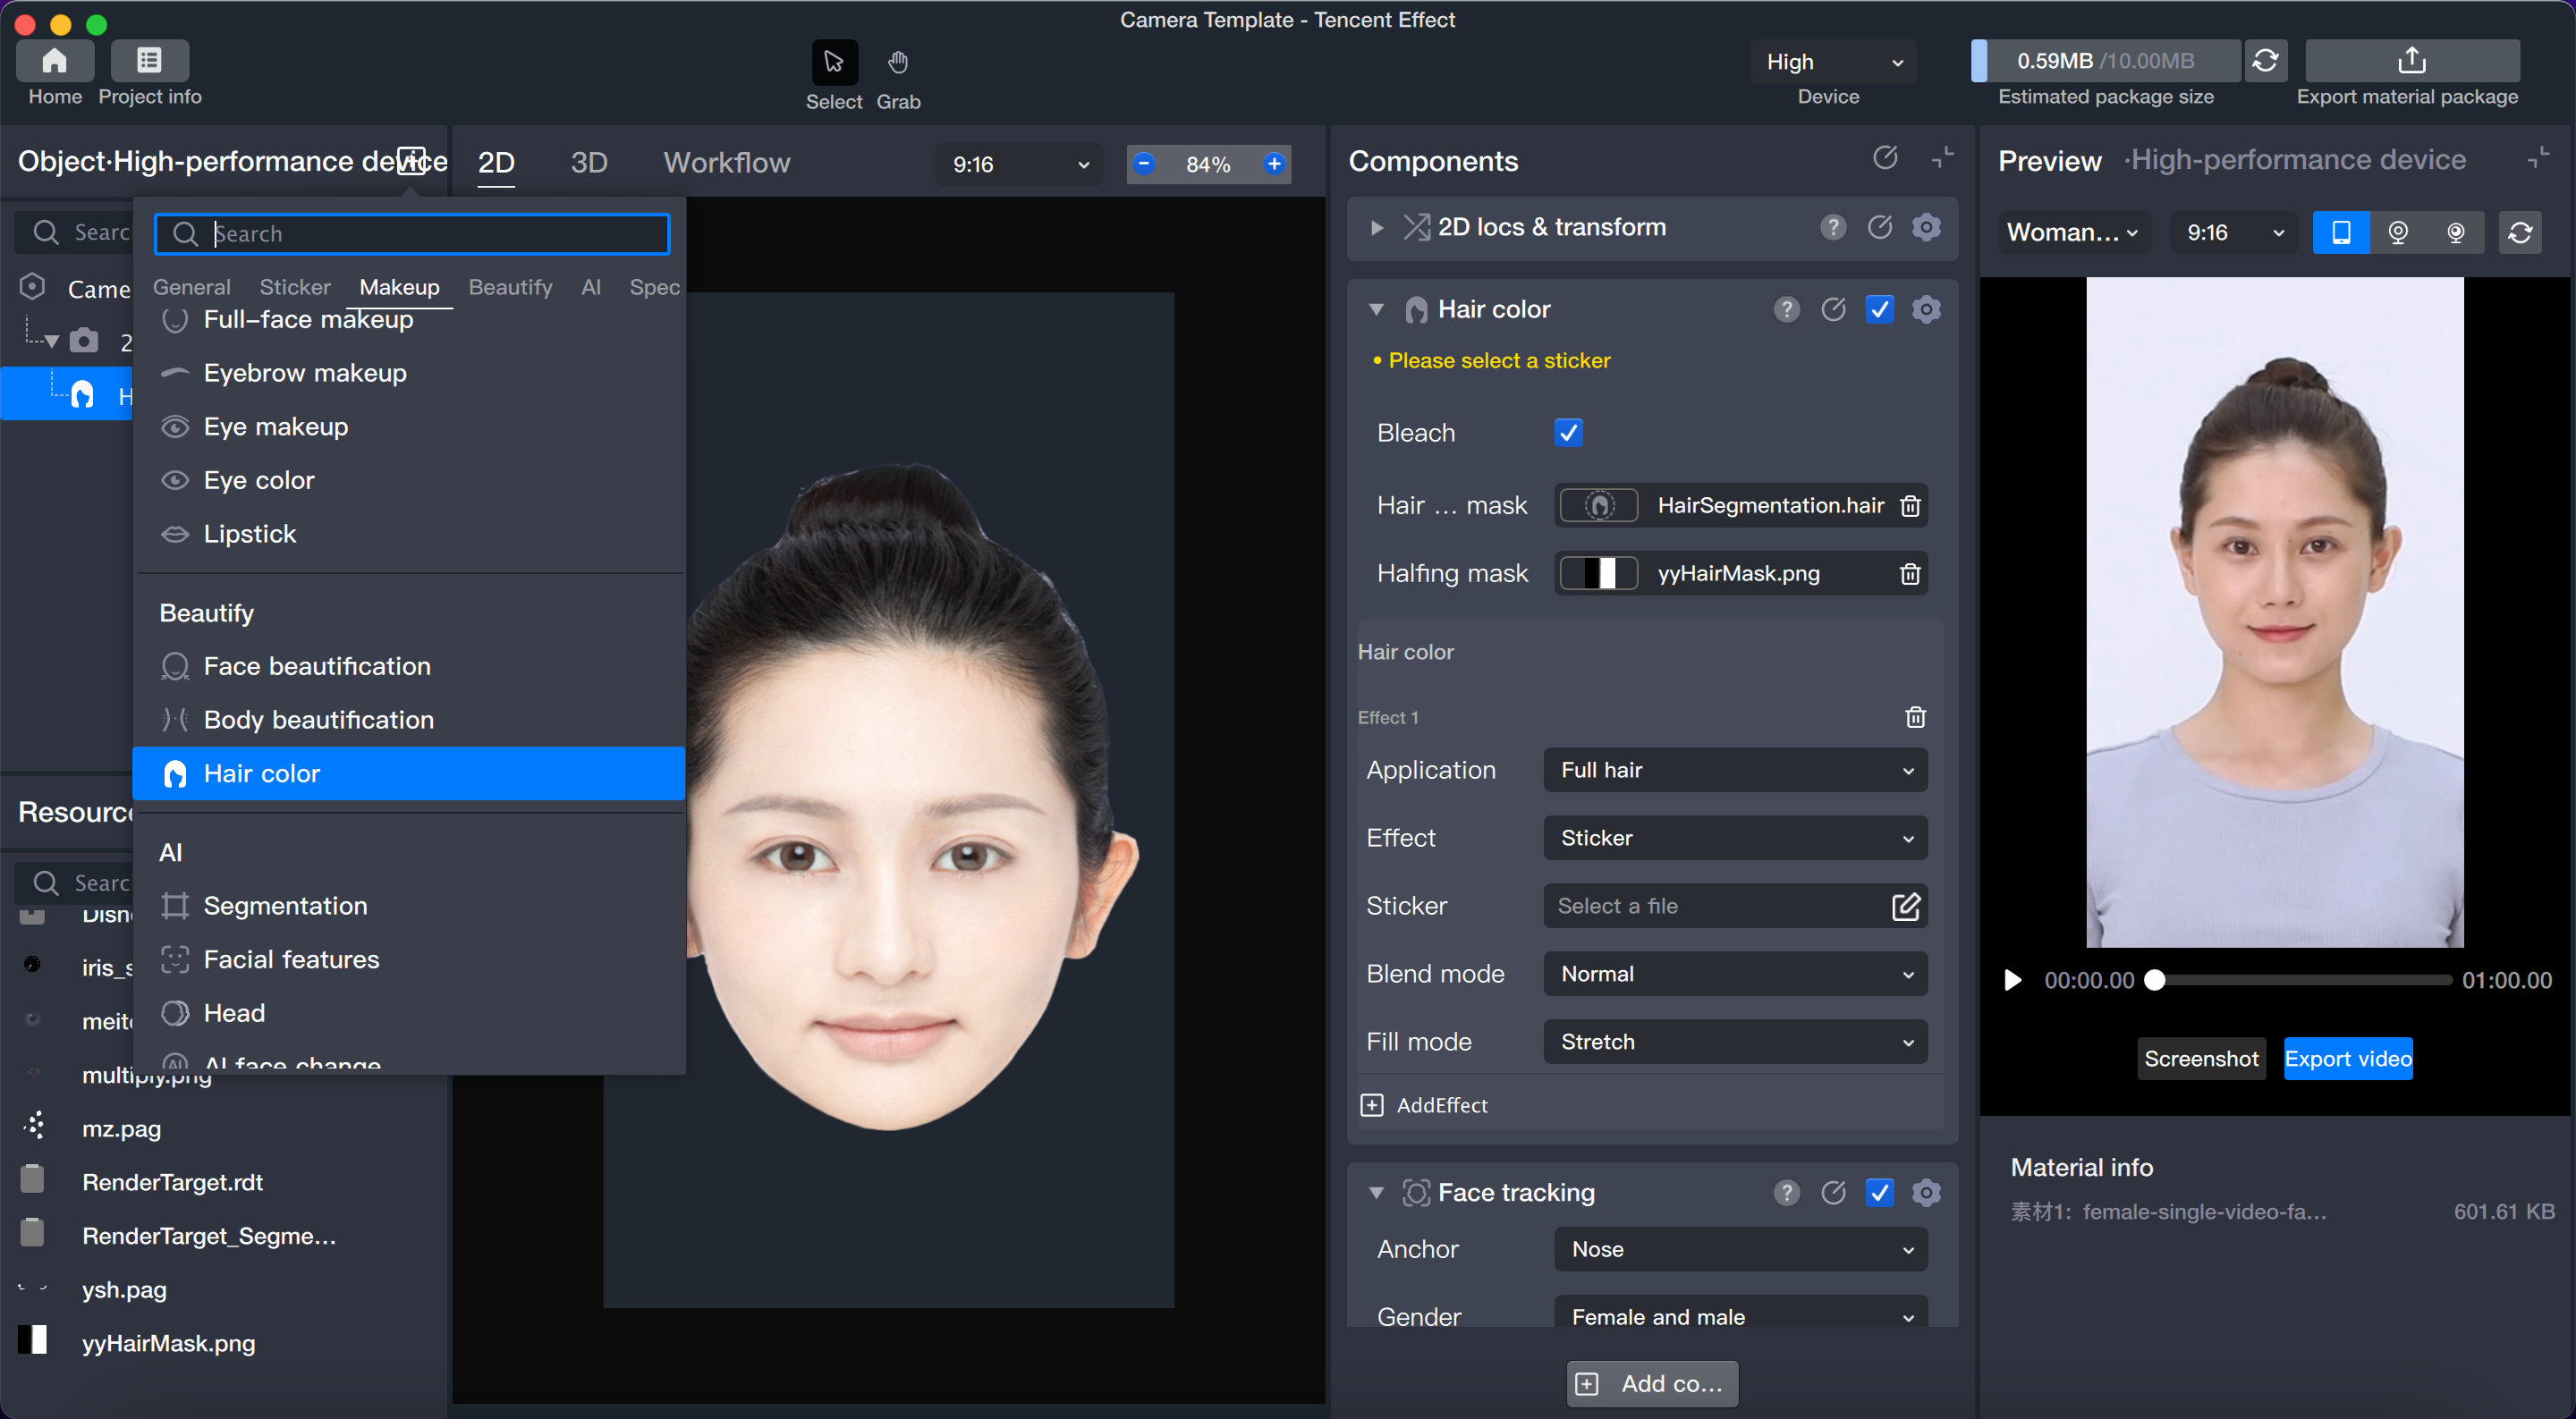
1. Add the hair coloring module in the object/component panel. Adding hair coloring works similarly to adding body segmentation capabilities; it does not create a new layer, but adds a capability block. This capability processes the camera input and outputs results that can be further customized.


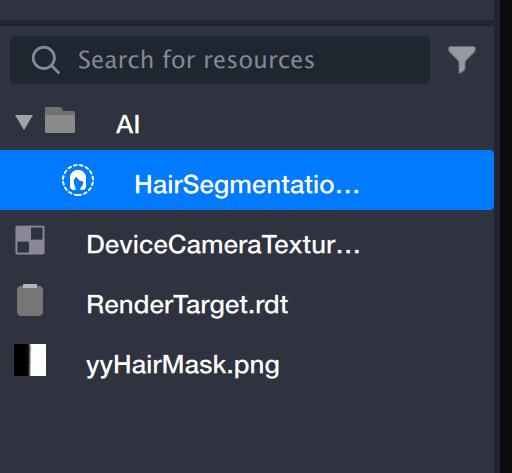
2. After adding the hair coloring capability, two files will appear in the resource window.
HairSegmentation.hair: After adding the hair coloring component, this file provides a mask that identifies the entire head of hair.
yyHairMask.png: Based on the full-head hair recognition, yyHairMask divides the hair into left and right sides.


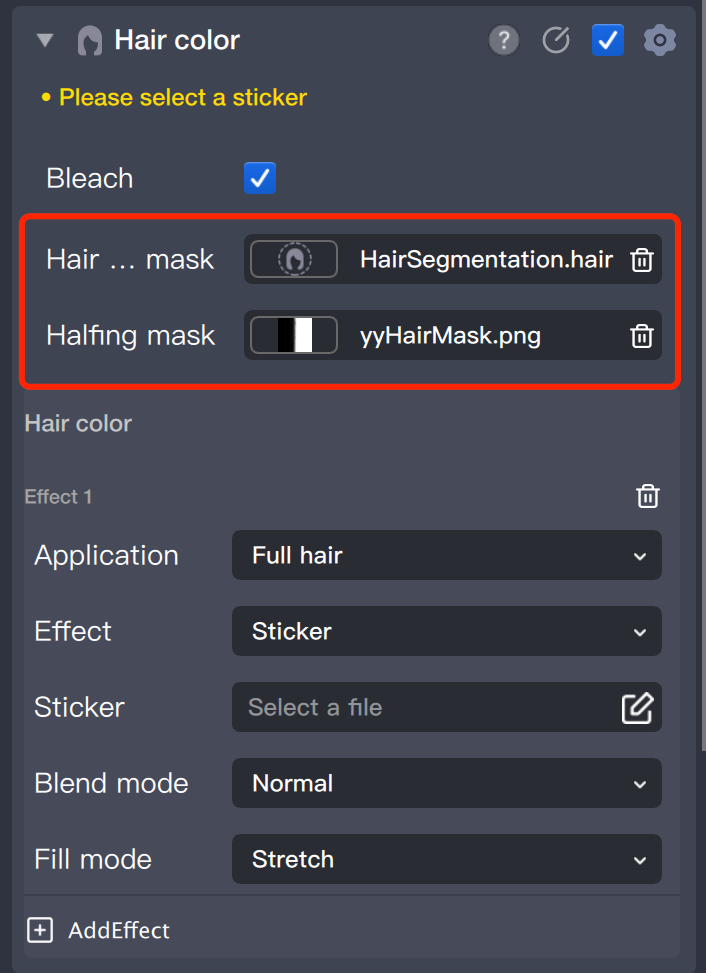
3. The files are automatically populated in the corresponding file input fields in the component panel.
If you have special requirements, you can manually add mask files to the resource panel and then import them into the file selection field.


Configure Hair Coloring Parameters

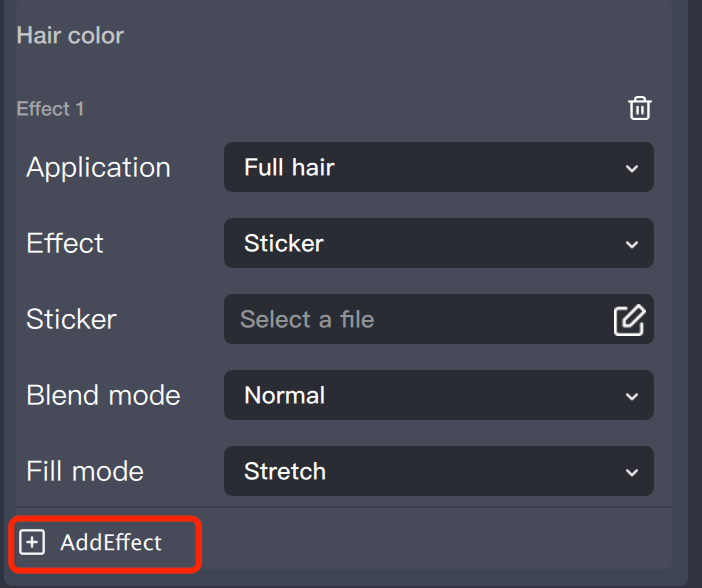
After adding the hair coloring object, the component applies a default hair coloring effect, which you can add or remove multiple times.


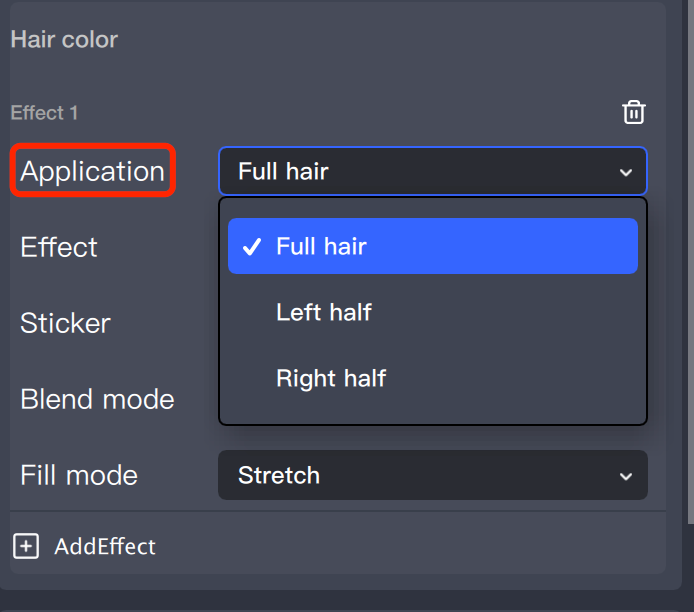
The hair coloring region offers three options: full-head, left side, and right side, allowing for targeted hair coloring.


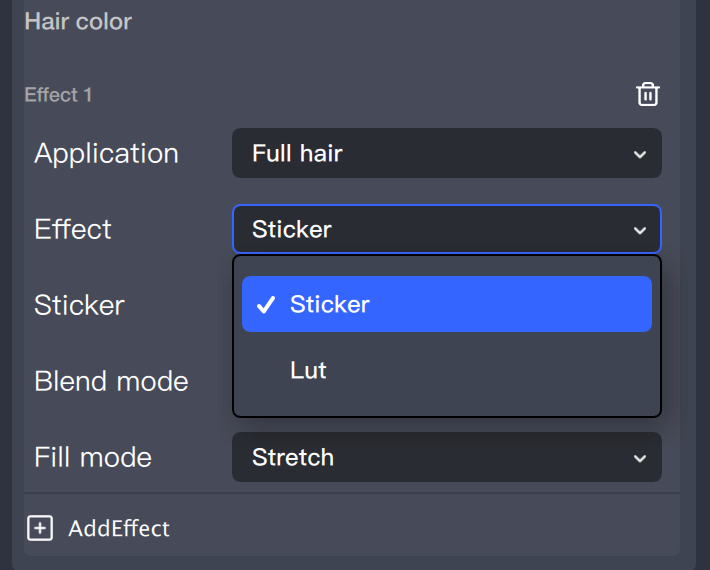
Hair coloring effects are available in Sticker mode and LUT mode.
In Sticker mode, you can configure sticker files, including common image formats such as JPG, PNG, and PAG.
In LUT mode, you can configure a LUT filter. For details on filter configuration, see the Configuration Guide.


Help and Support

Was this page helpful?

Help us improve! Rate your documentation experience in 5 mins.

Feedback