tencent cloud

Tencent Effect SDK

Release Notes and Announcements
Release Notes
Tencent Effect SDK V3.5 Version Released
Tencent Effects SDK V3.0 Version Related API and Material Changes
Product Introduction
Overview
Features
Basic Concepts
Strengths
Use Cases
Purchase Guide
Pricing Overview
Purchase Guide
Payment Overdue and Refund
Tutorial
Demos
Free Trial License
Licenses
Adding and Renewing a License (Mobile)
Adding and Renewing a License (Desktop)
Adding and Renewing a License (Web)
FAQs
SDK Download
Features
SDK Download
Version History
SDK Integration Guide(No UI)
General Integration of Tencent Effect
Integrating Capabilities
SDK Integration Guide(Including UI)
General Integration of Tencent Effect
Integrating Tencent Effect into MLVB SDK
Integrating Tencent Effect into TRTC SDK
Integrating Tencent Effect into UGSV SDK
Virtual Avatars
API Documentation
iOS
Android
Flutter
Web
Feature Guide
Reducing SDK Size
SDK Integration Issue Troubleshooting
Performance Fine-Tuning
Effect Fine-Tuning
Material Usage
Effect Parameters
Recommended Parameters in Beautification Scenarios
UGSV Enterprise Edition Migration Guide
Integrating Tencent Effect for Third-Party Publishers (Flutter)
Integrating Beauty AR Web into Mini Programs
Tencent Effect Studio Usage
Beauty AR Web
Overview
Quick Start
SDK Integration
Parameters and APIs
Console Guide
Demos
Preset Effect List
Practical Tutorial
FAQs
FAQs
General
Technical
License
Legacy Documentation
Recommended Parameters in Beautification Scenarios
Beauty Parameters Table
One-Minute Integration of TRTC
One-Minute Integration of Live Streaming
TE SDK Policy
Privacy Policy
Data Processing And Security Agreement
Contact Us

Background Segmentation

PDF
Focus Mode
Font Size
Last updated: 2026-03-30 18:03:42

Introduction

Background segmentation separates the primary subject from the surrounding background in images or videos, resulting in a crisp outline around the subject. For example, the portrait cutout feature in Photoshop is a basic application of background segmentation. Tencent Effect leverages AI algorithms to enable real-time background segmentation for video streams.

Basic Usage

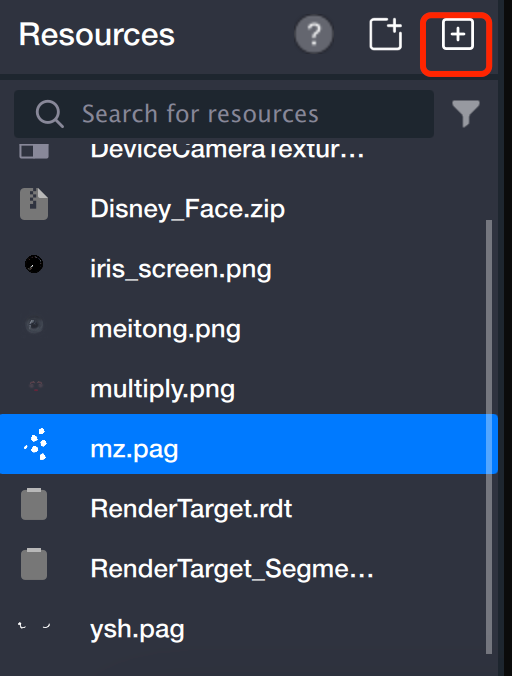
Step 1: Import Assets

Import a PAG animation into the asset panel to use as your background material. You can also use a PNG image.


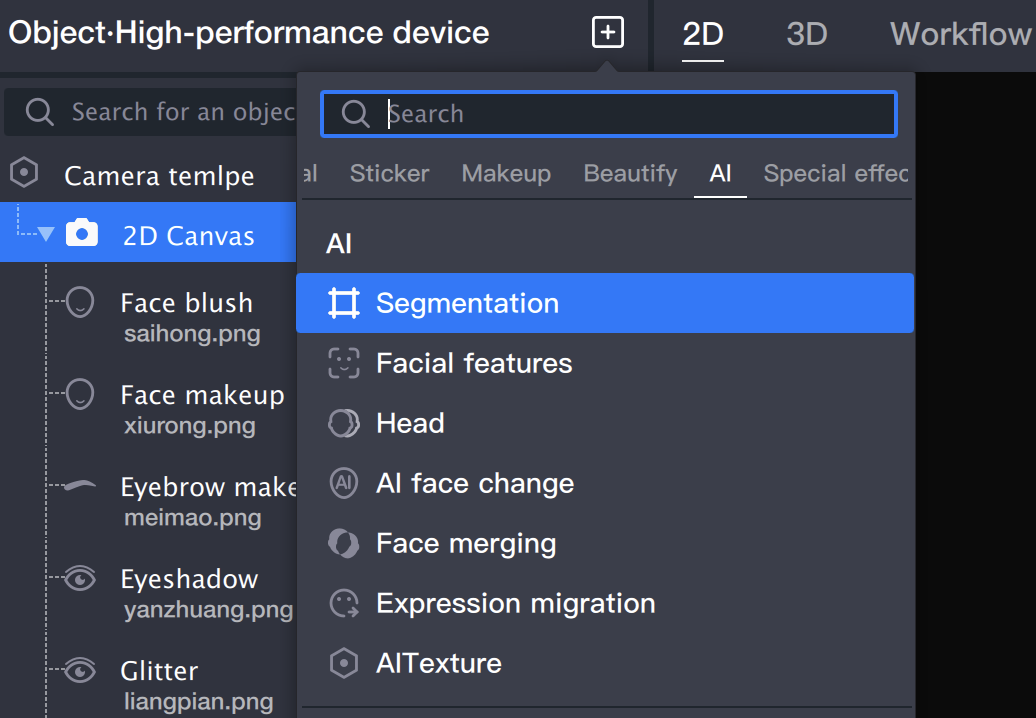
Step 2: Create Segmentation Object

Add a segmentation object in the object panel.


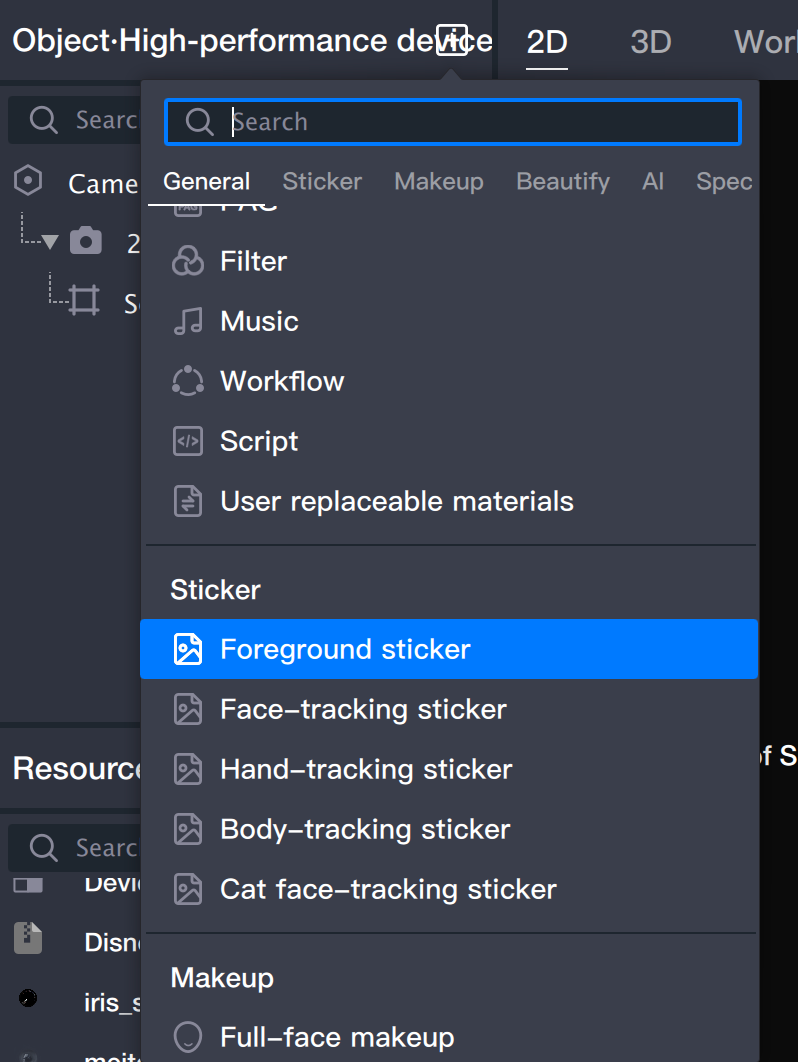
Step 3: Add Background

1. Add a sticker object (in this step, the sticker will function as the background).


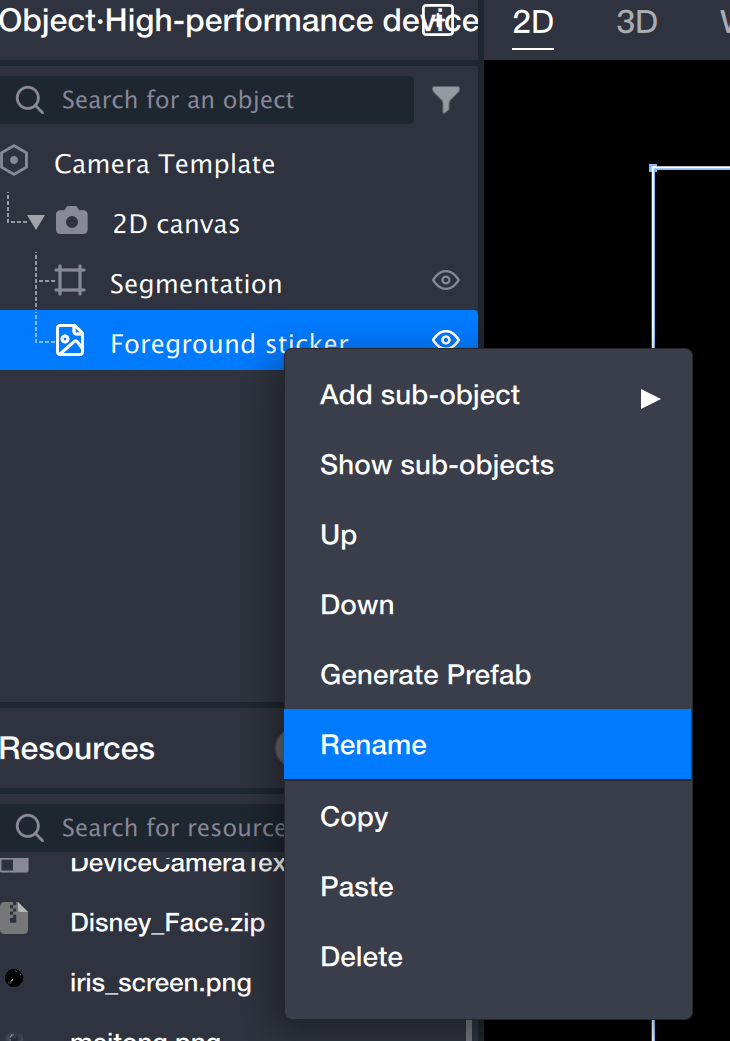
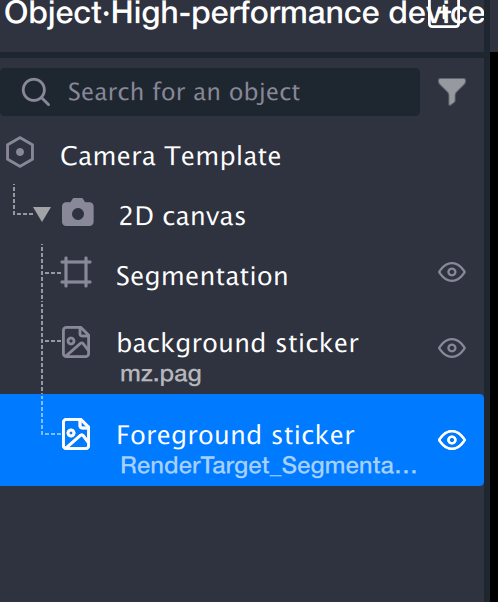
2. Rename the sticker to "Background Sticker": Right-click the sticker and select Rename. This sticker will serve as the background, making it easier to distinguish from the foreground sticker you'll add later.


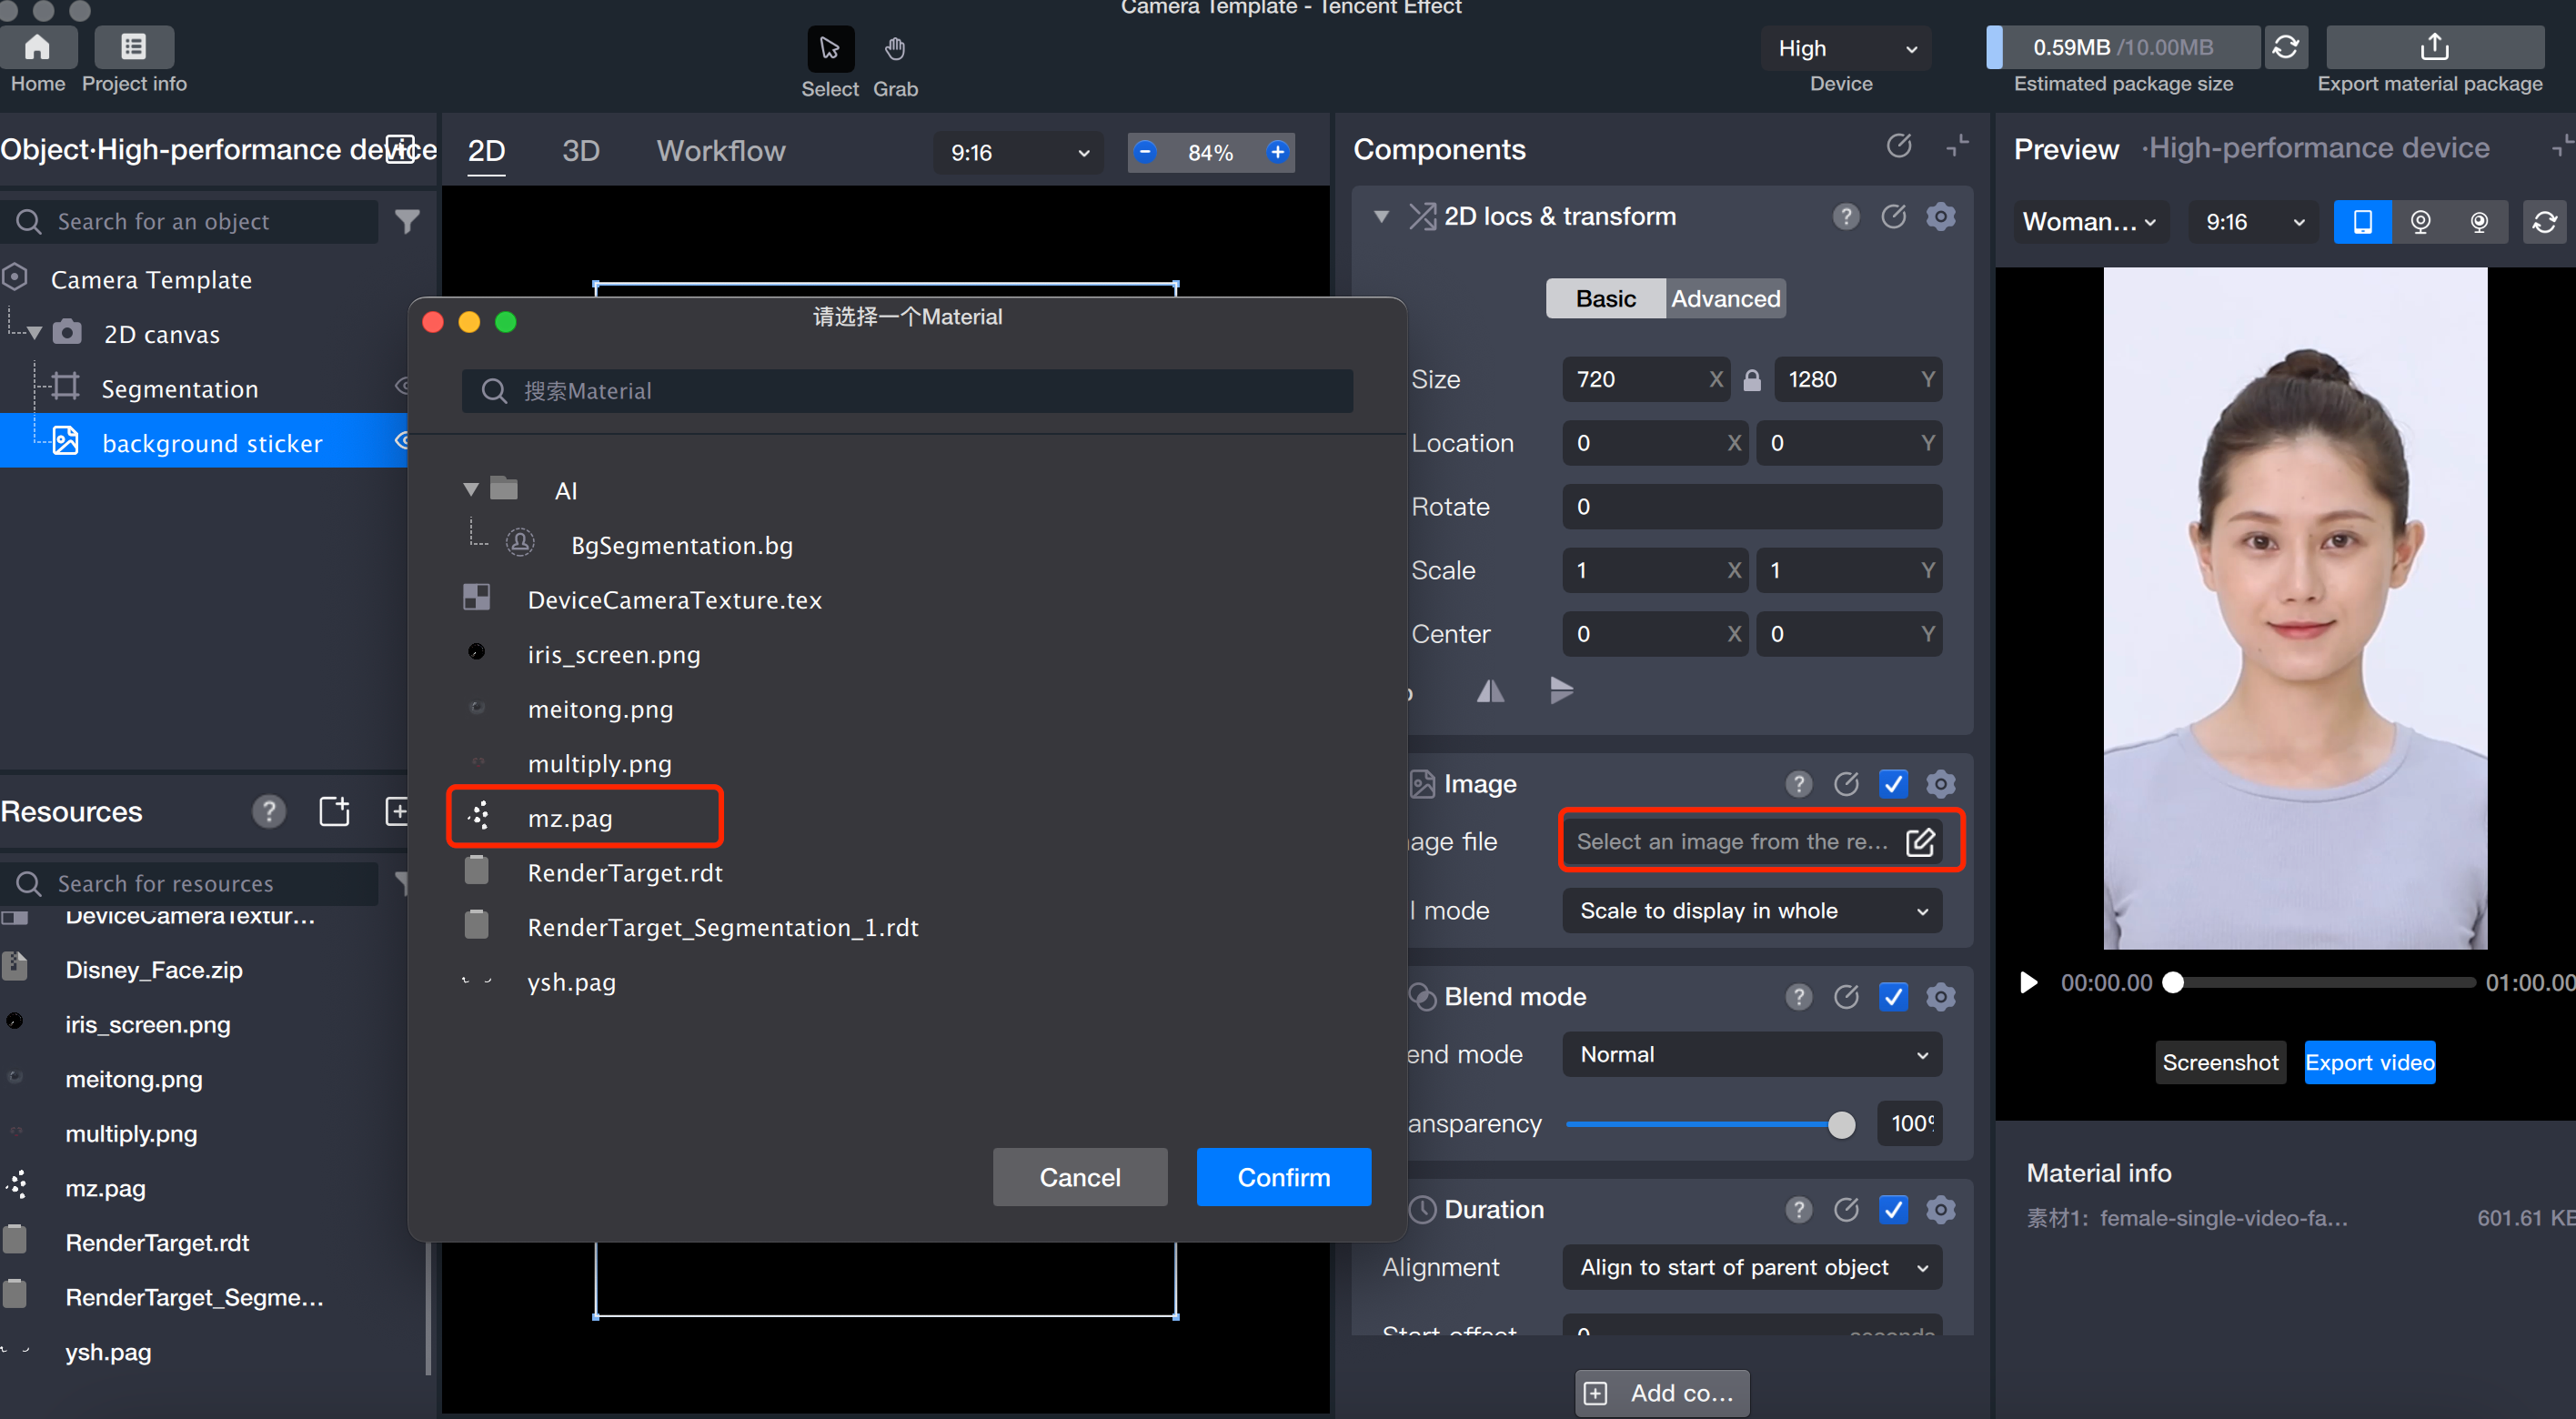
3. Select the sticker file: With the background sticker selected, click the image file and choose the appropriate sticker file in the pop-up window.


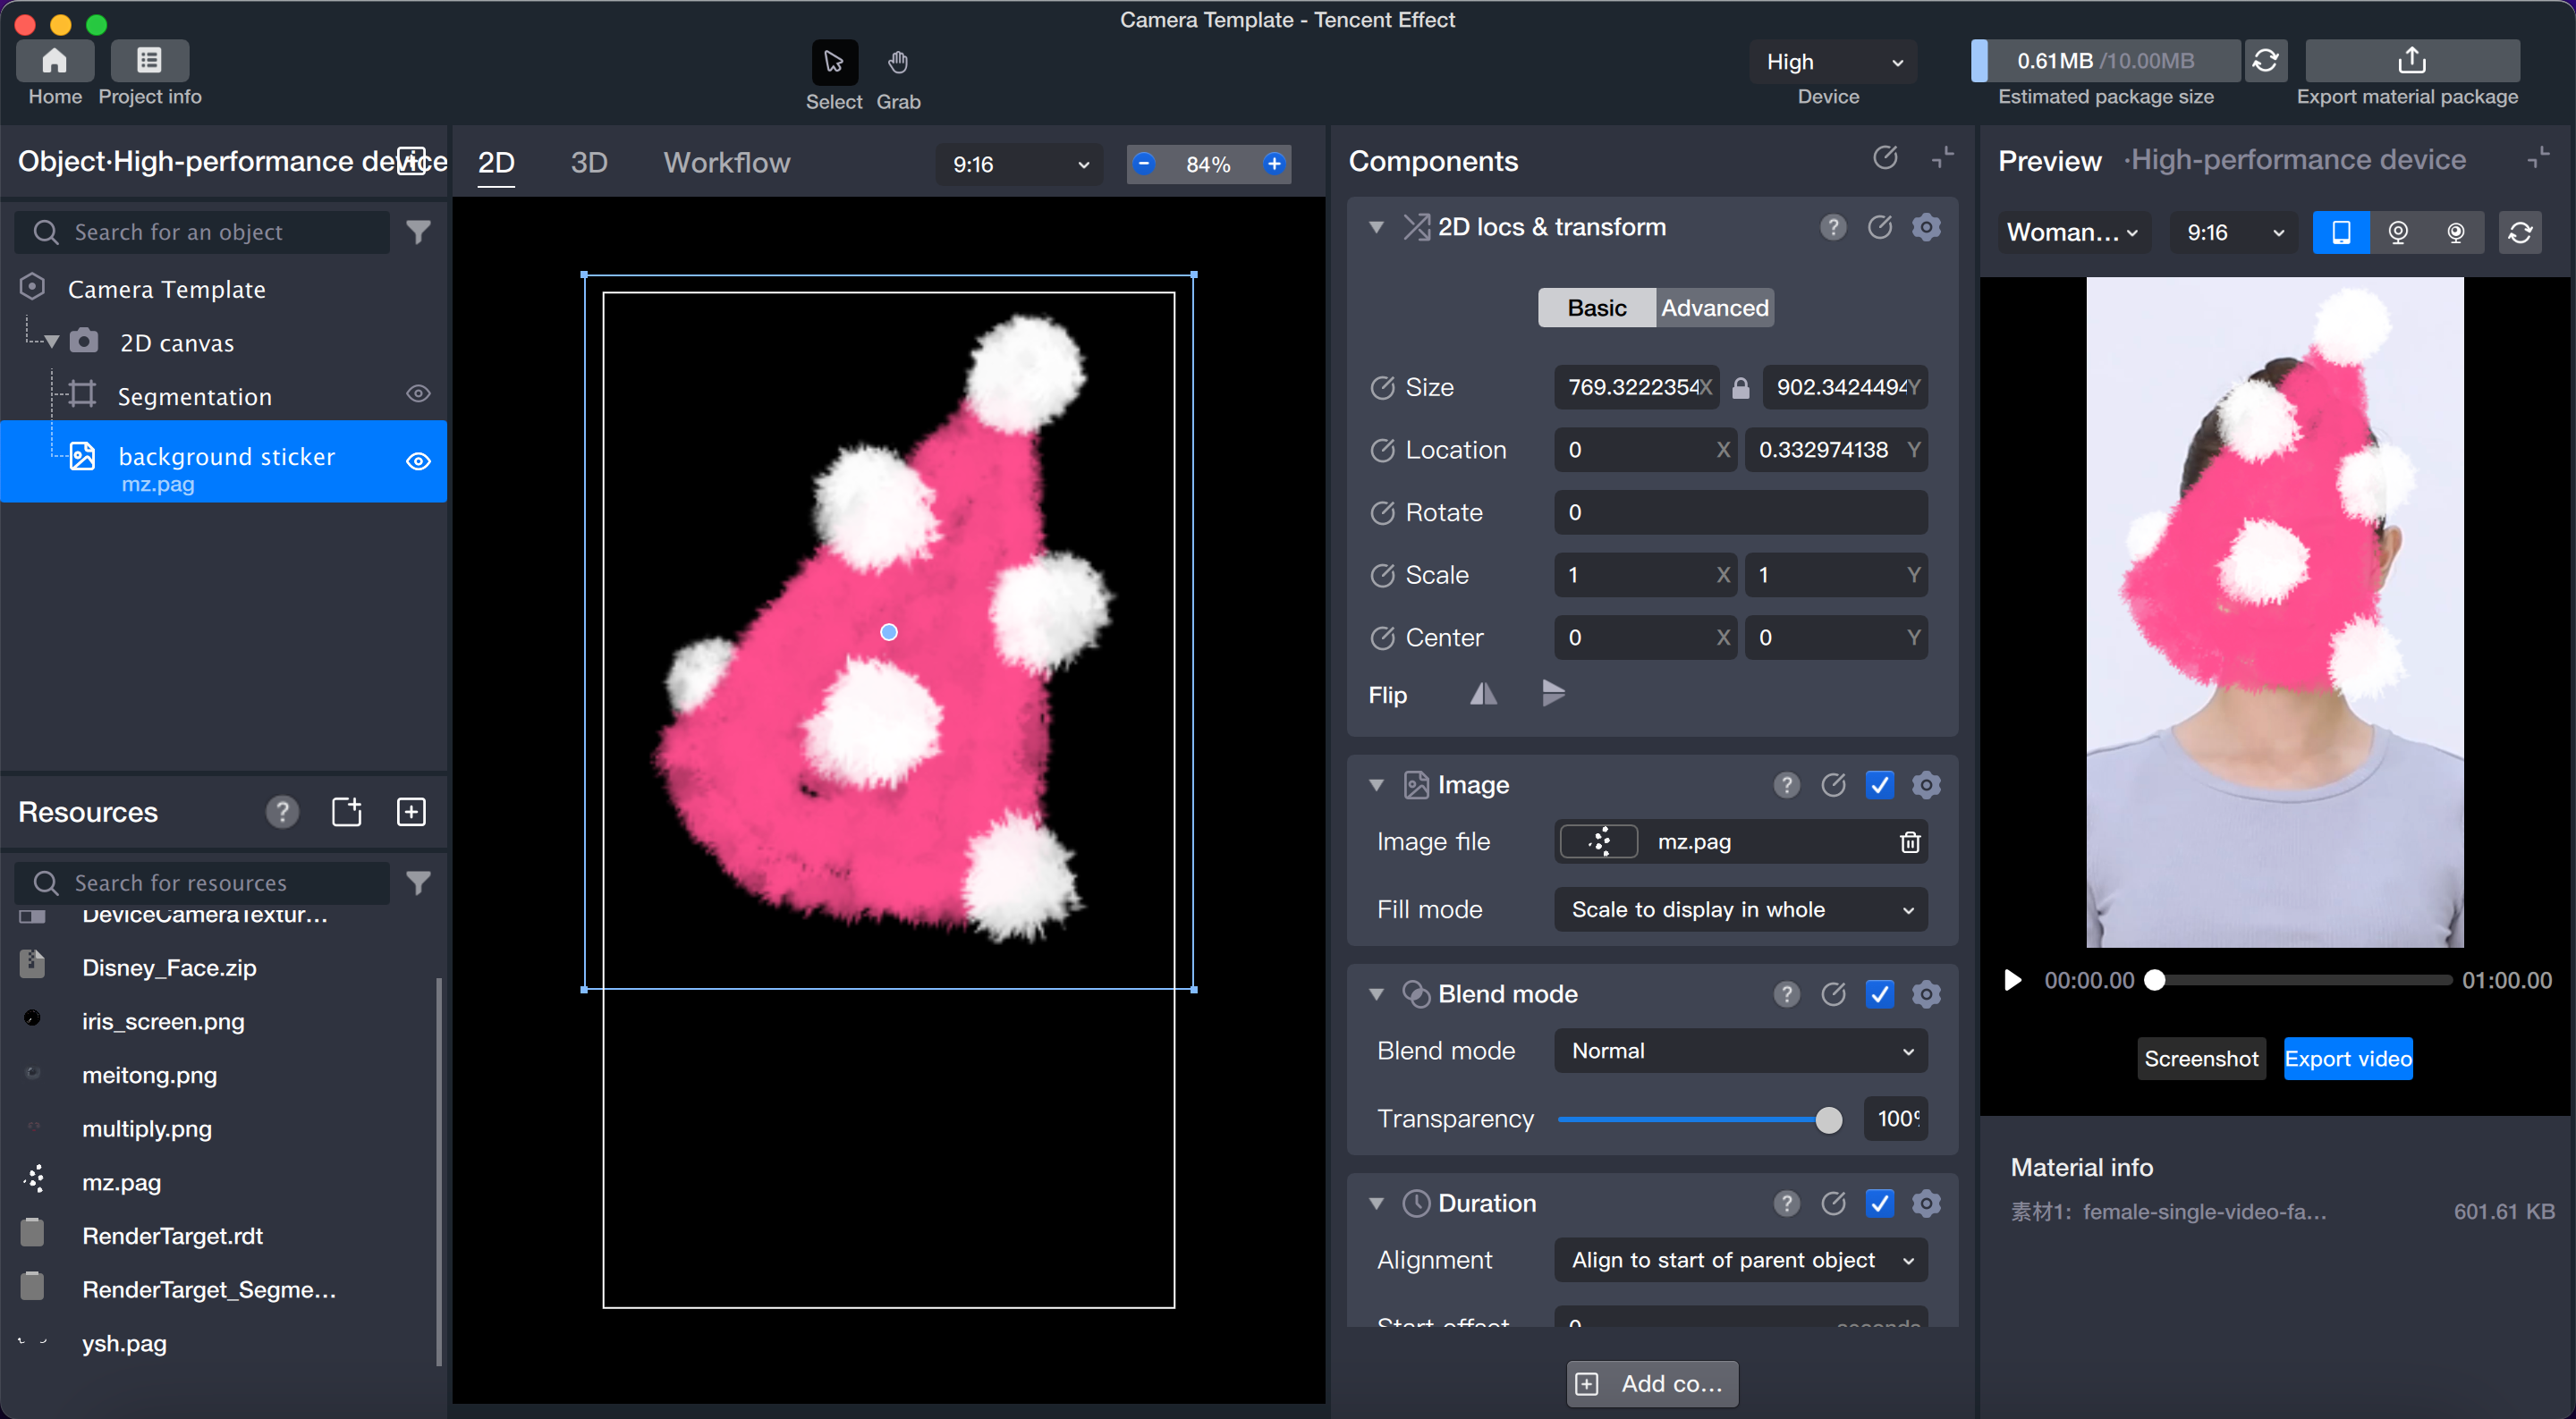
4. Adjust the position and size of the background as needed.


Step 4: Add Foreground

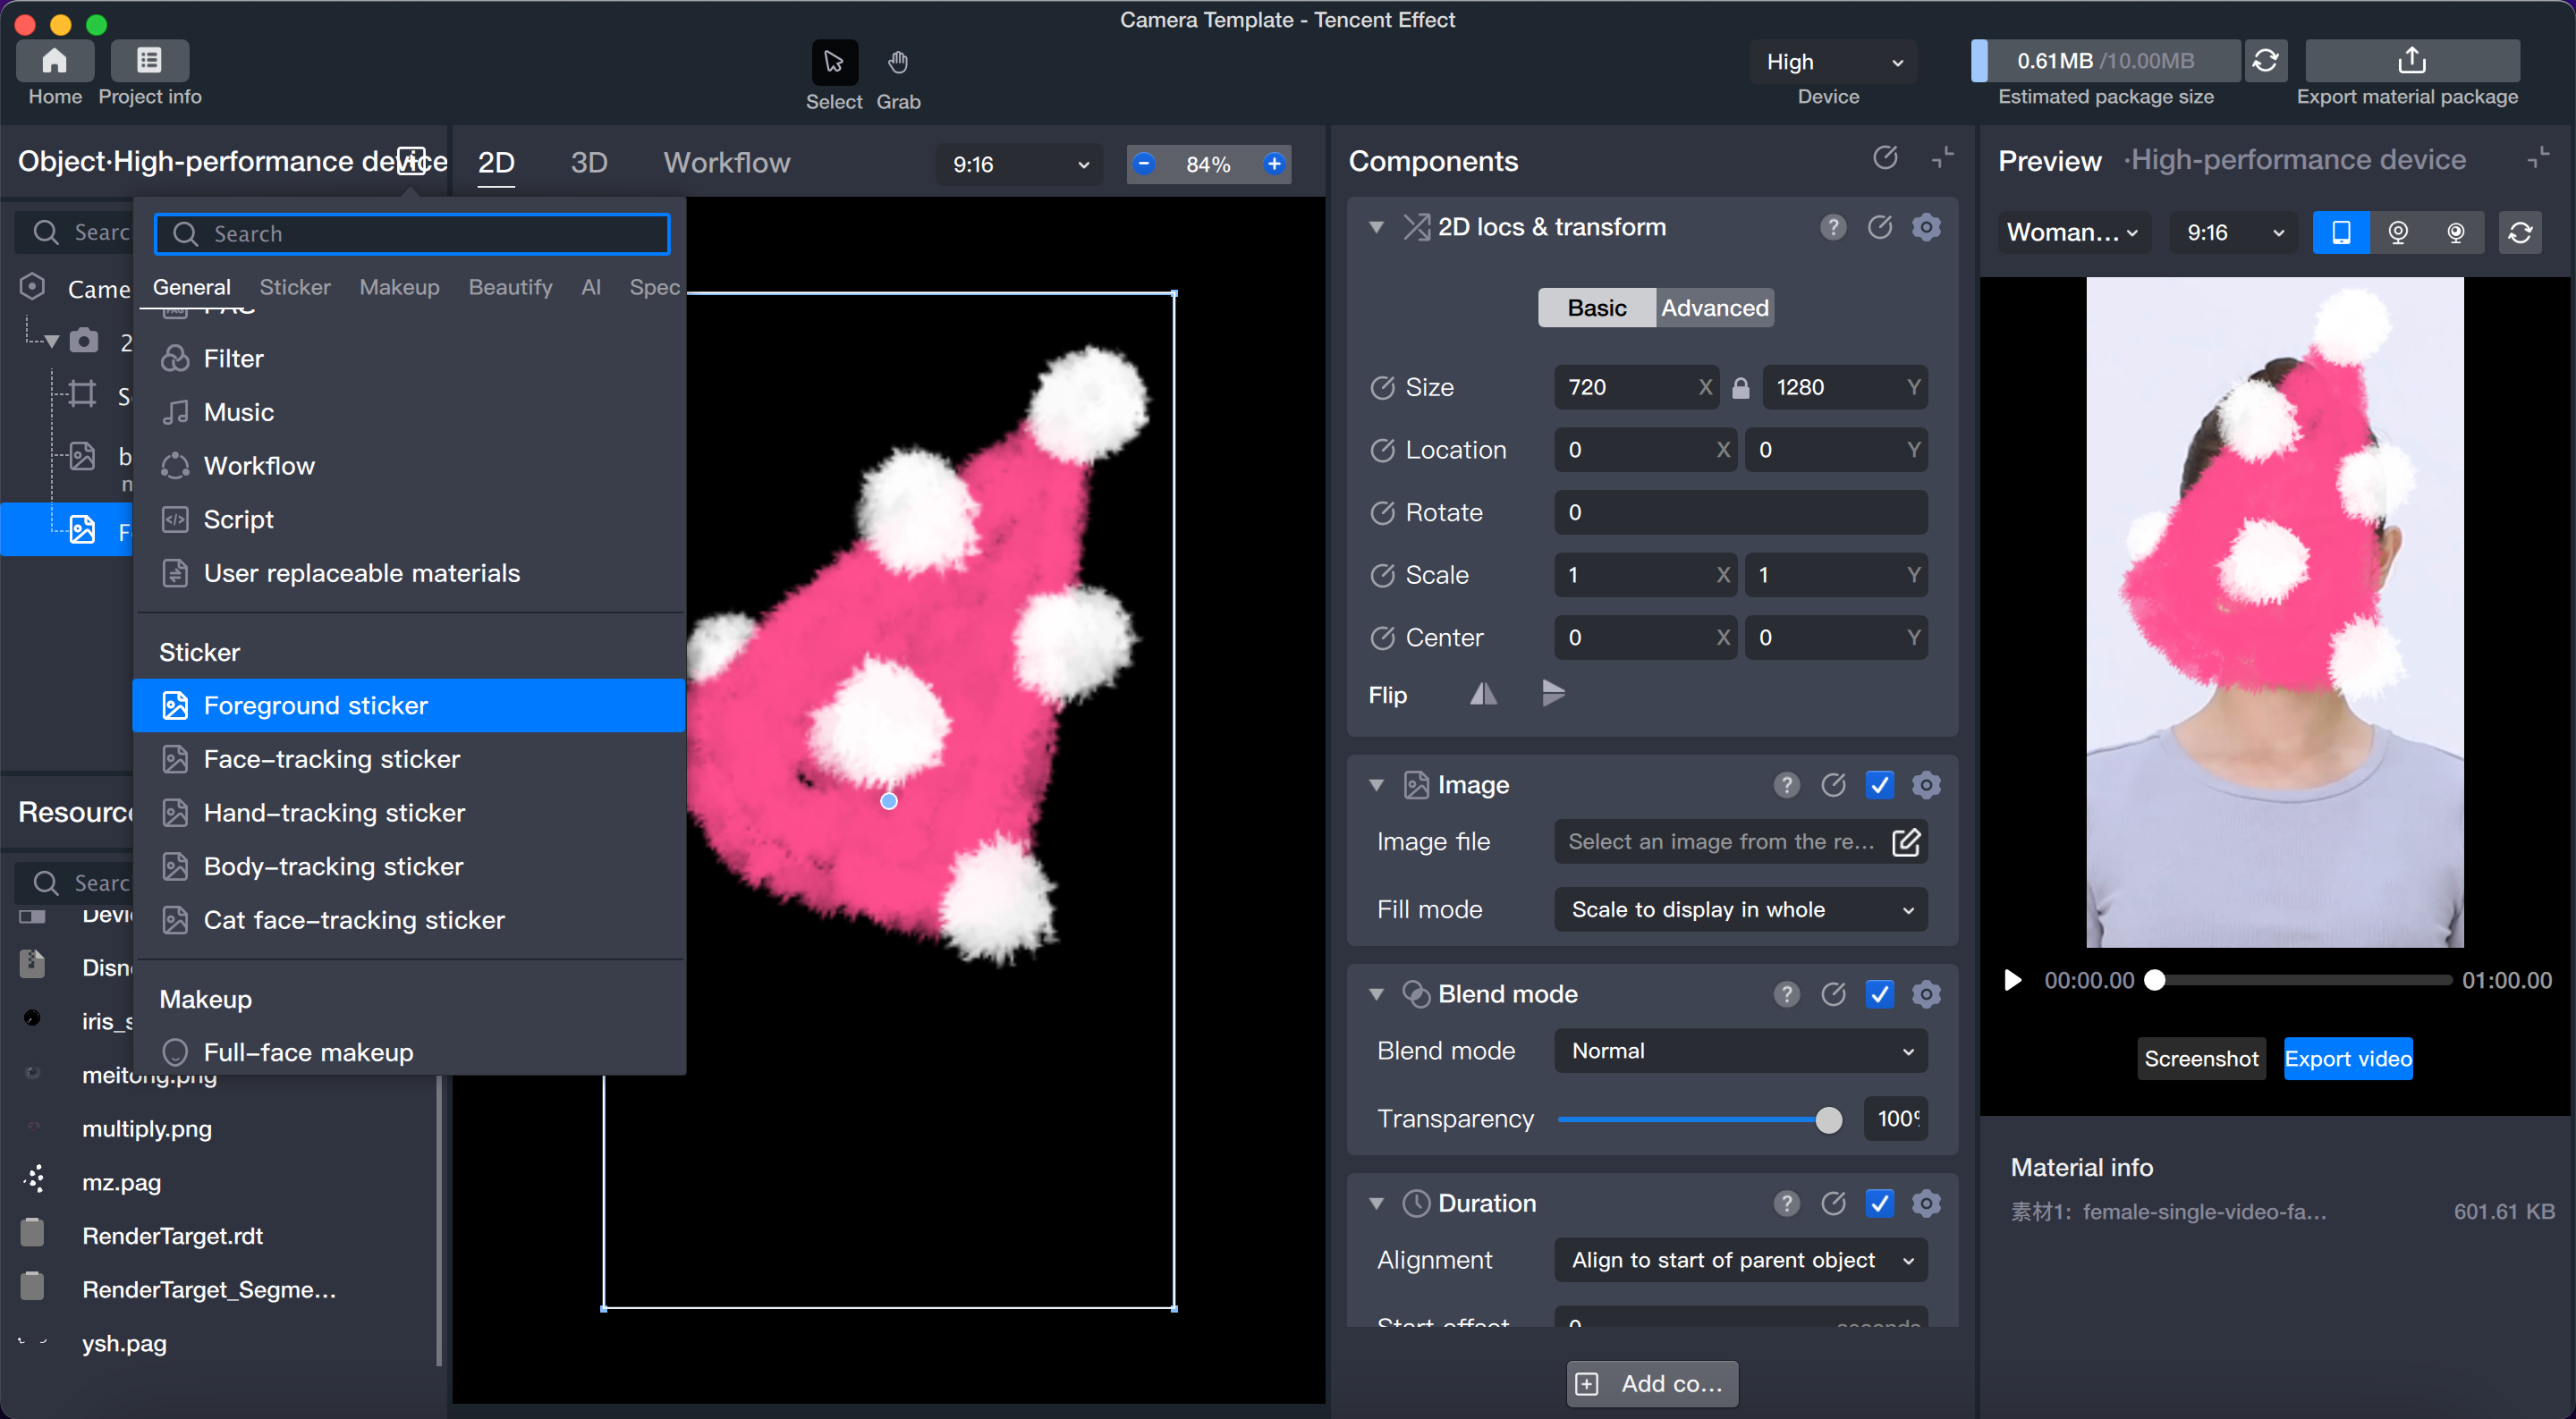
1. Add a foreground sticker object.


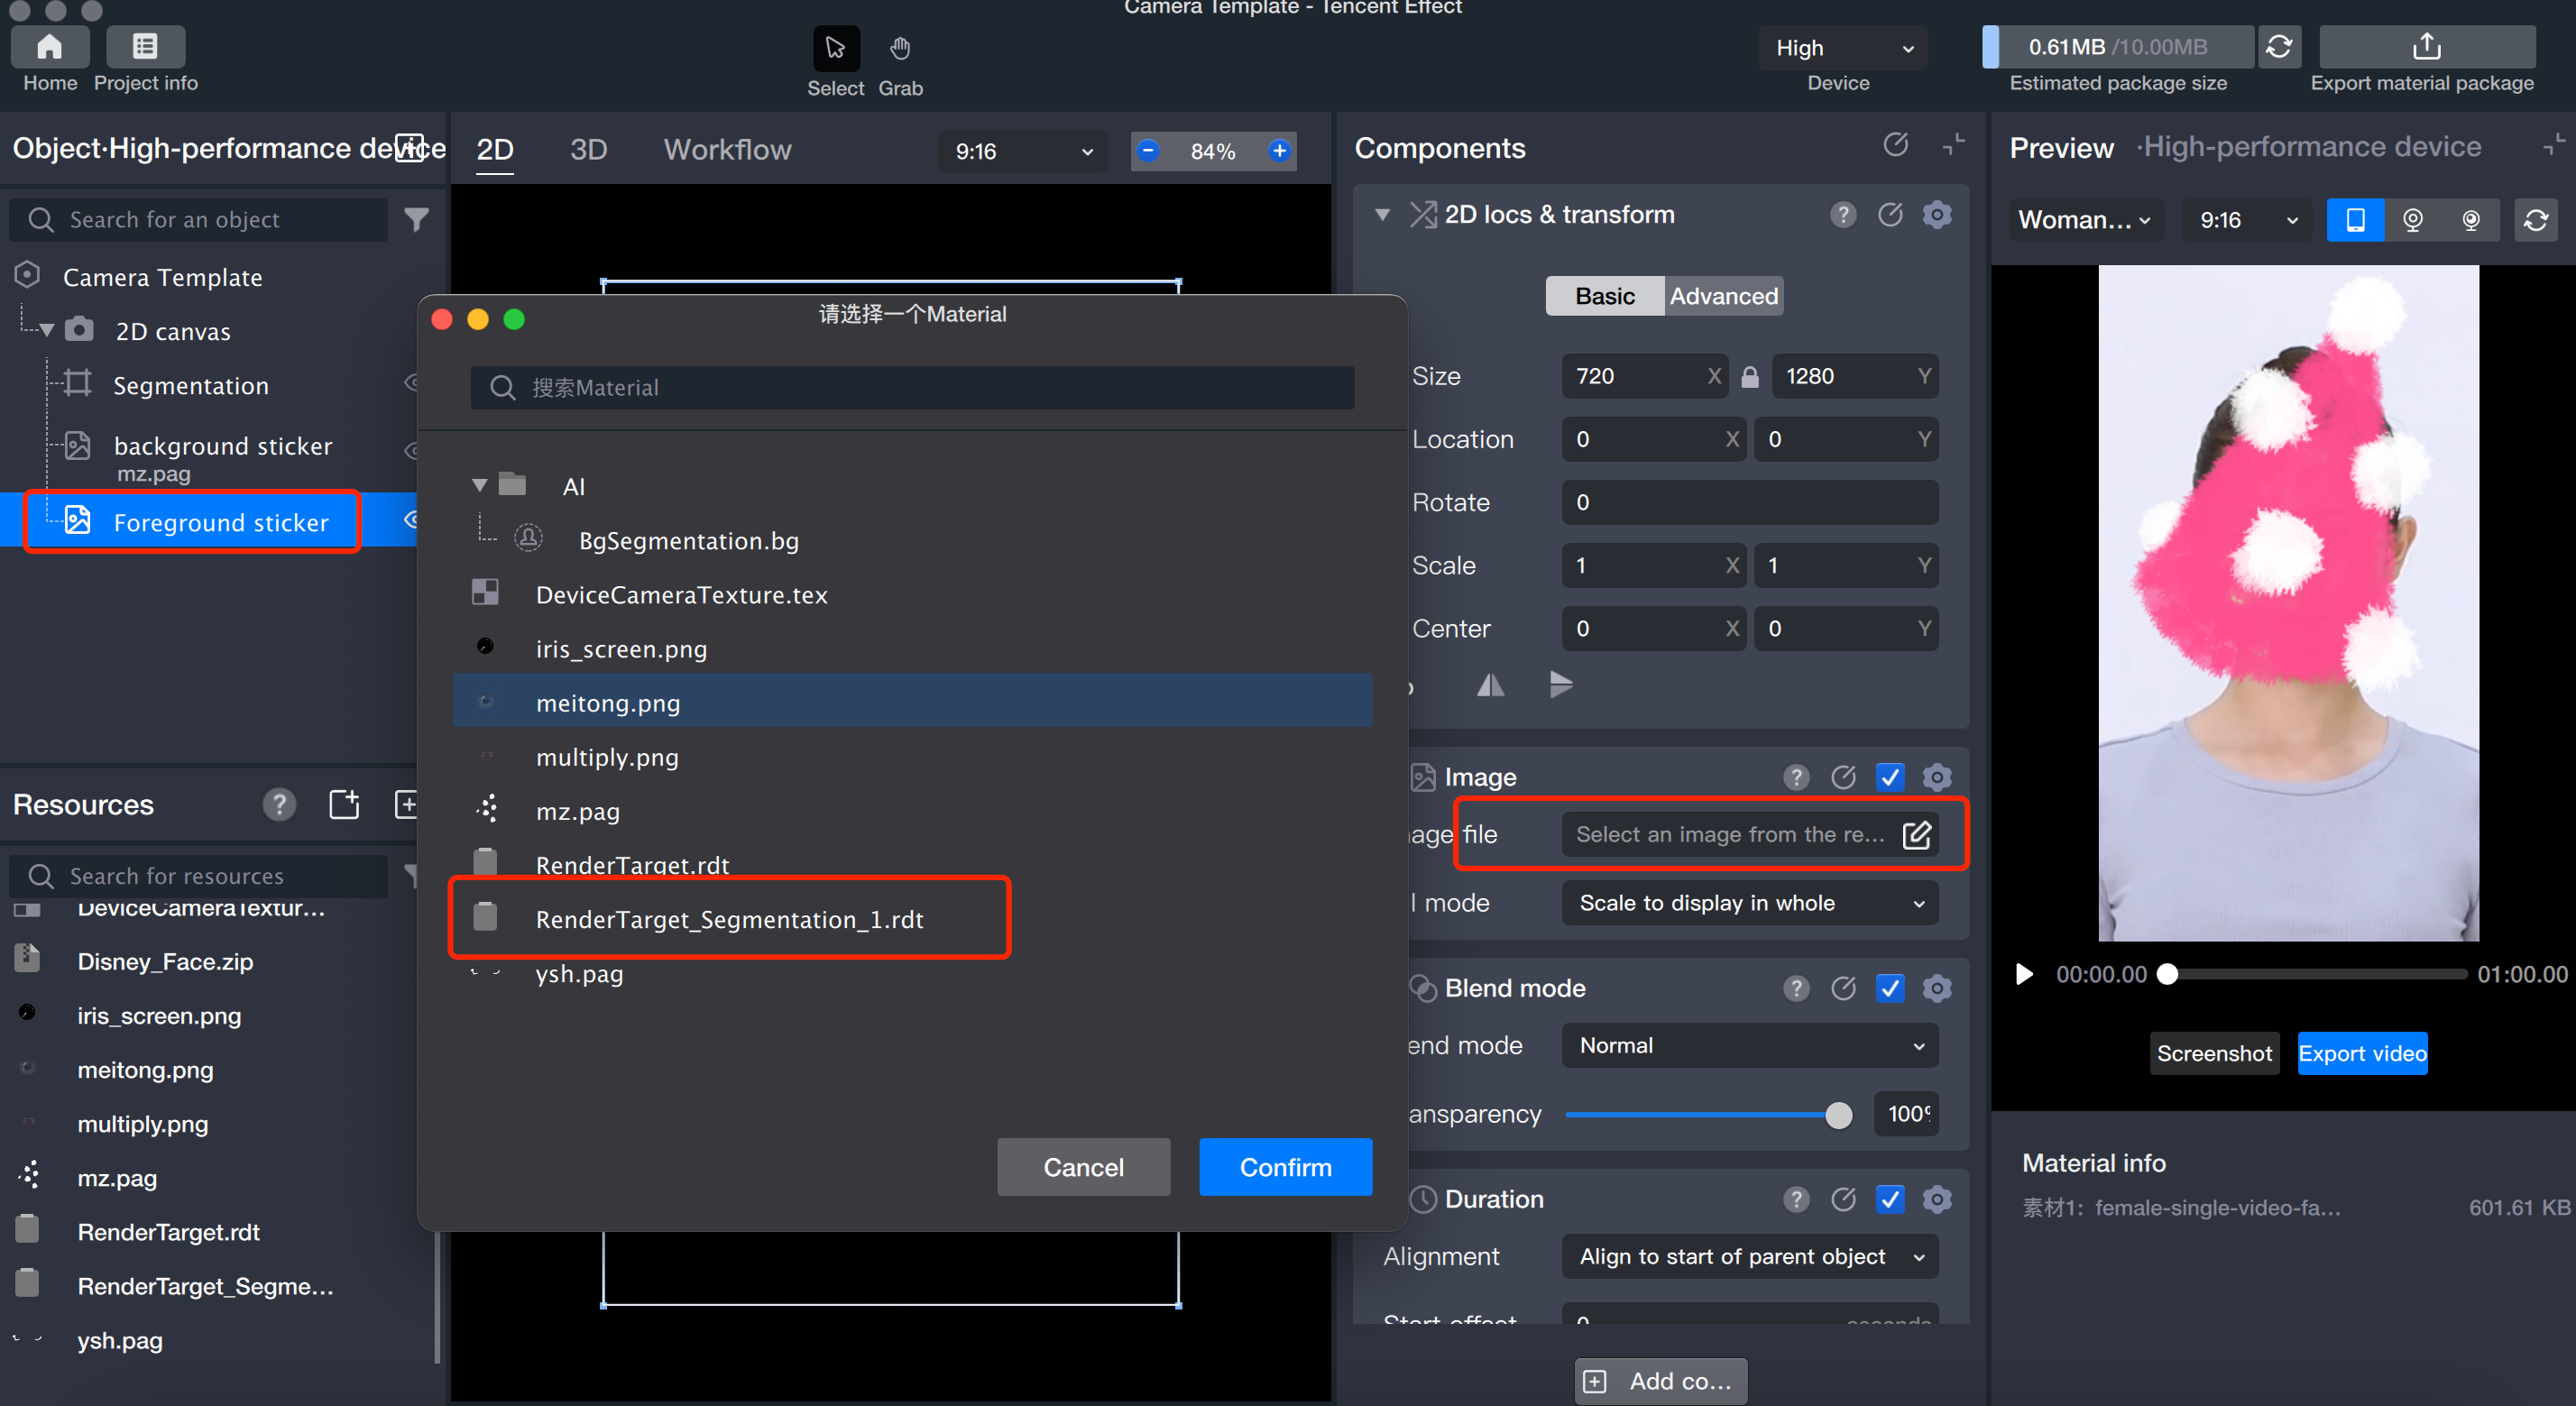
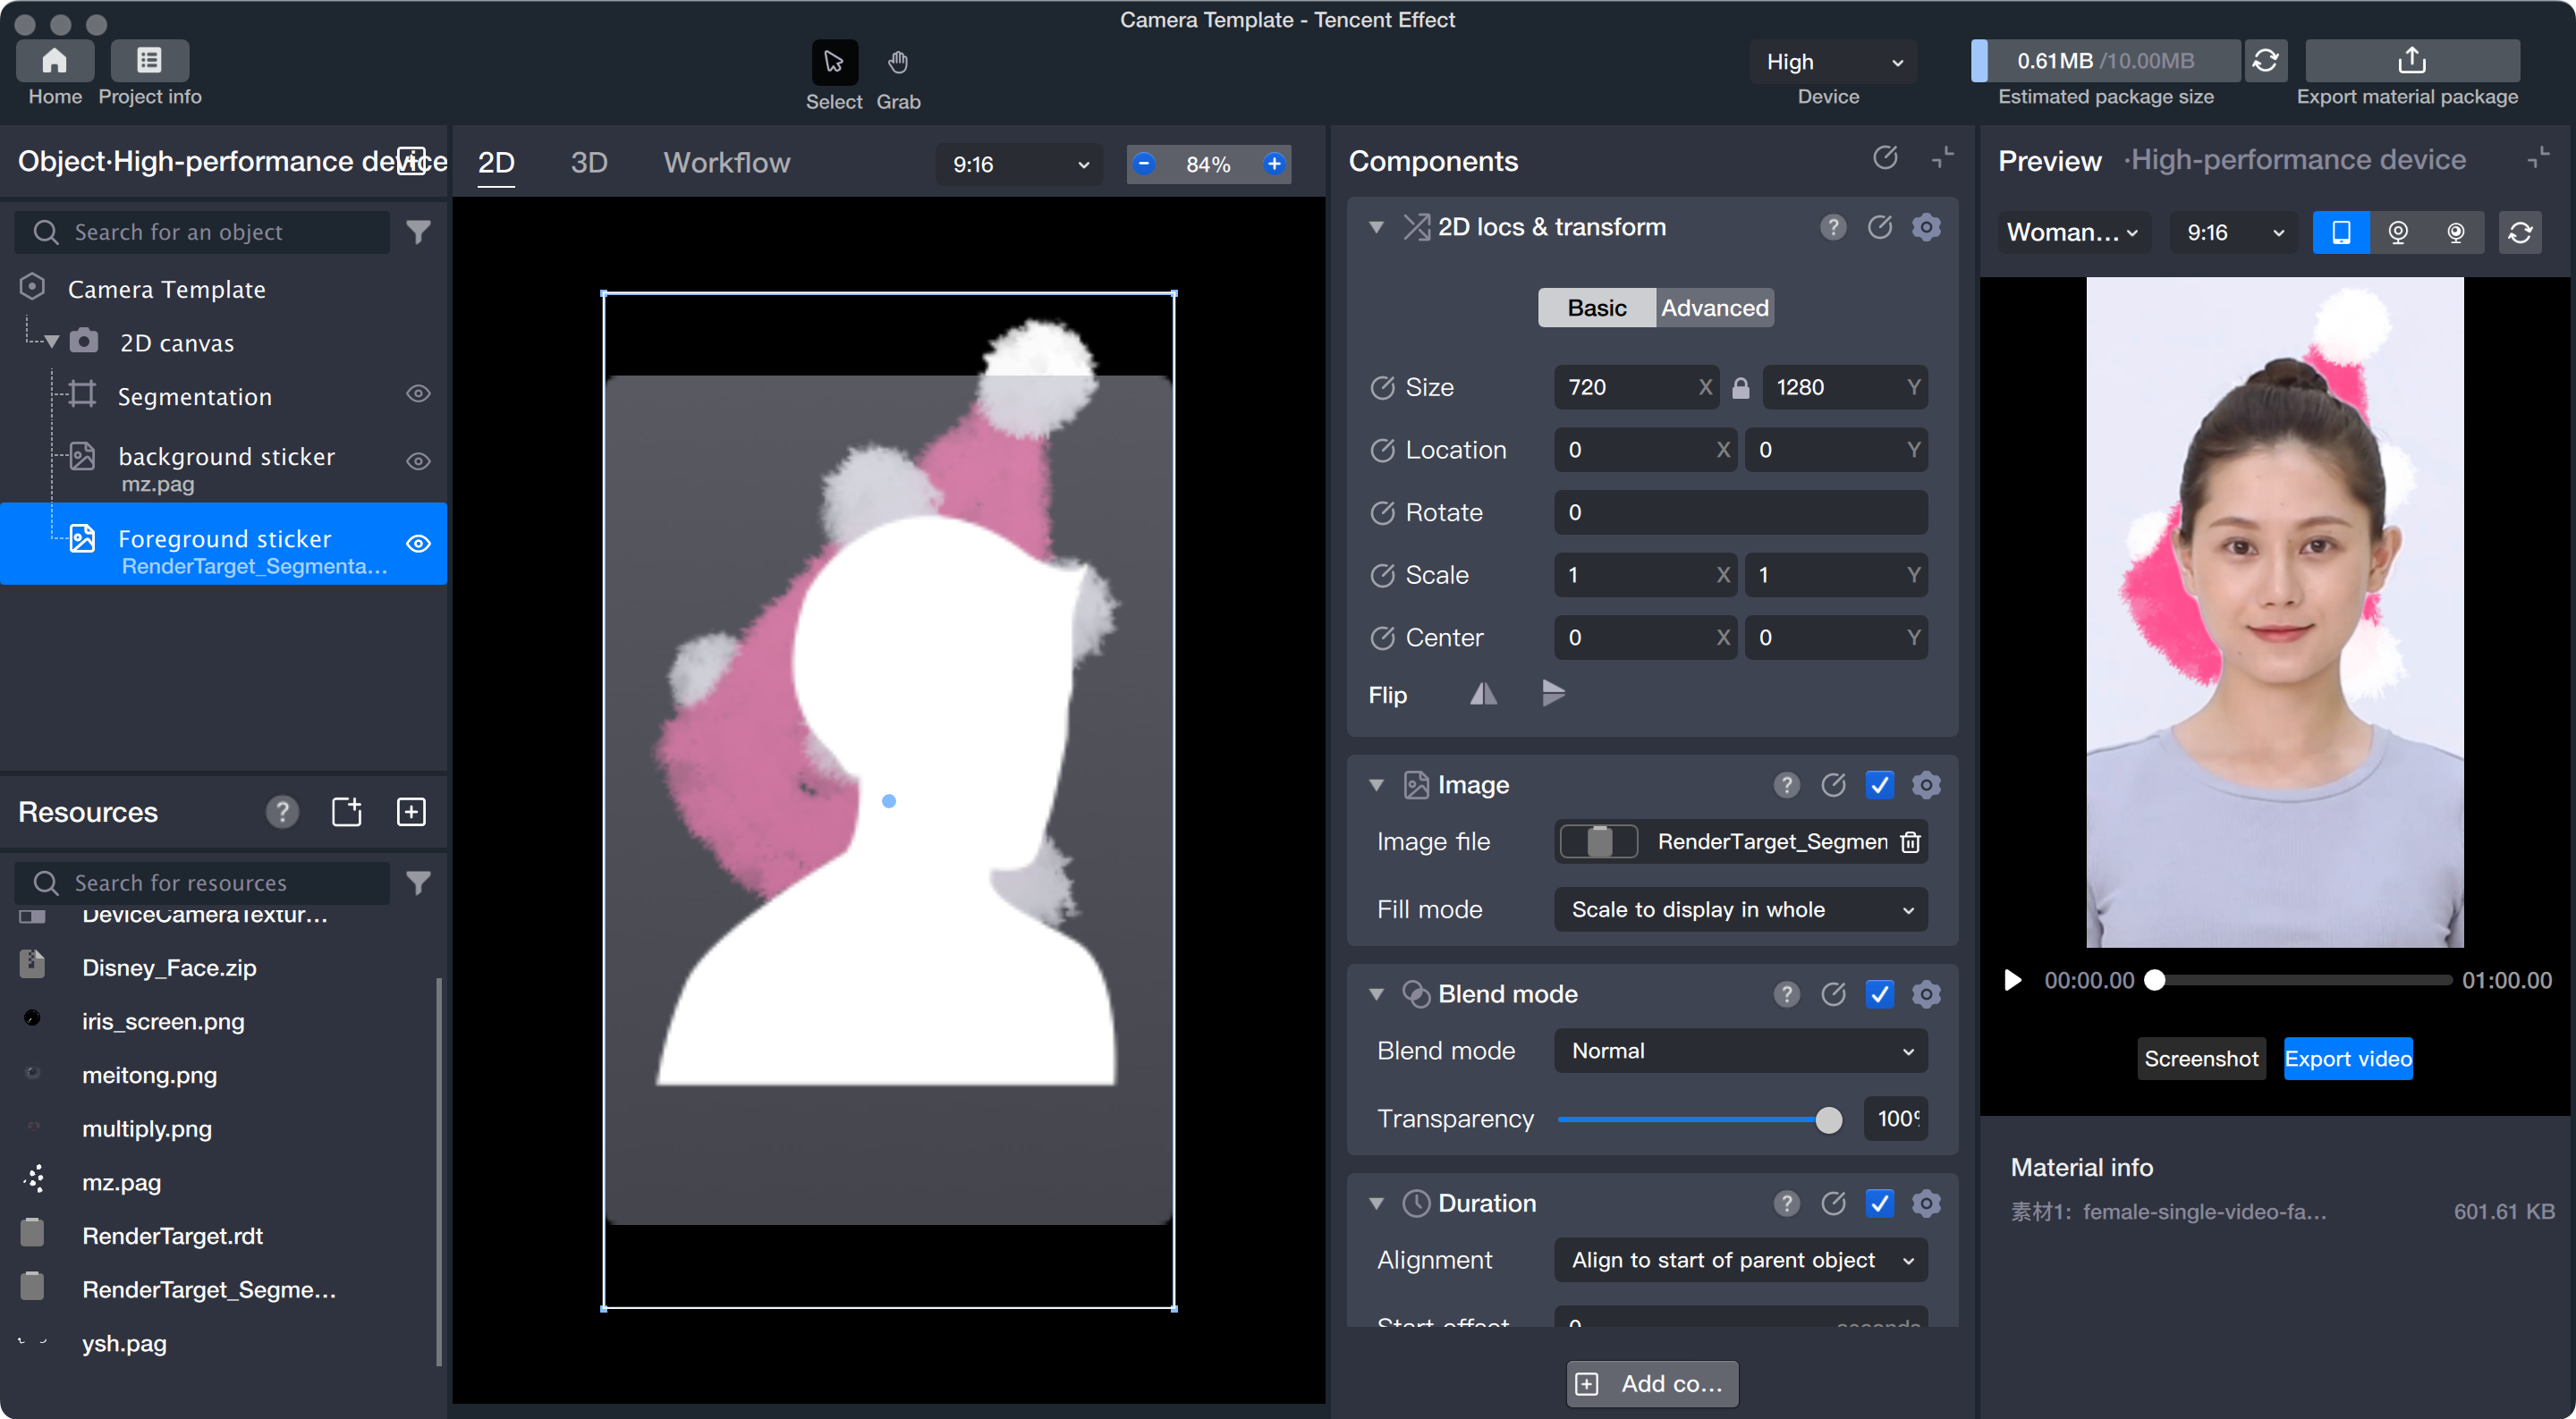
2. Select the sticker file: With the foreground sticker selected, click the image file and choose the RenderTarget_Segmentation_1.rdt file.
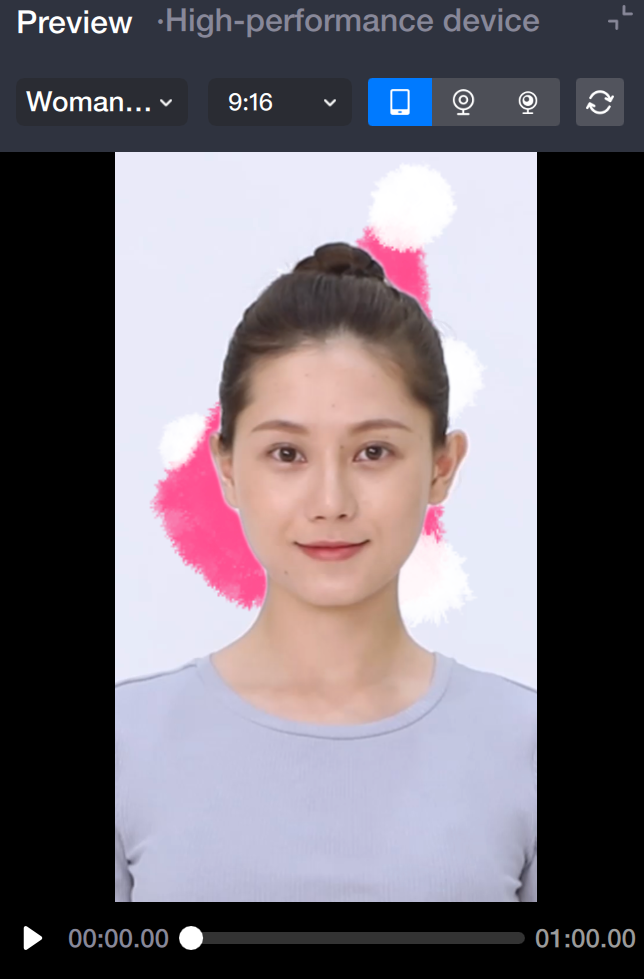
The RenderTarget_Segmentation_1.rdt file is generated when you create the segmentation object, and it presents the segmented portrait as the foreground.


Step 5: Adjust Layer Order

The layer order determines the rendering sequence. Arrange the layers so that, from top to bottom, the order is: segmentation object, background sticker, foreground sticker.
Note:
The layer order controls rendering priority—layers at the top are rendered first, and those lower in the list are rendered later. Place the "Foreground Sticker" at the bottom to ensure it appears above the background.


Step 6: Preview

After completing the setup, start the preview.


Help and Support

Was this page helpful?

Help us improve! Rate your documentation experience in 5 mins.

Feedback