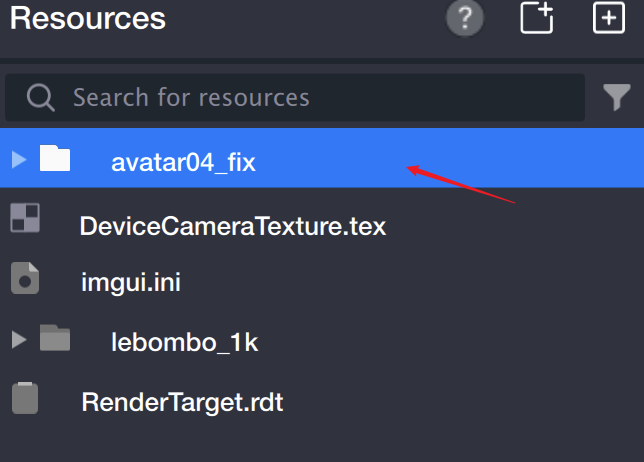
1. Drag the glb model into the Asset Panel. This automatically creates a resource folder.
2. Expand the folder and drag the prefab file into the Object Panel. The model will now appear in the scene.
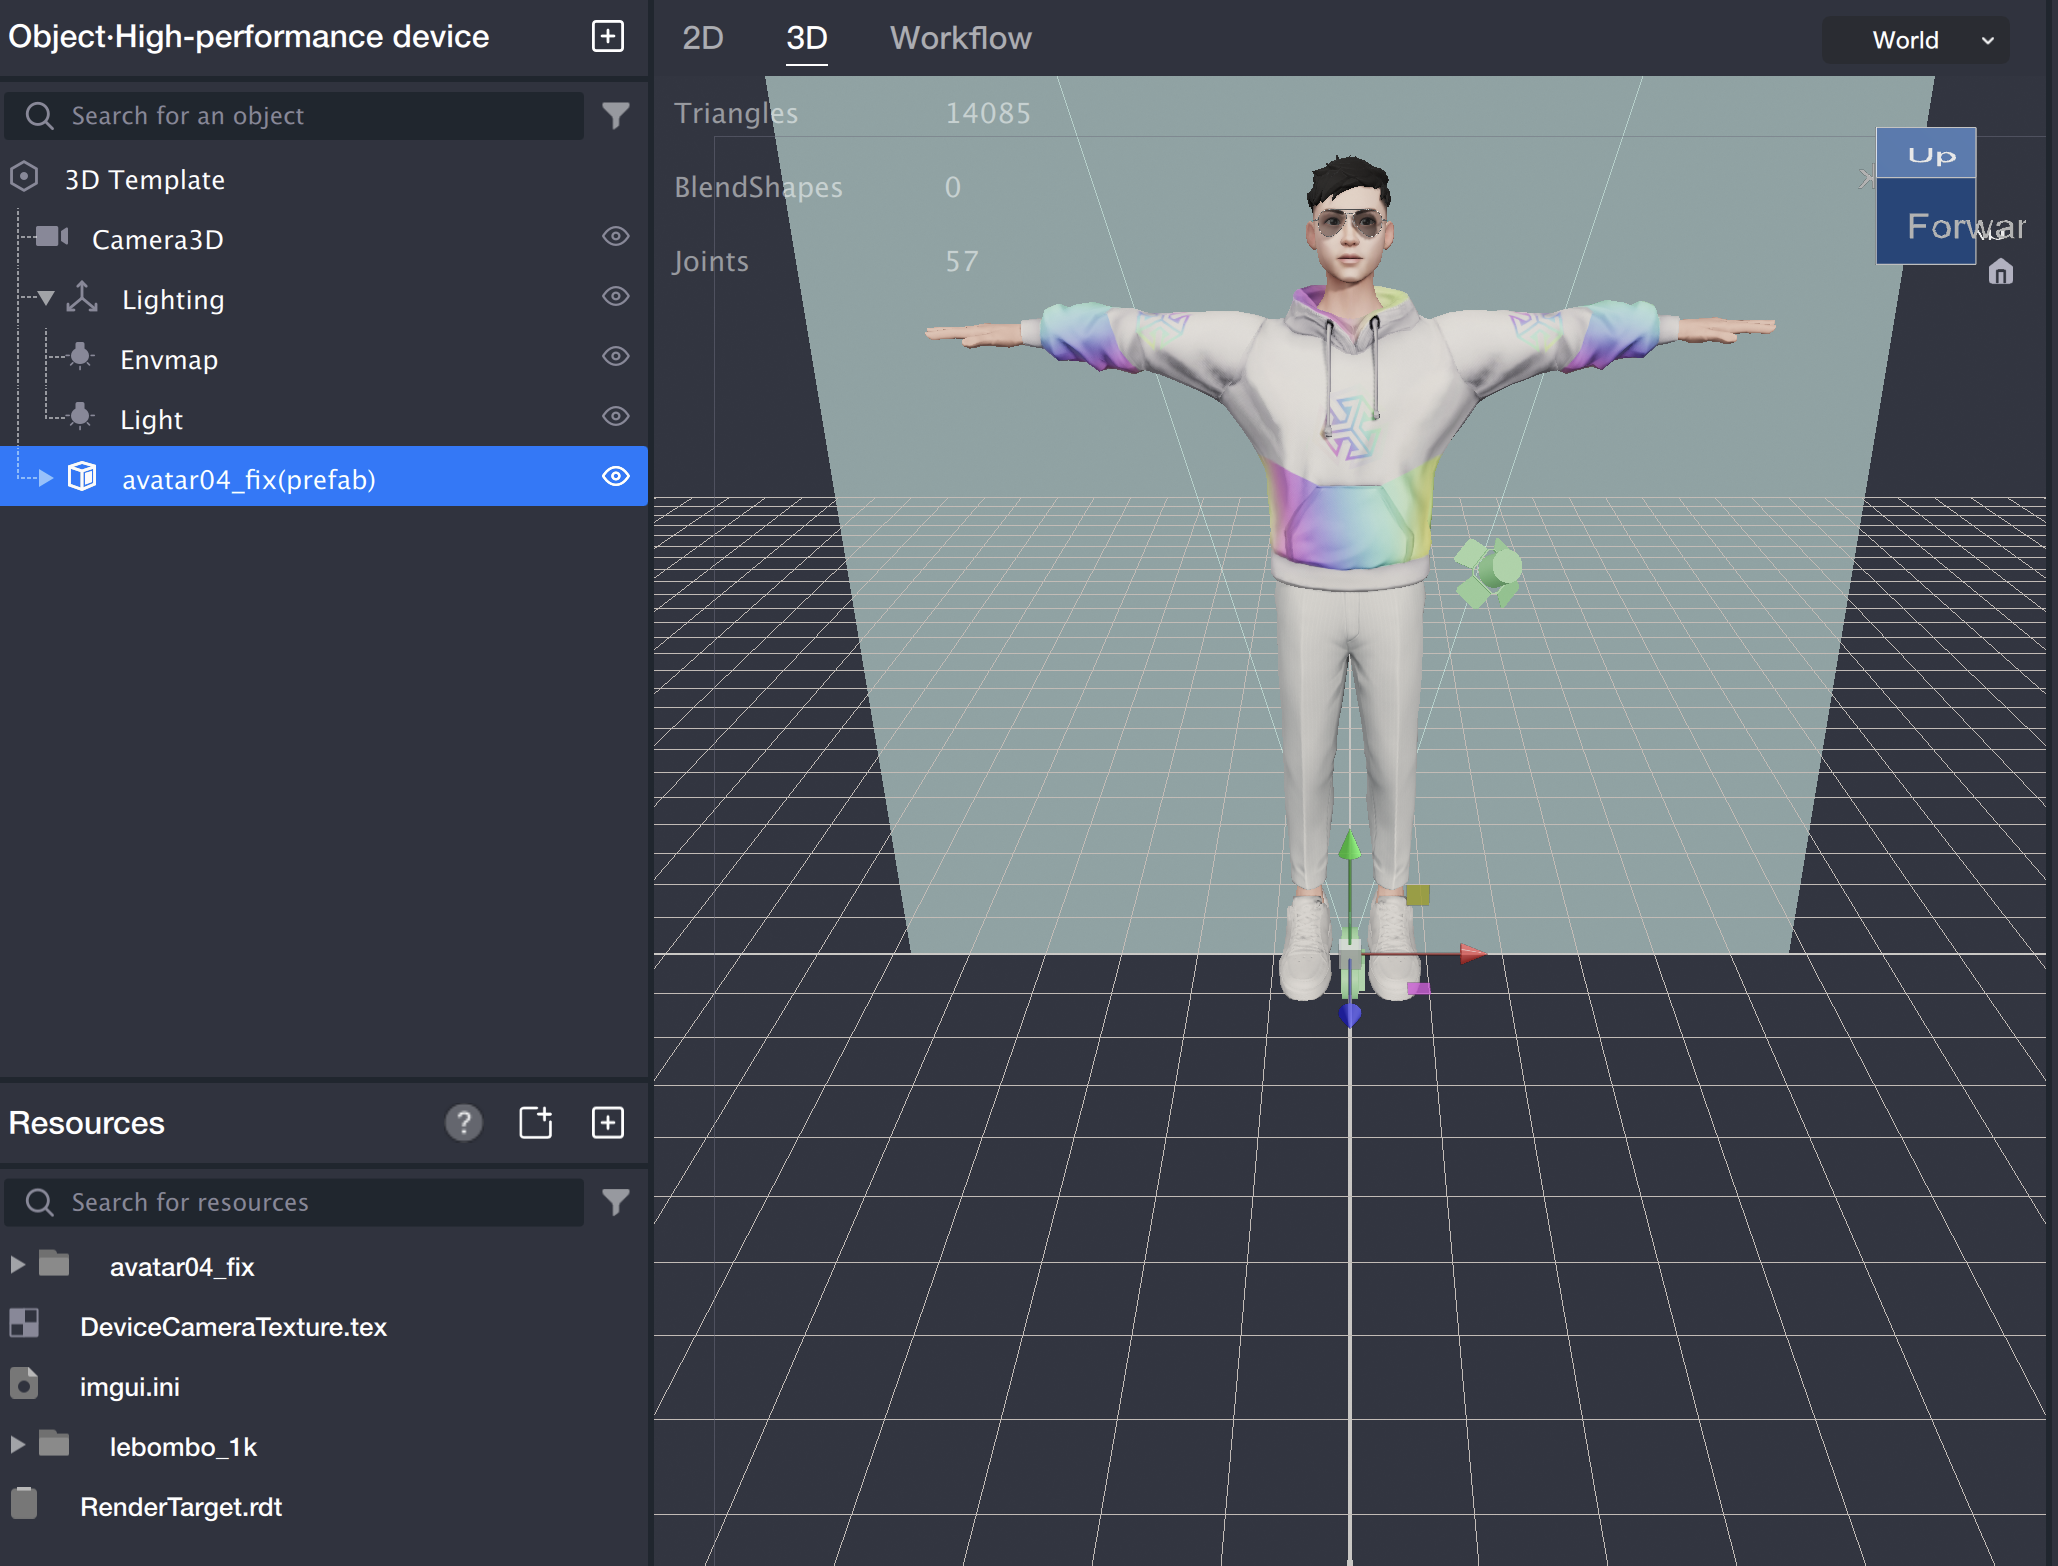
3. There are two ways to modify the model's Material:
Method 1: Select the Mesh node for the model in the Object Panel. Then, edit the Material in the Component Panel on the right.
Method 2: In the Asset Panel, navigate to the xxx-gltf/materials directory, select the xxx.fmaterial file, and configure the Material in the panel on the right.
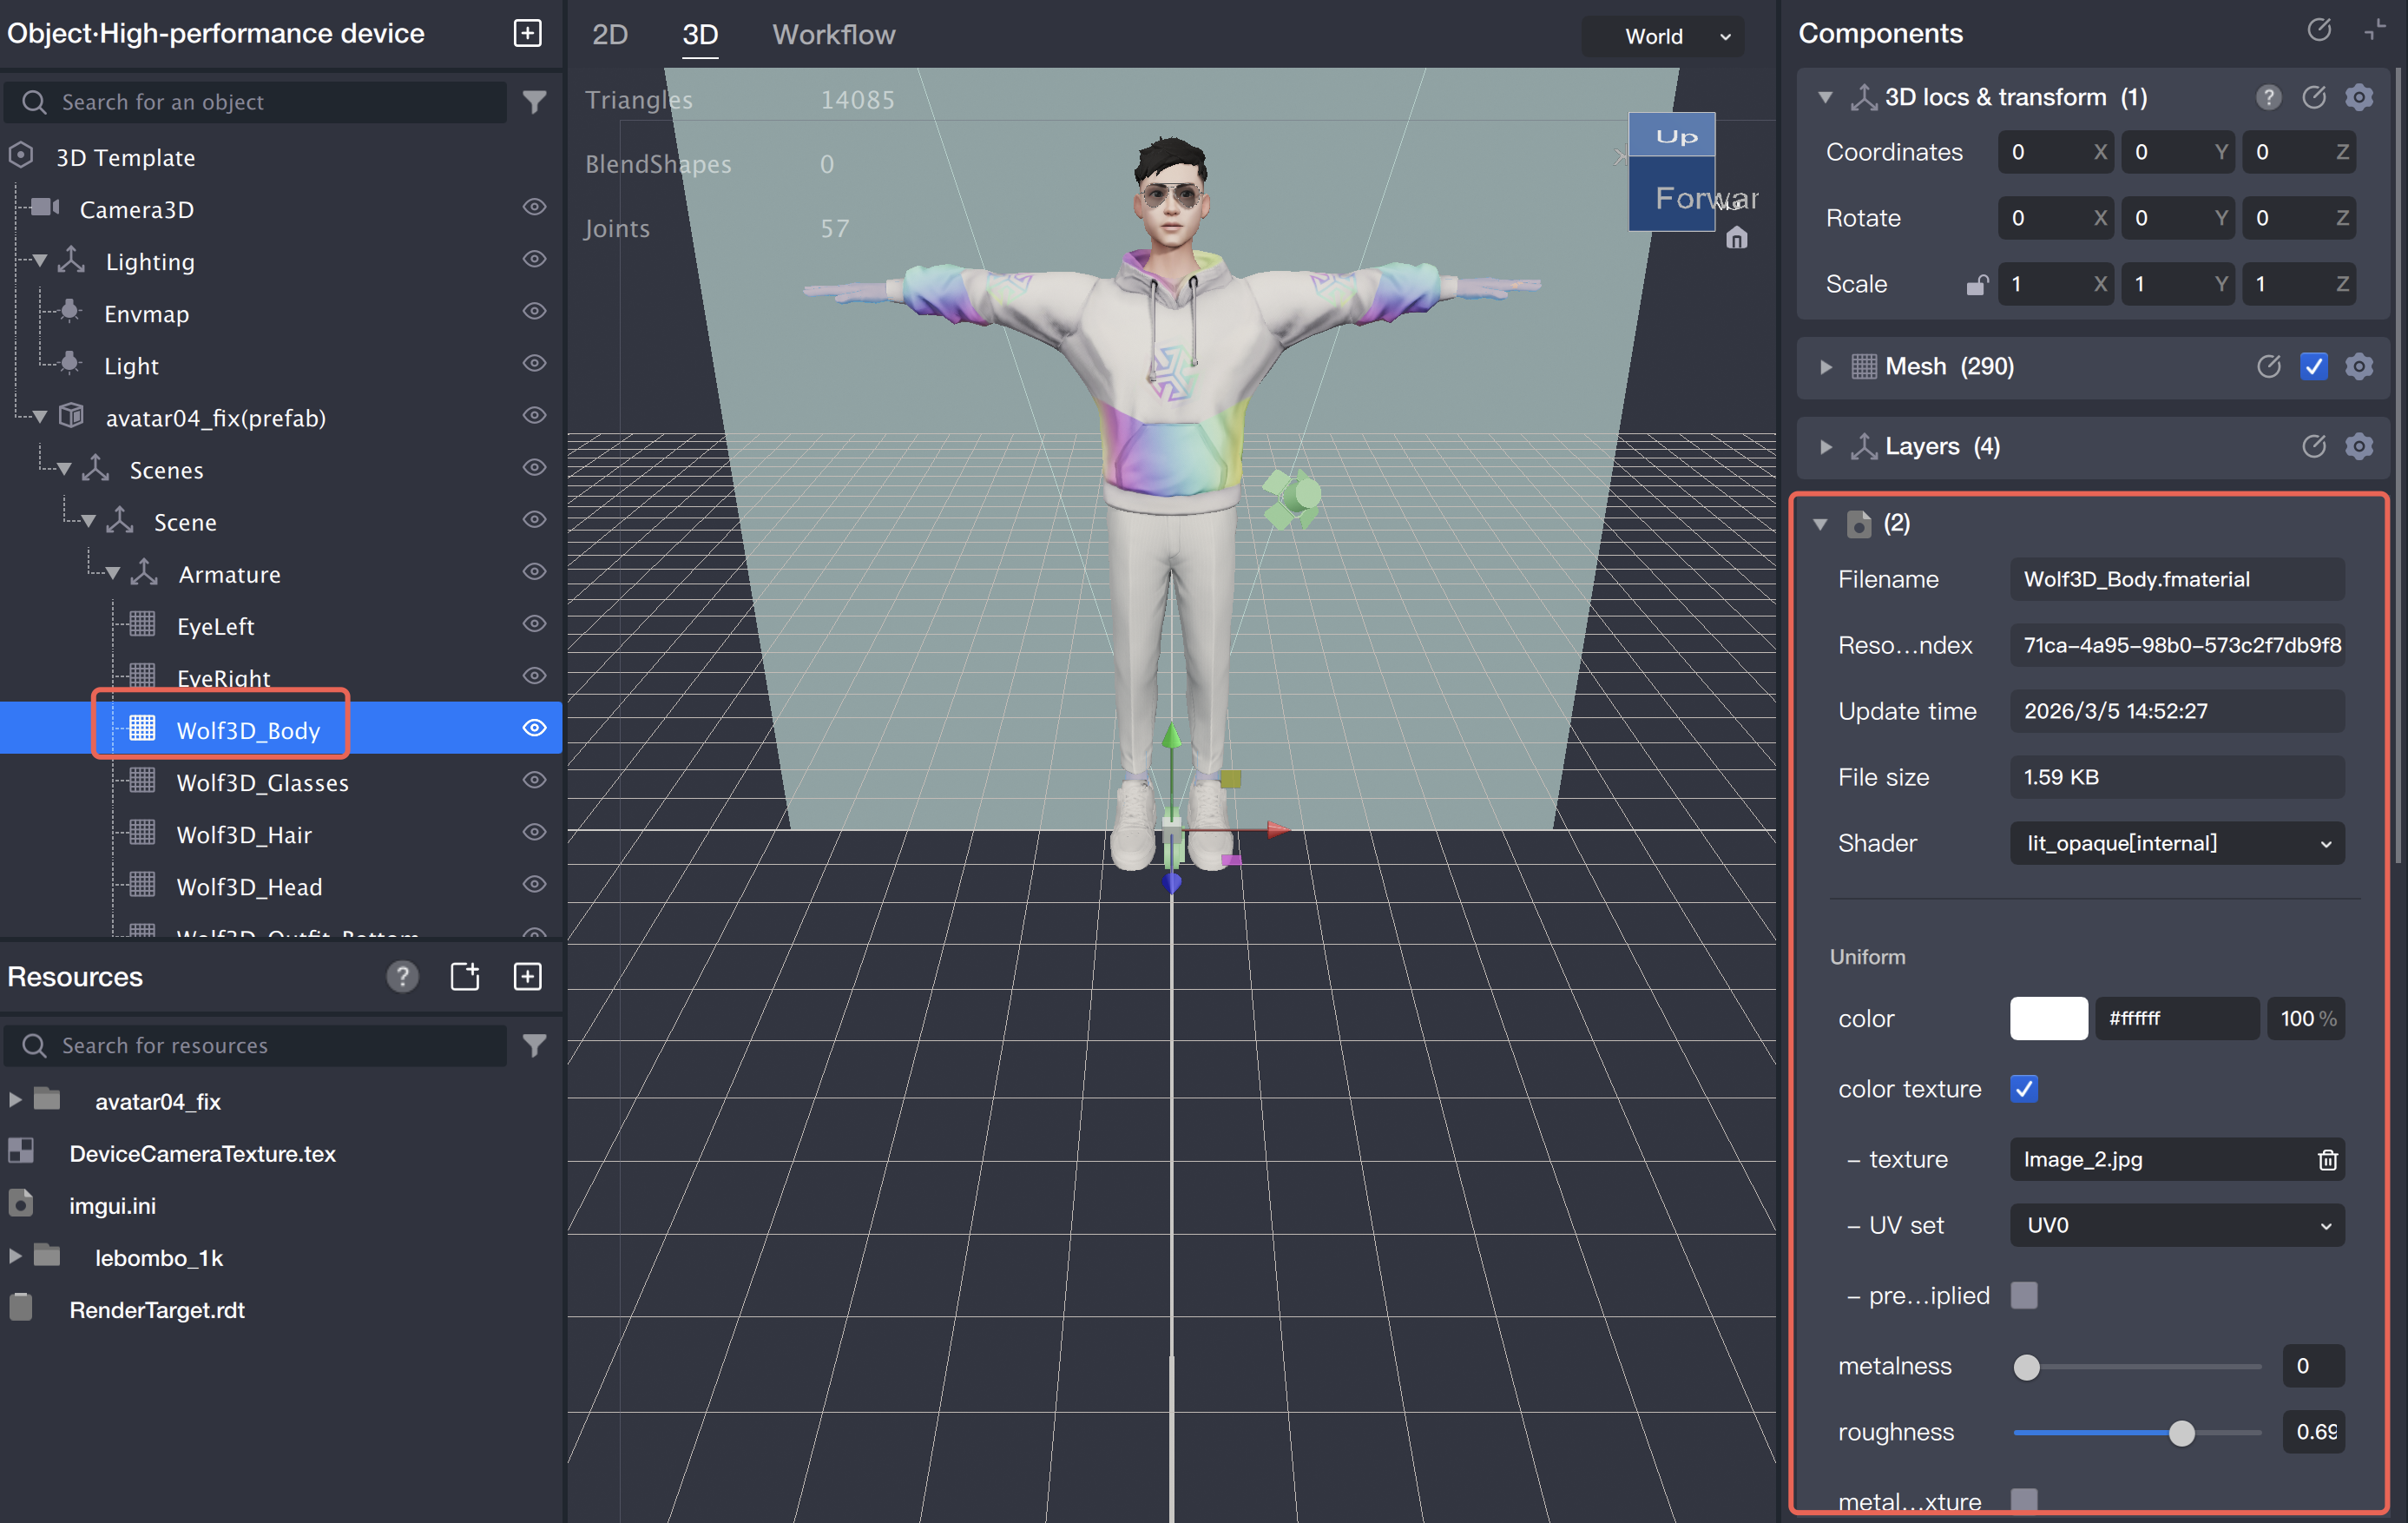
Switching Materials for a Model
Select the Mesh node in the Object Panel. In the Mesh component of the Component Panel on the right, choose the Material you want to apply.
Materials and Shaders
Overview
A Shader determines how the Mesh is rendered. A Material stores configurable parameters for the rendering method.
The dependency chain is Mesh → Material → Shader. Each Material can reference a Shader, and a single Shader can be shared across multiple Materials (using the same rendering method but with different parameter values).
For example: a Shader that implements Gaussian blur allows each Material to specify its own blur intensity.
Shaders are typically provided by developers or TE.
Switching the Shader for a Material
Switching Shaders lets you test different rendering methods using the same parameters. When you switch the Shader, the Material editing panel displays all parameters defined in the new Shader.
The Shader list includes both built-in Shaders and custom Shaders available in the Asset Panel.
Material Textures
Supported Resource Types
File Type
Texture Type
Notes
jpg/png
2D
-
ktx
2D / Cubemap
When an hdr file is dragged into TE, a ktx file is generated automatically and can be used in the material's texture field.
rdt
2D
RenderTarget.
pag
2D
-
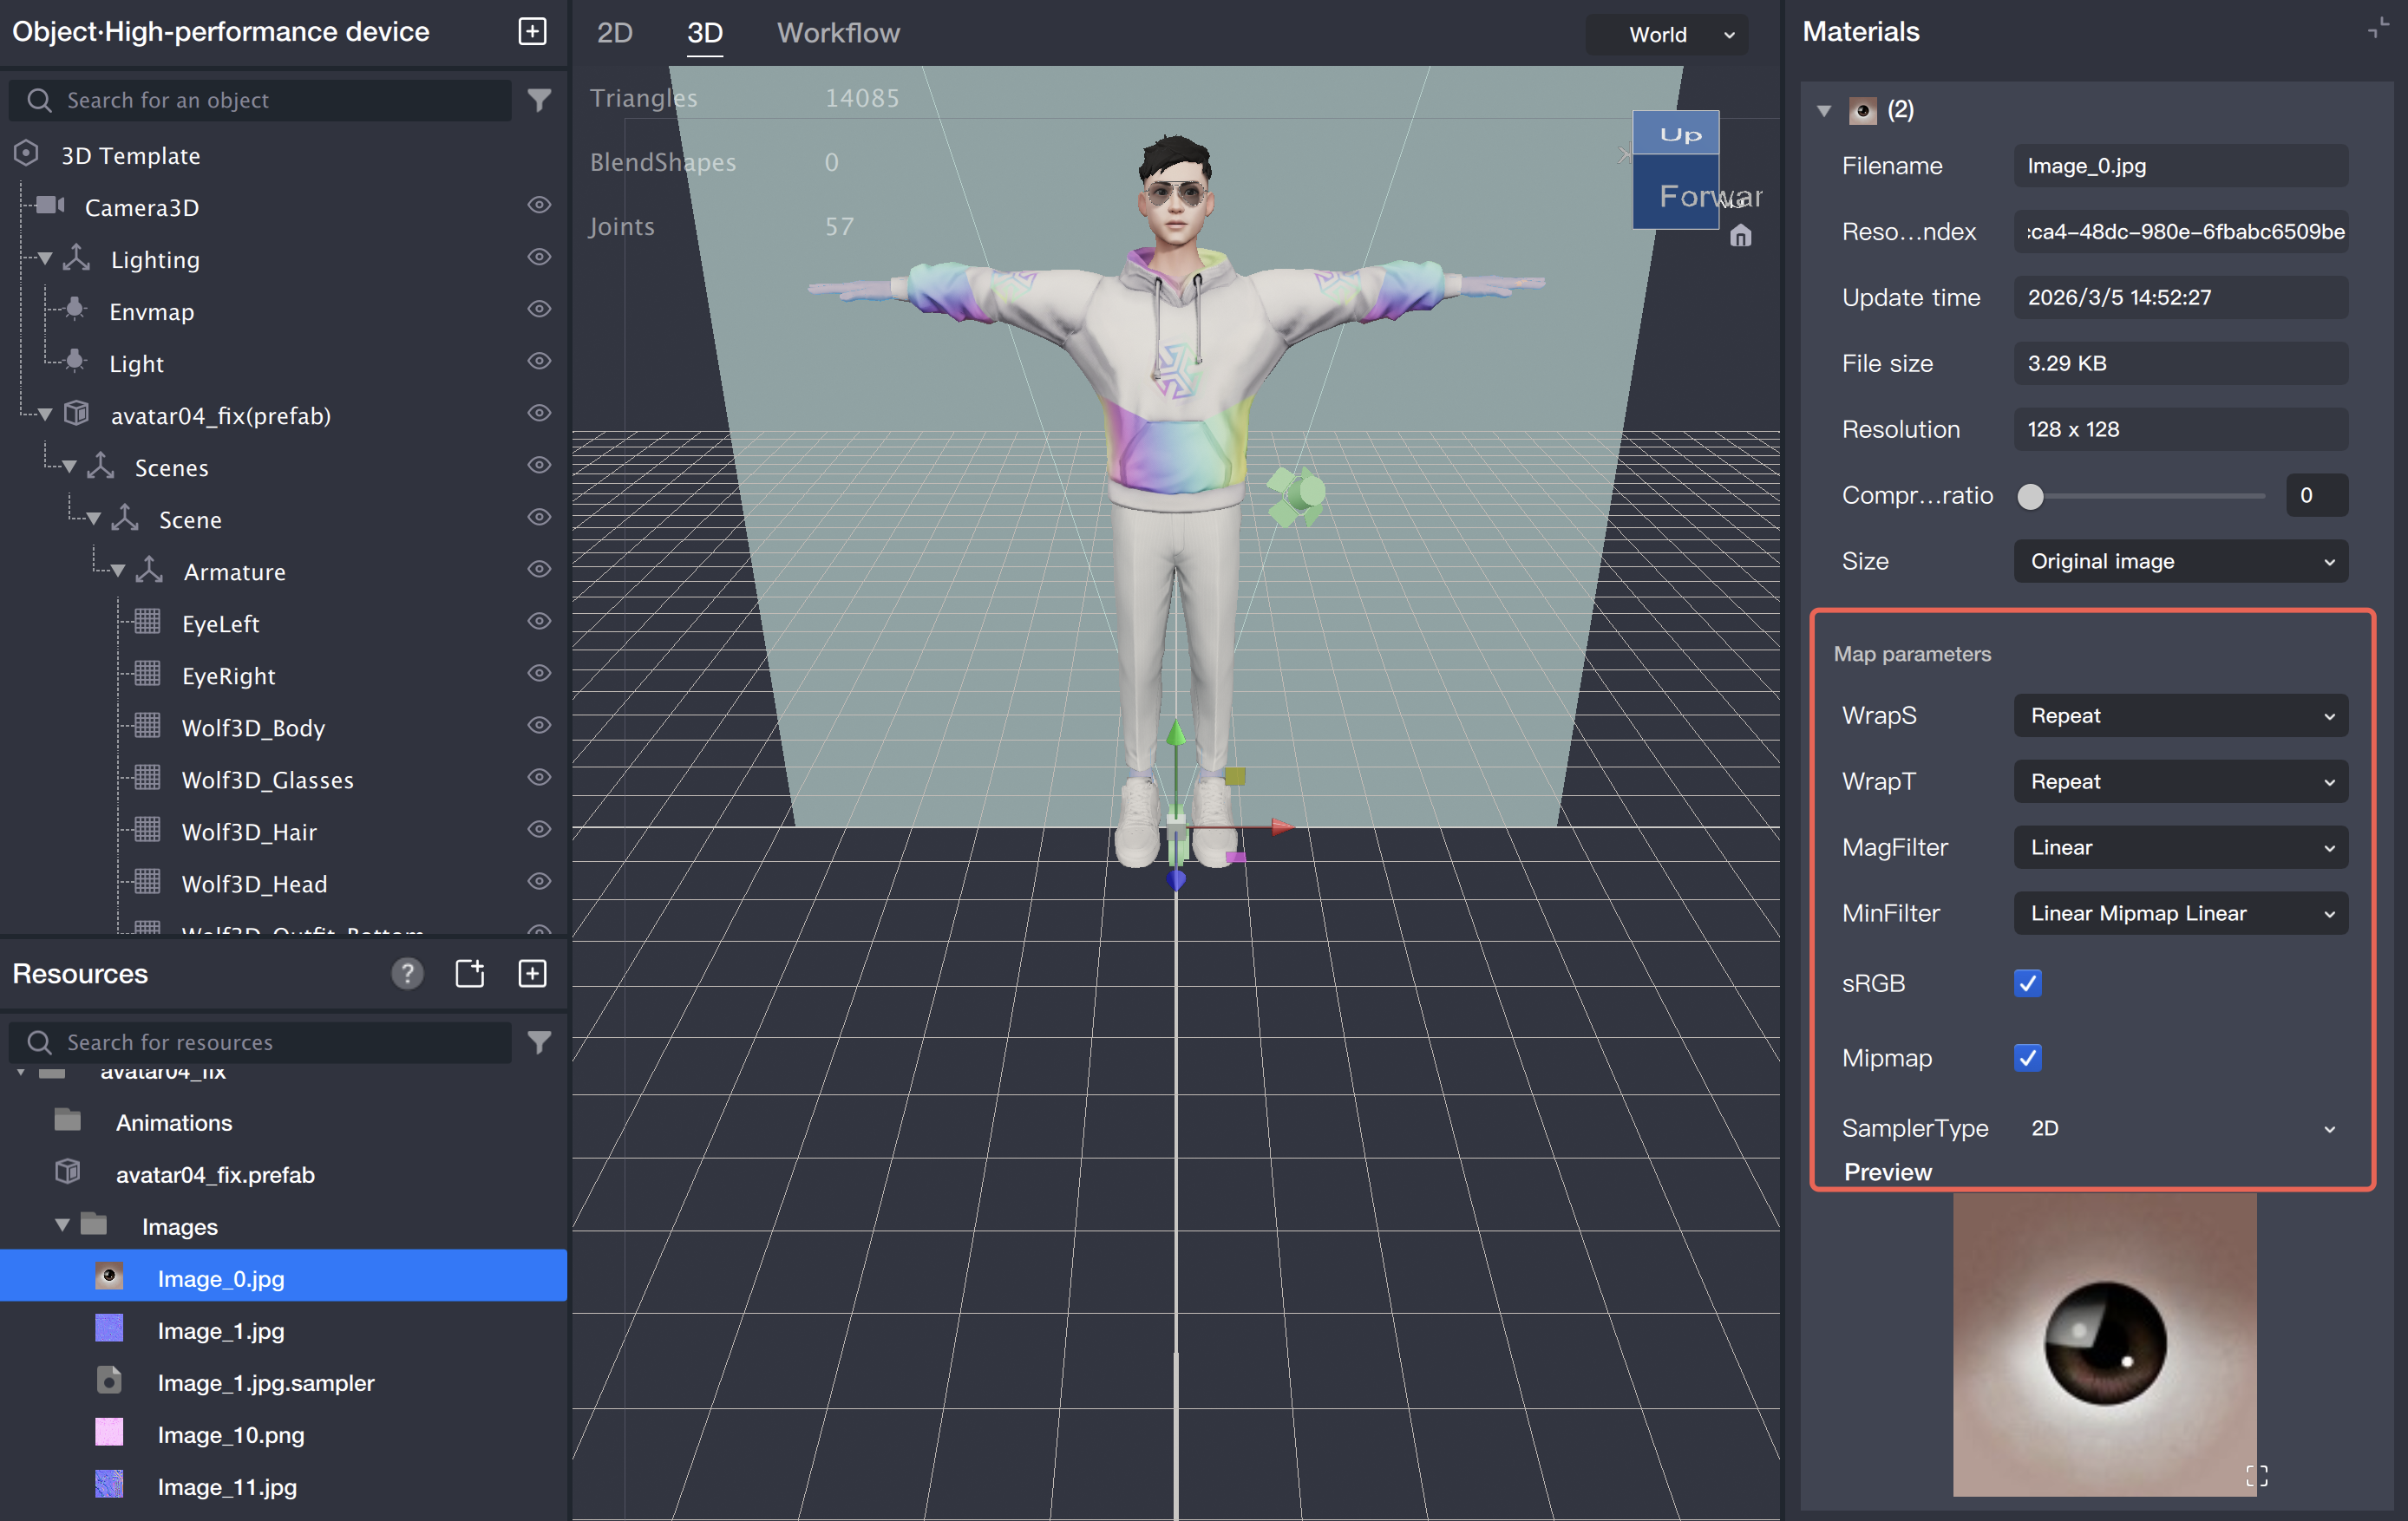
Configuring Resource Textures
After selecting a resource, configure its texture in the right panel. See the screenshot below:
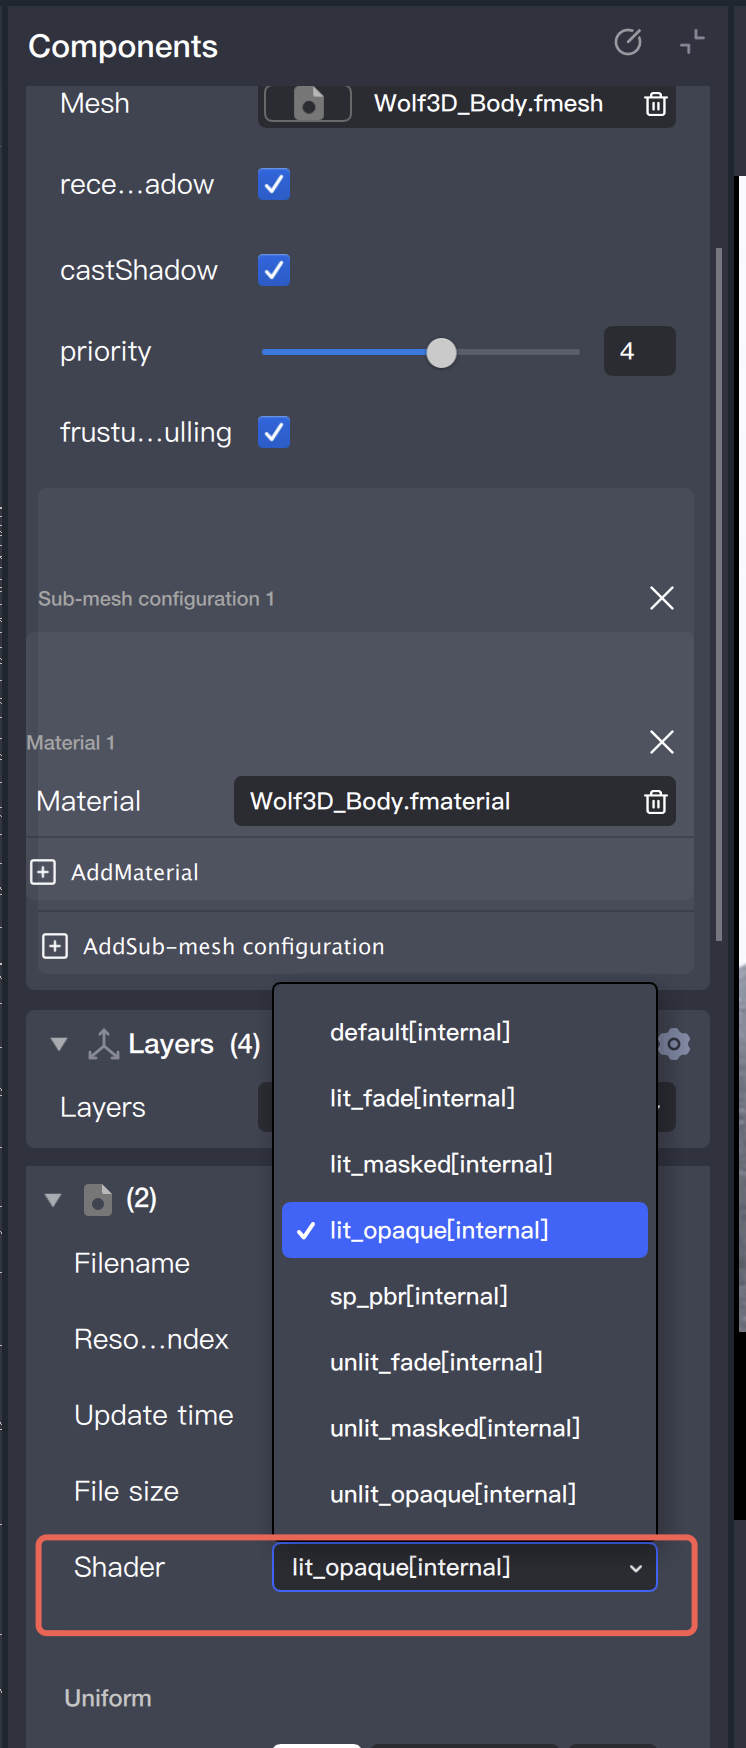
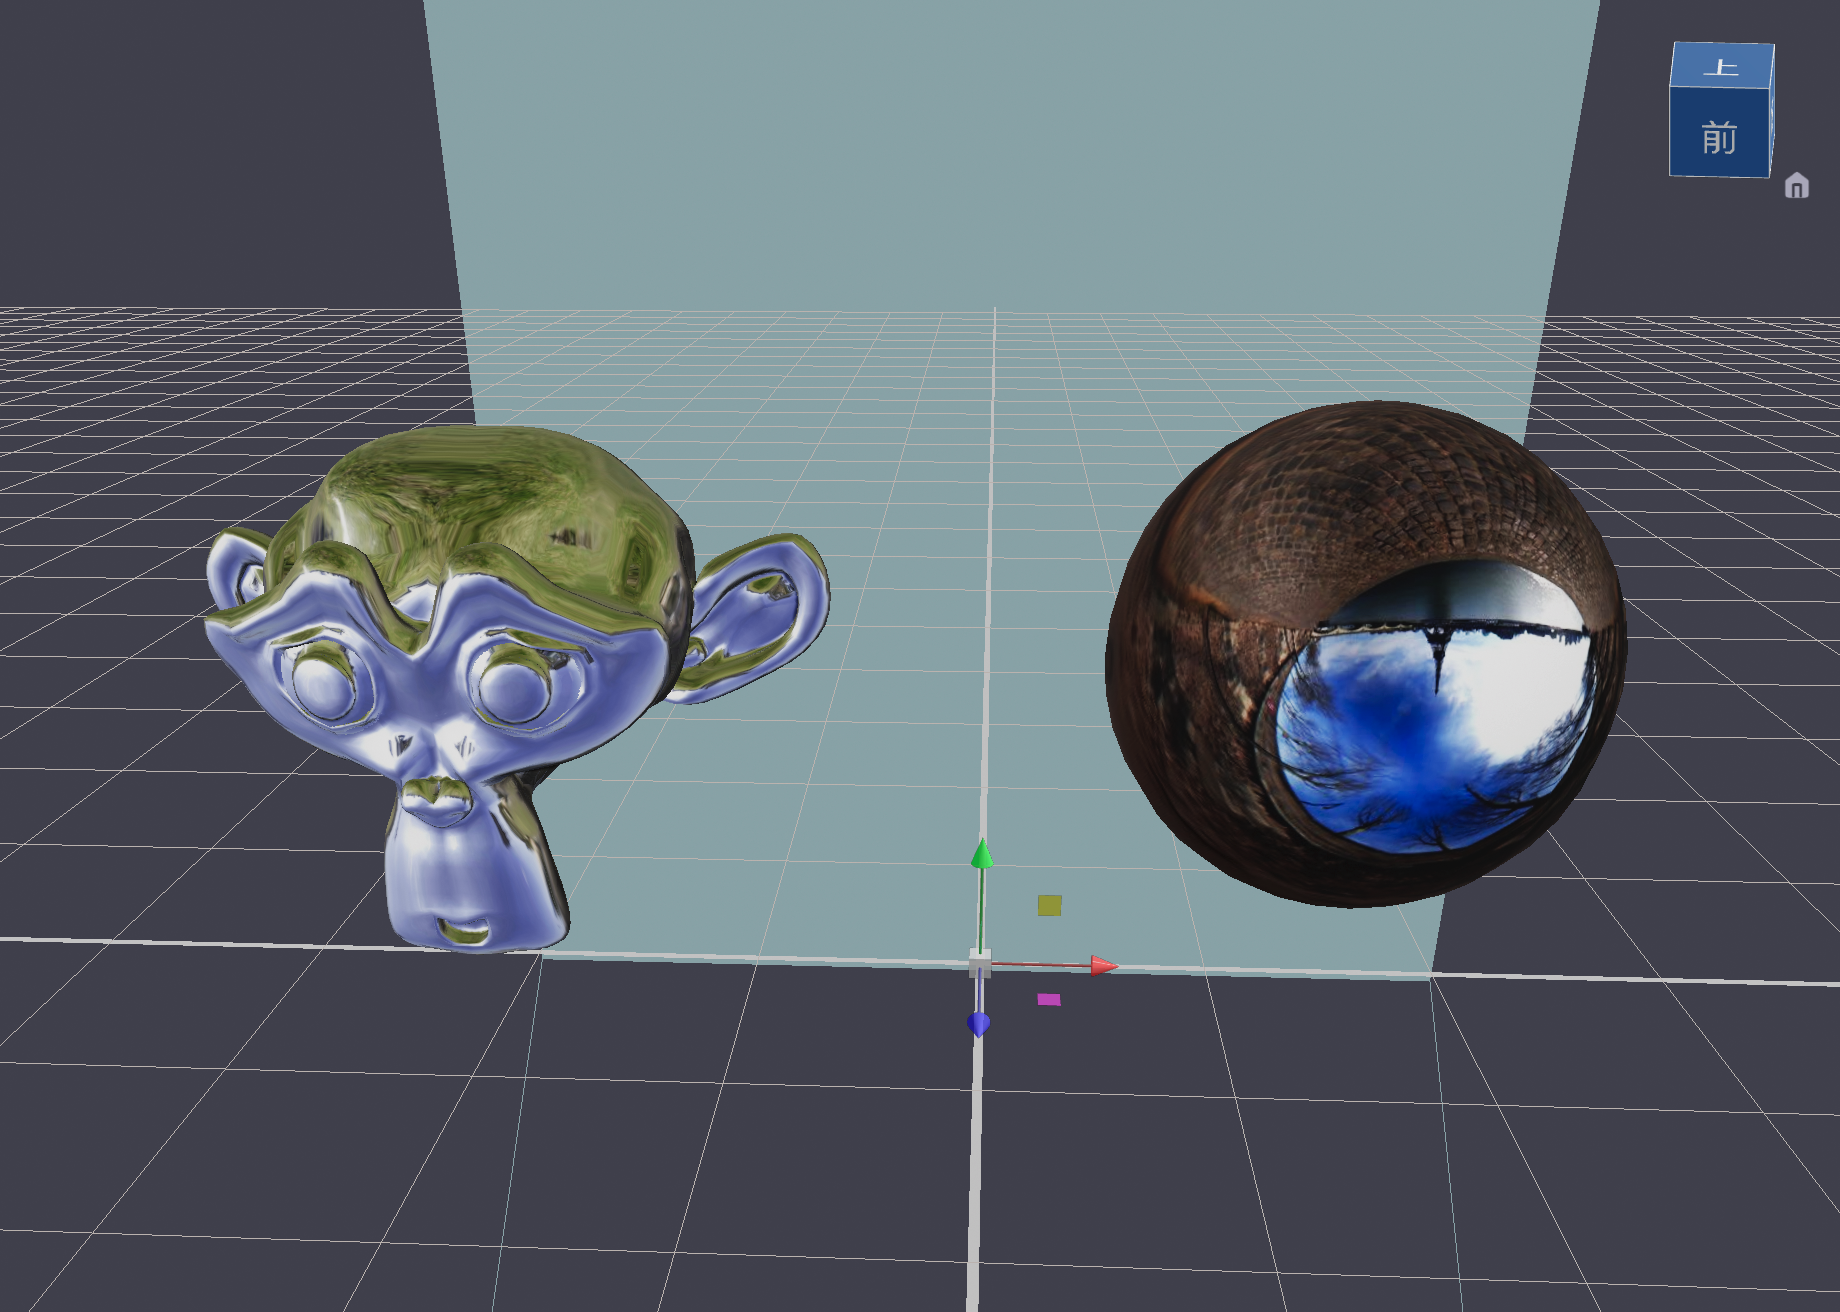
Built-in Shaders
The screenshot below shows the available built-in Shaders:
lit_xxx refers to a standard PBR Shader, with xxx indicating the blend mode.
unlit_xxx refers to a Shader without lighting, with xxx indicating the blend mode.
Because of engine limitations, separate unlit and PBR Shaders are provided for each blend mode.
Custom Shaders
Adding Custom Shaders
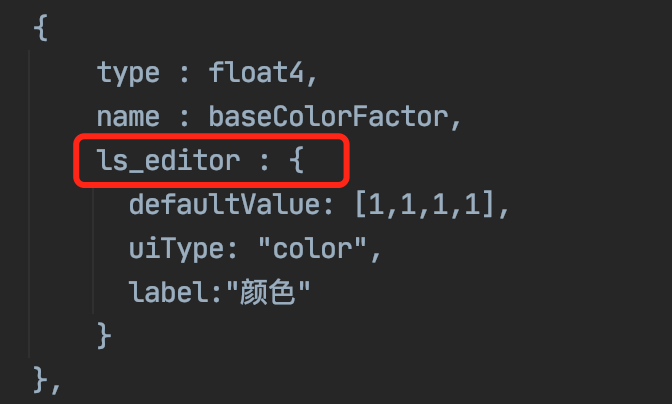
Shader files are mat files compatible with the Filament engine. Tencent Effect extends mat files with default values and UI configurations for each field.
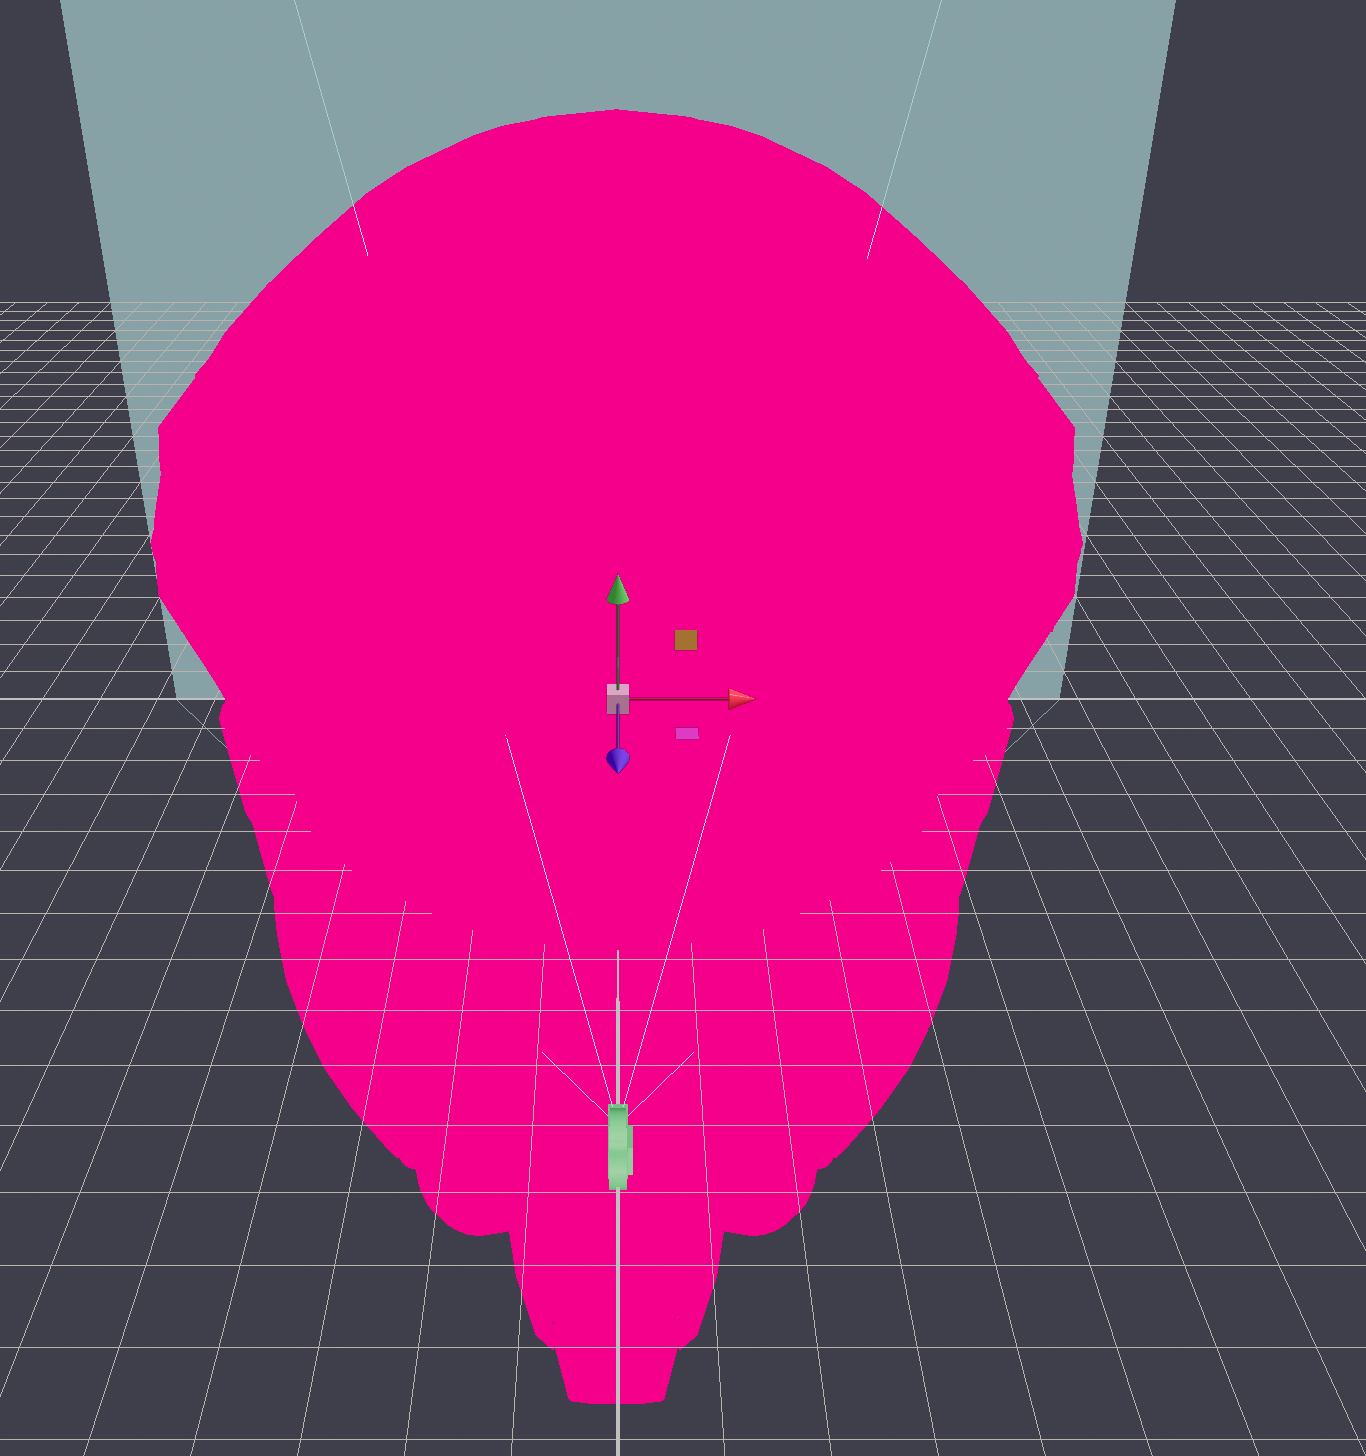
If a Shader contains errors and is applied to a Mesh, the Mesh will be rendered in magenta to indicate the issue. See the screenshot below:
Color Difference Issues
Scenarios and Causes of Color Differences
When creating effects and using the camera feed as a model texture, you may observe color differences between the camera feed on the model and the background image.
This happens because the 3D engine applies post-processing to the entire scene to enhance image quality after rendering. Tonemapping and gamma correction are performed during this stage.
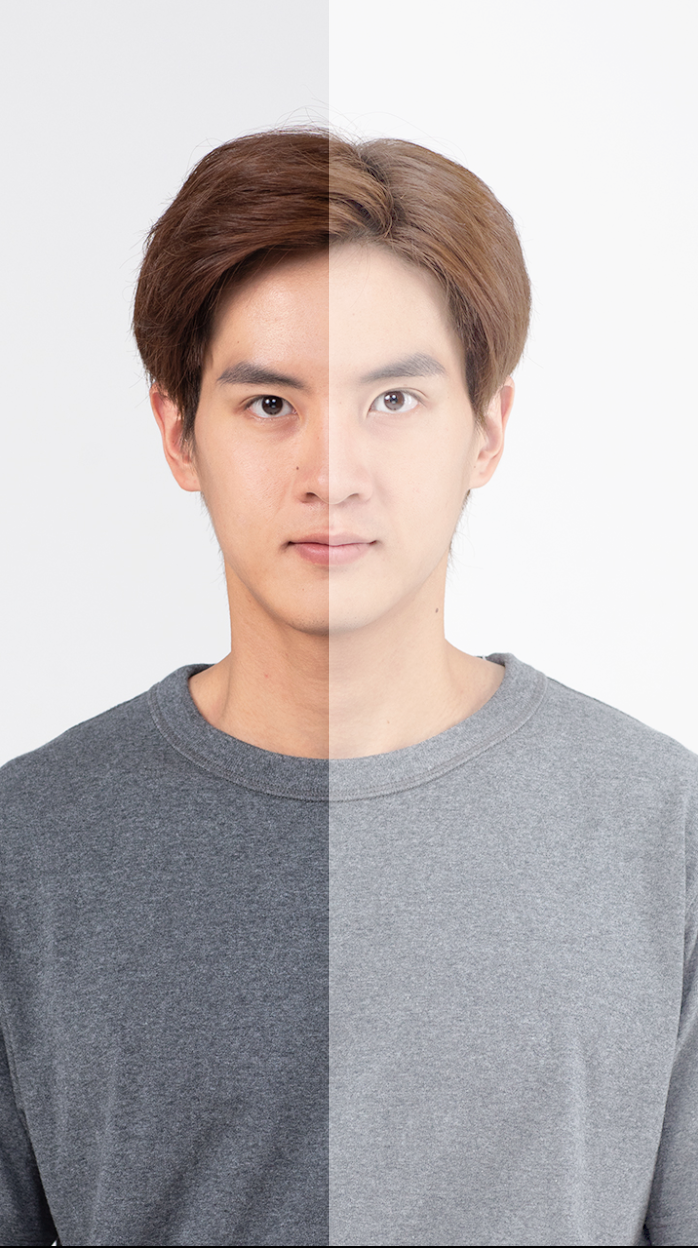
Example:
In the demo below, the right half is rendered on a 3D mesh, and the left half shows the camera feed in the background. Color differences are clearly visible, and the desired effect matches the left side.
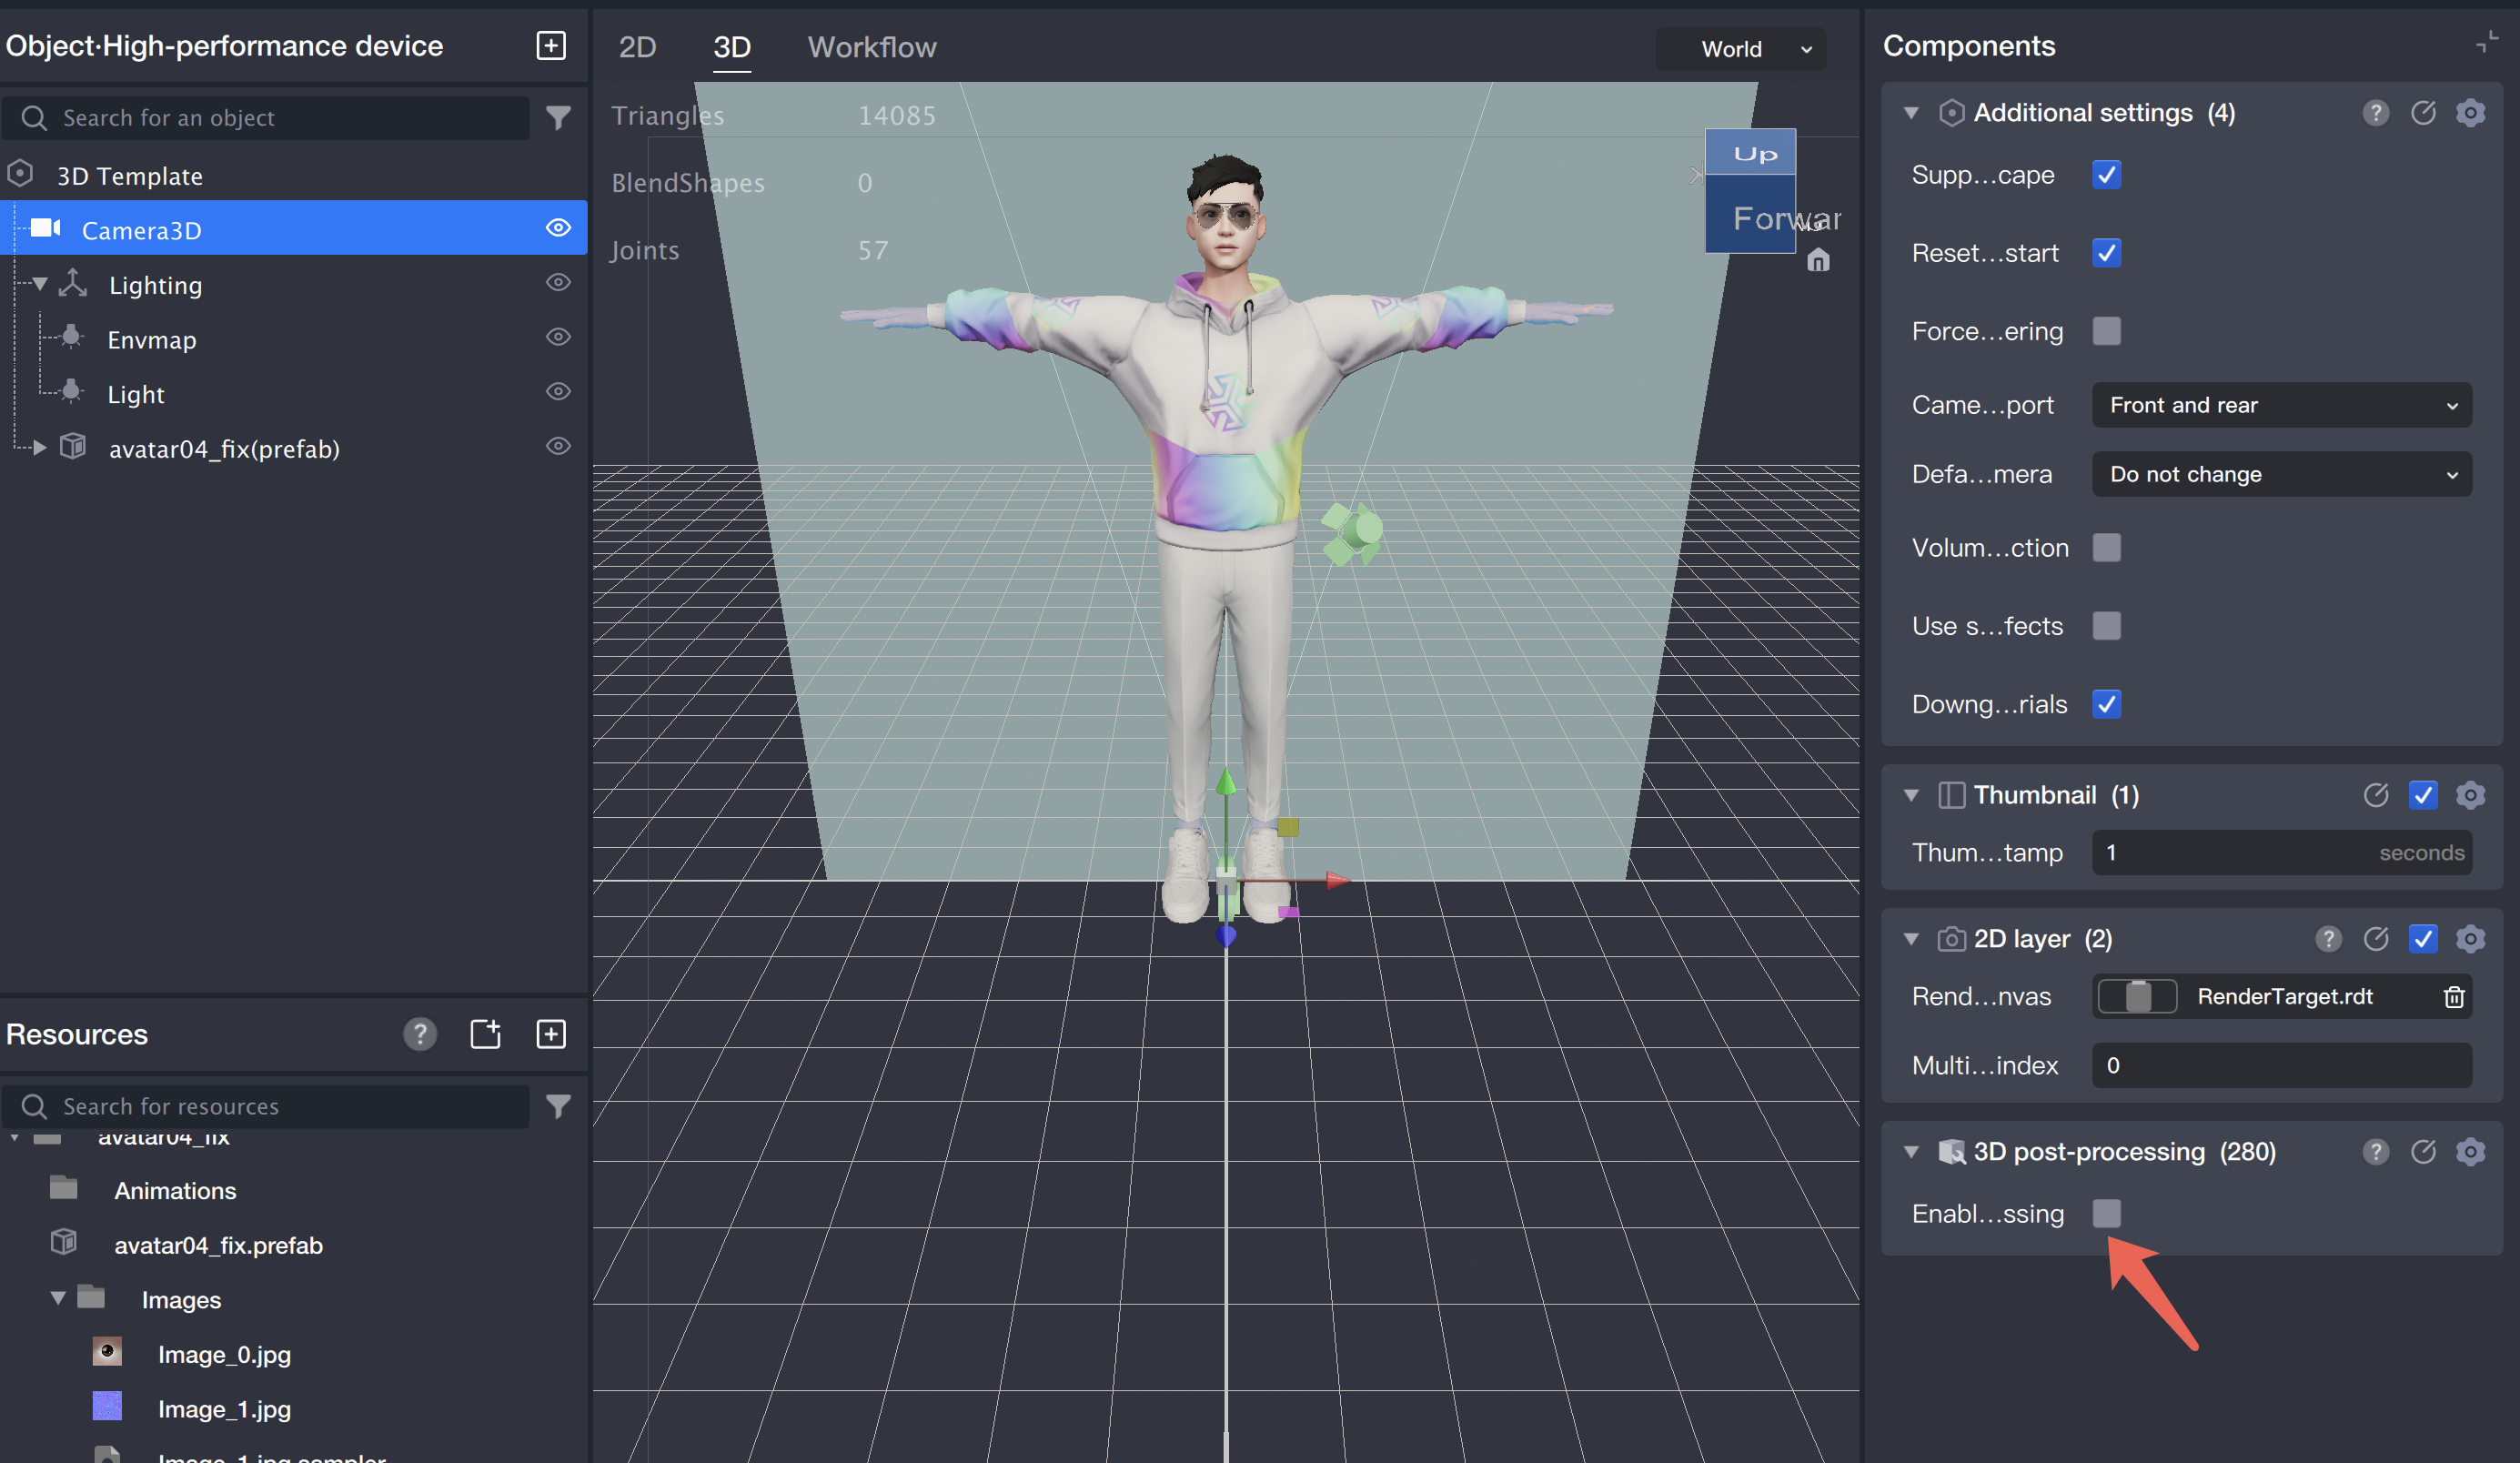
Solution: In the Object Panel, select the camera object. In the Component Panel on the right, uncheck the "Post Process" option under the Camera component. After disabling this option, the preview will match the background and no longer display color differences.