Live Gift Component (Android Kotlin)
ダウンロード
フォーカスモード
フォントサイズ
This guide introduces how to quickly integrate the TUILiveKit live gifting component into your project.
Component Overview
The gifting feature in TUILiveKit consists of two main UI components:
Component Name | Class Name | Description |
Gift Selection Panel | GiftListView | Shows the available gifts and handles user selection and sending actions. |
Gift Animation Display | GiftPlayView | Receives gift messages and renders animations (e.g., SVGA) on screen. |
Demo Effects
Gift Panel | Live Comment Gifts | Full-Screen Gifts |
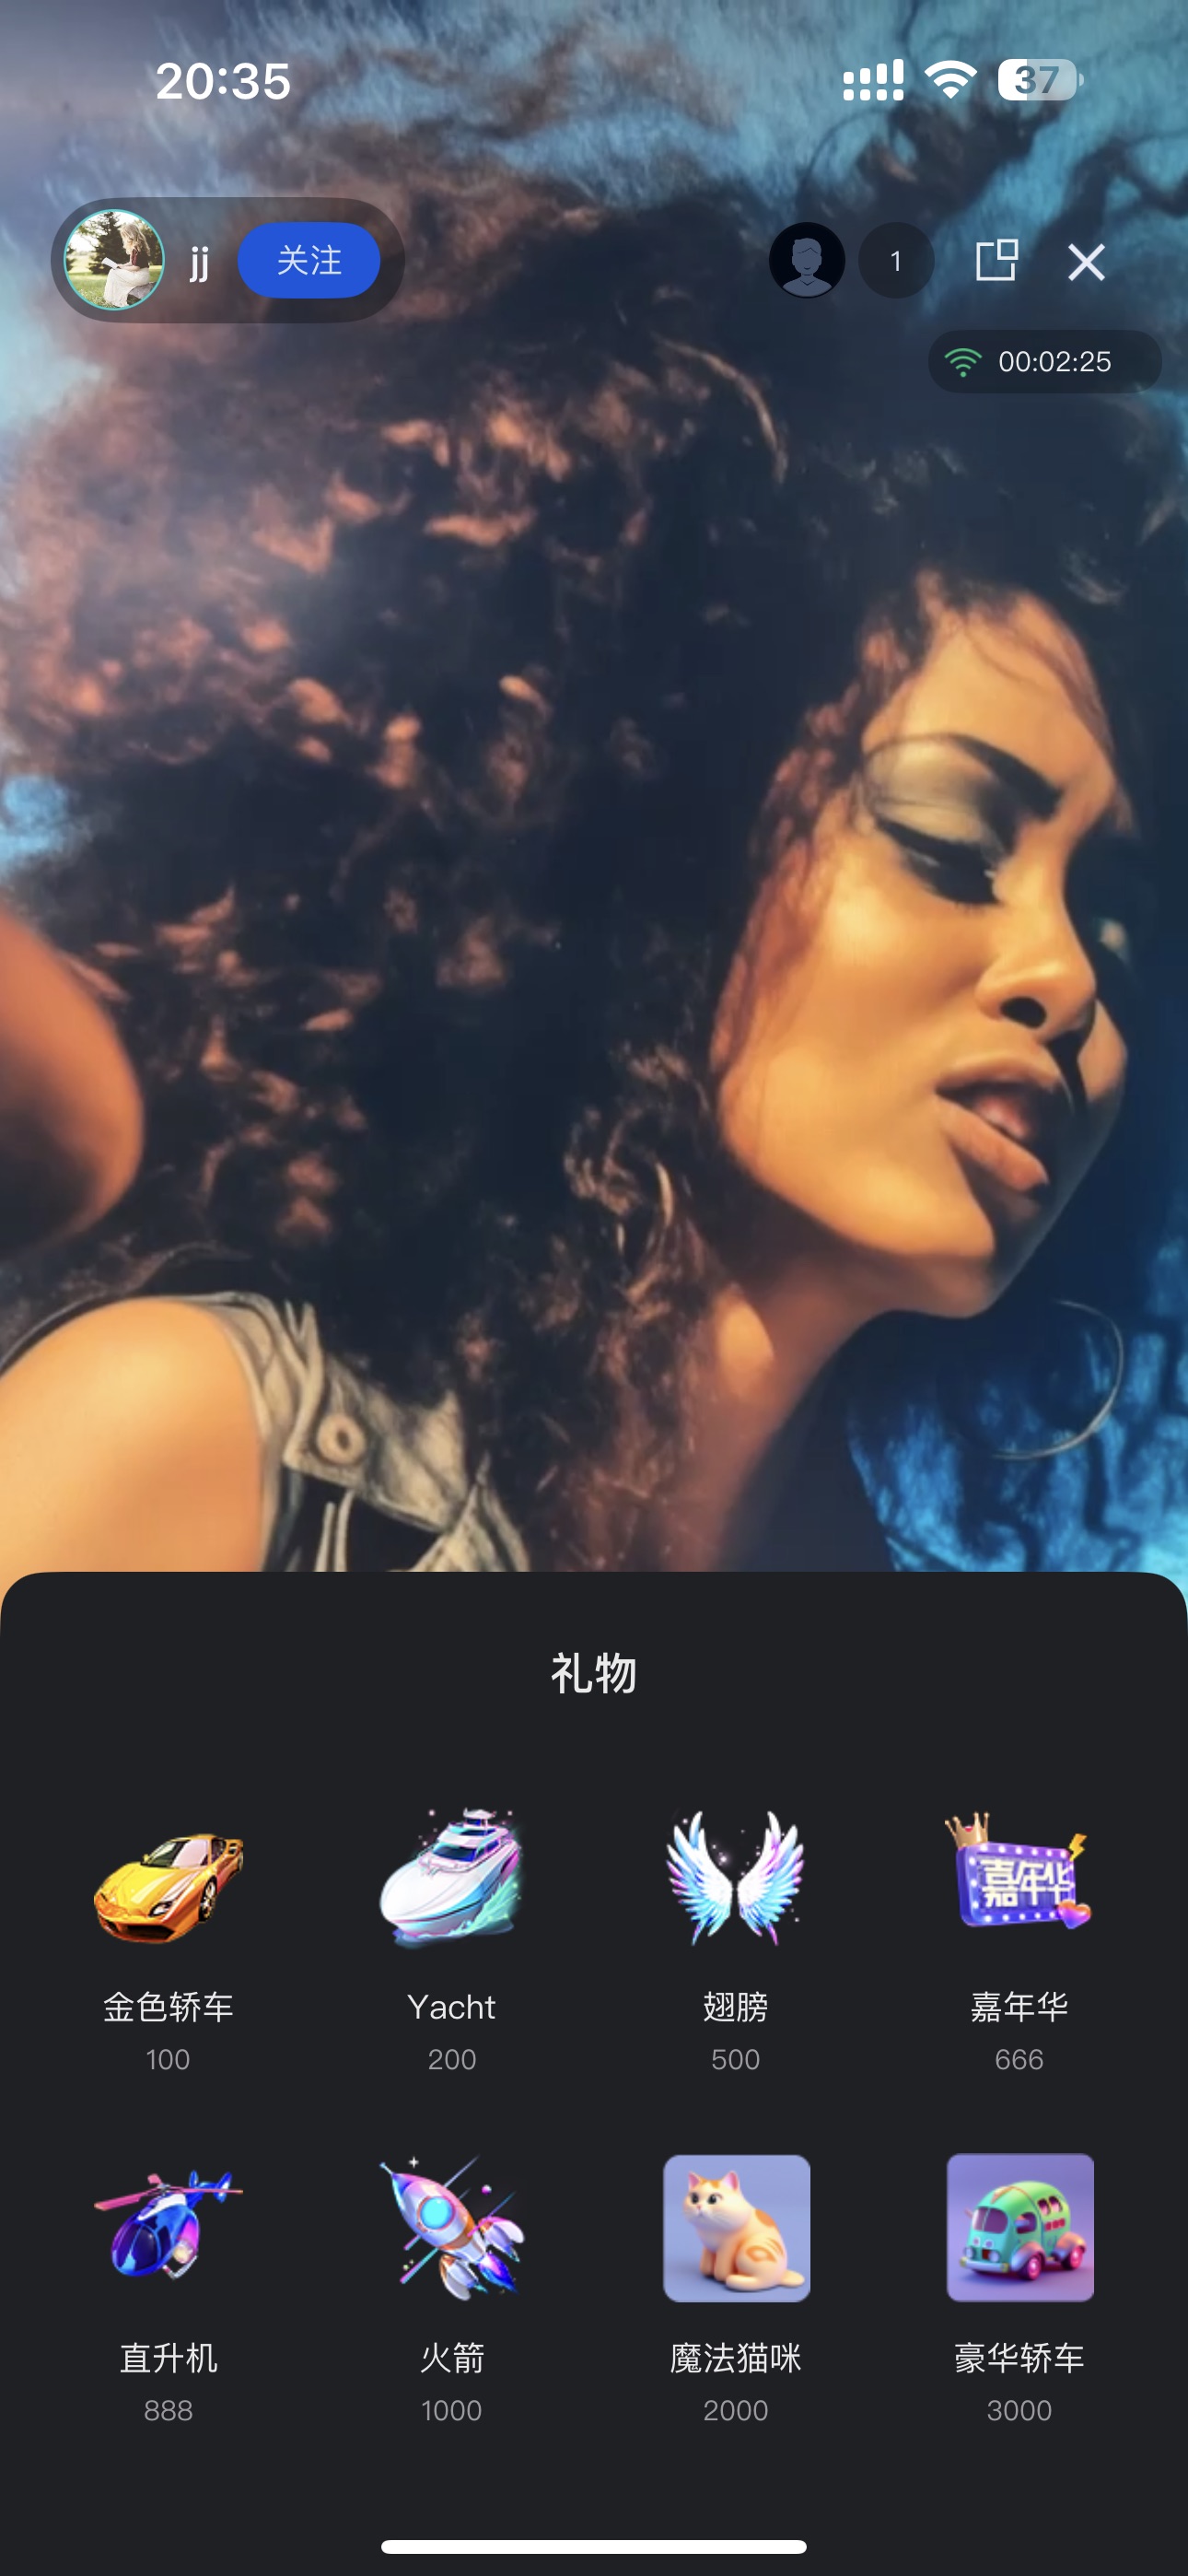 |  |  |
Quick Start
Step 1: Activate the Service
Note:
To use the gifting system, activate either the Free Trial, or Pro edition. The number of configurable gifts depends on the selected package. For details, see the Gift System section in Feature and Billing Description and choose the package that fits your needs.
Step 2: Code Integration
Project Configuration:
Video Live Streaming Scenario: Follow Video Live Streaming - Preparation to complete TUILiveKit integration.
Voice Chat Room Scenario: Follow Voice Chat Room - Preparation to complete TUILiveKit integration.
Version Requirement: TUILiveKit >= 3.2.0.
Step 3: Integrate Gift Selection Panel
GiftListView is typically presented as a popup or bottom panel. Add it to your Activity or Fragment layout as shown below.import android.os.Bundleimport android.widget.FrameLayoutimport androidx.appcompat.app.AppCompatActivityimport com.trtc.uikit.livekit.Rimport com.trtc.uikit.livekit.component.gift.GiftListViewclass YourLiveActivity : AppCompatActivity() {override fun onCreate(savedInstanceState: Bundle?) {super.onCreate(savedInstanceState)setContentView(R.layout.activity_live_room)// Get the root layout containerval rootView = findViewById<FrameLayout>(R.id.root_view)// 1. Create the gift list componentval giftListView = GiftListView(this)// 2. Initialize the component with the current Room ID// Note: Make sure you have a valid roomId at this pointgiftListView.init("your_room_id")// 3. Add the component to the view hierarchyrootView.addView(giftListView)}}
Step 4: Integrate Gift Playback Component
GiftPlayView is a transparent overlay for gift animations. Place it above the video layer and below your interactive controls.import android.os.Bundleimport android.widget.FrameLayoutimport androidx.appcompat.app.AppCompatActivityimport com.trtc.uikit.livekit.Rimport com.trtc.uikit.livekit.component.gift.GiftPlayViewclass YourLiveActivity : AppCompatActivity() {override fun onCreate(savedInstanceState: Bundle?) {super.onCreate(savedInstanceState)setContentView(R.layout.activity_live_room)val rootView = findViewById<FrameLayout>(R.id.root_view)// 1. Create the gift playback componentval giftPlayView = GiftPlayView(this)// 2. Initialize the component with the current Room ID// The component will automatically listen for gift messages in this room and play animationsgiftPlayView.init("your_room_id")// 3. Add the component to the view hierarchy// Recommended: Add this View above the video layer and below UI controlsrootView.addView(giftPlayView)}}
Next Steps
After completing the UI integration, your app will support basic gifting functionality. To build a production-ready gifting system, refer to the Backend Integration and Advanced Features guide to implement the following:
Custom Gift Configuration: Upload custom gift icons, animations, and pricing via Server APIs.
Payment Integration: Configure callback URLs to handle balance verification and payment processing through your billing backend.
PK Score Sync: Convert gift values to PK scores in real-time during host battles.
Analytics: Access gift transaction records, revenue metrics, and other operational data.
Upgrade Gift Effect SDK: If SVGA does not meet your needs, you can integrate advanced animation players to support MP4, PAG, or other high-quality transparent animation formats.
フィードバック