To ensure normal operation, a Cloud GPU Service instance must have the correct driver installed. If you need to upgrade the Tesla driver or uninstall the current driver for any reason, make sure the new driver matches your instance specifications, operating system, and business requirements. This helps avoid service disruptions caused by driver incompatibility.
Note:
NVIDIA GPU instances can function properly only after the driver is installed. Depending on whether your workload is computing or rendering, you must install the appropriate driver type.
Deploy the free Tesla Driver and CUDA SDK for general computing scenarios such as deep learning and scientific computing.
Deploy the GRID Driver with a paid license to enable GPU capabilities for OpenGL or DirectX graphical acceleration.
Operation Steps
Linux
Windows
Method 1: Uninstall Driver Using TAT Automation Assistant
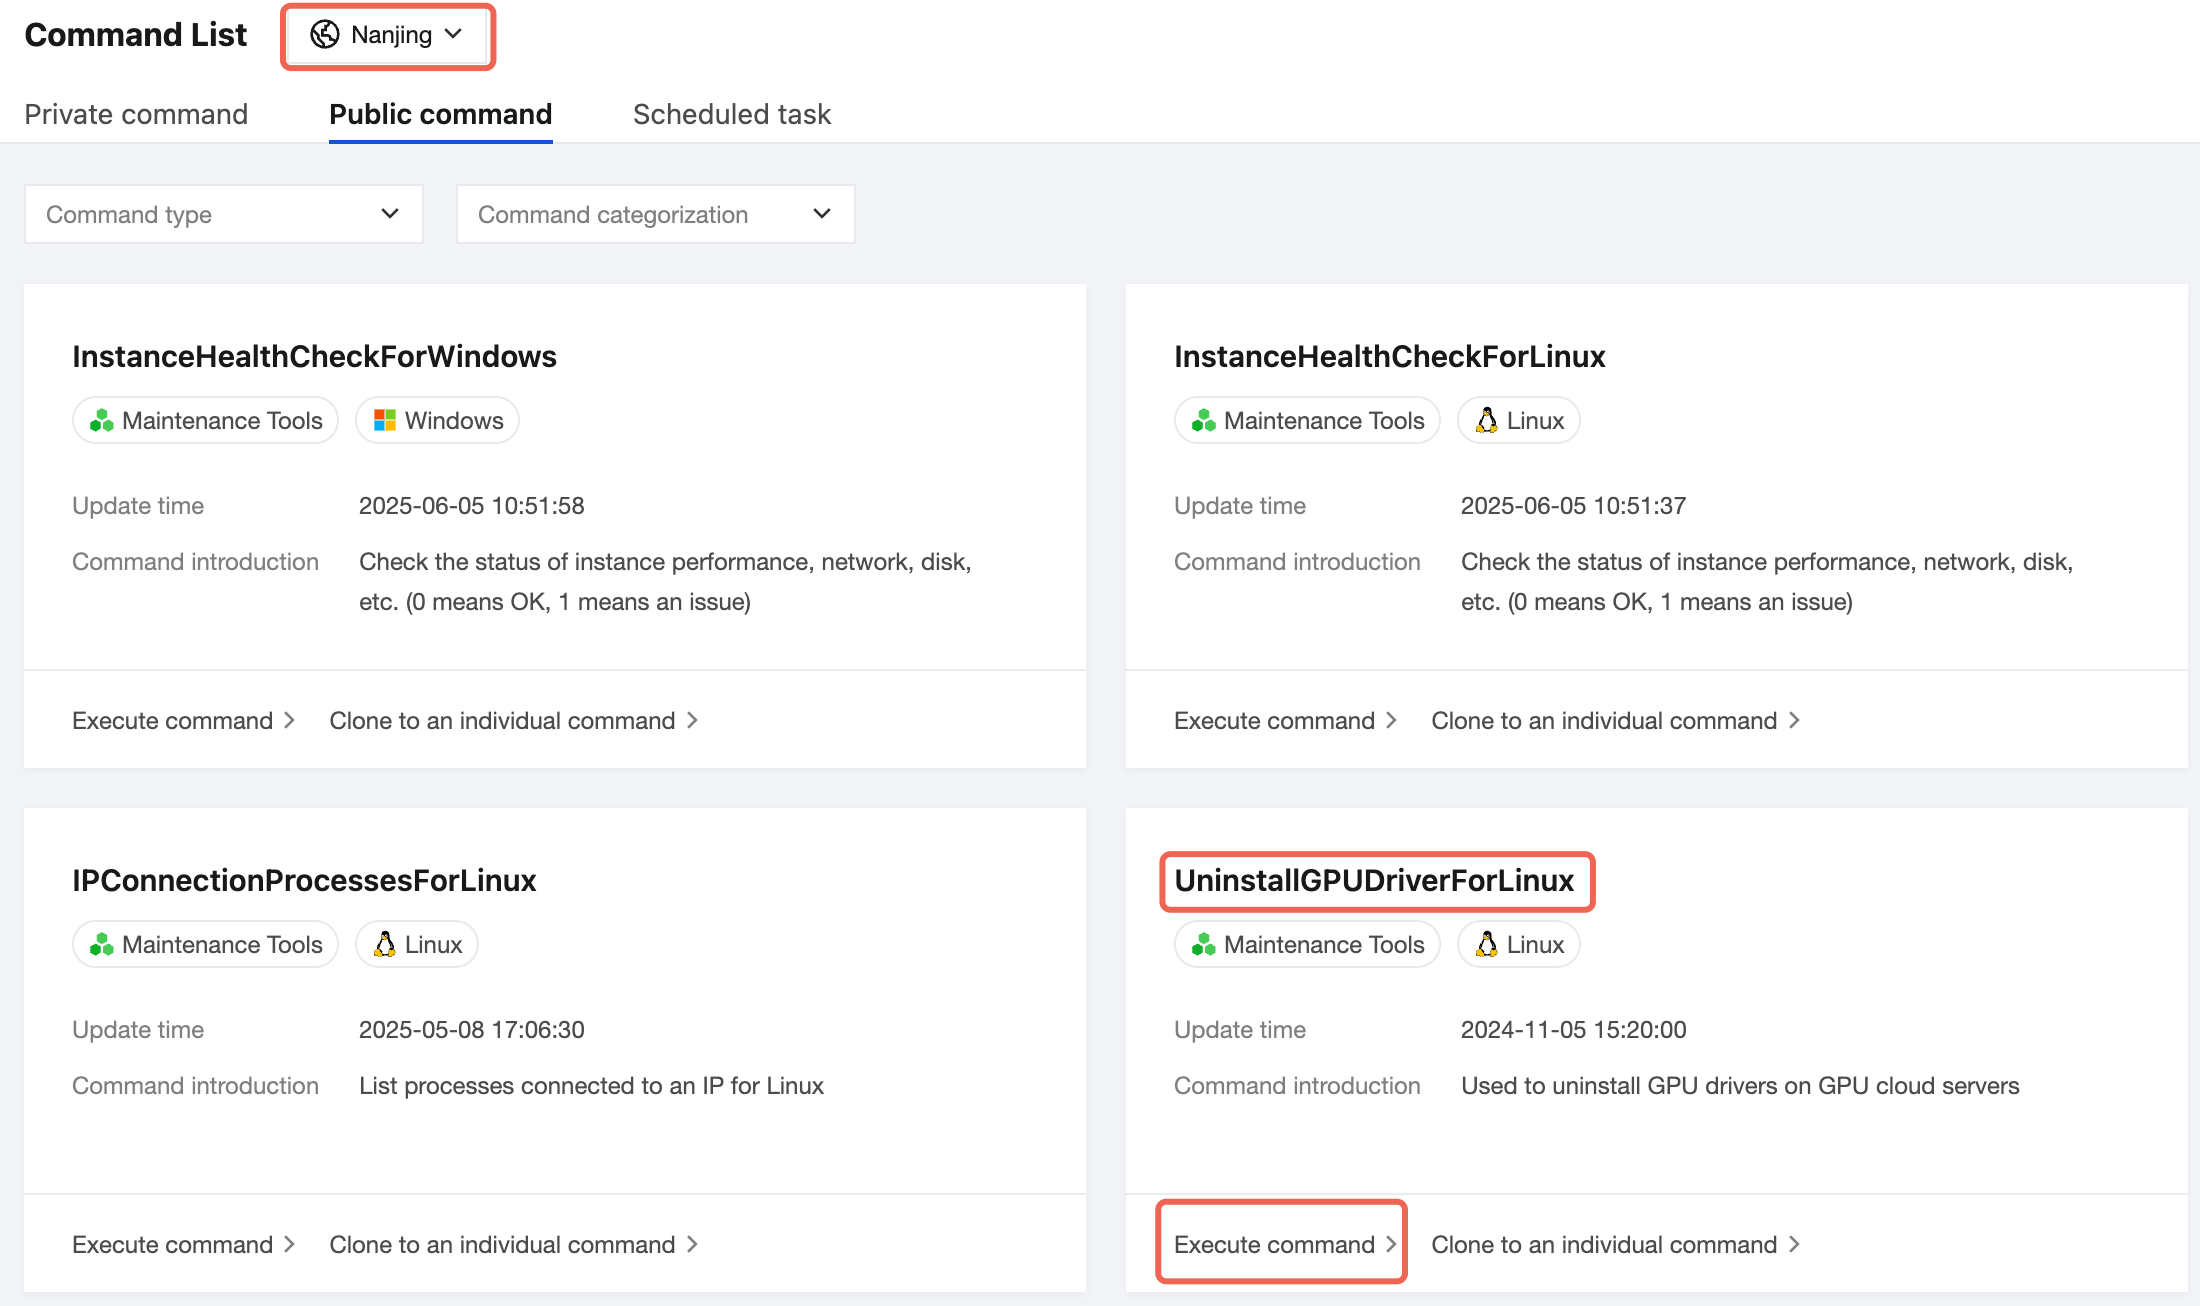
1. Log in to the CVM console, choose TencentCloud Automation Tools > Command List in the left sidebar.
2. On the Public Command page, select the region where your instance is located at the top, and click Execute command in the lower-left corner of the UninstallGPUDriverForLinux module. See the figure below:
3. Go to the Run Command page, select the GPU instances that require command execution. You can use the Instance Type Filter to identify GPU instance types:
4. Click Execute command to proceed.
Method 2: Manual Driver Uninstallation
1. Execute the following command in the command line to switch to the root user.
sudosu
2. Enter the following command to uninstall the driver.
nvidia-installer --uninstall -s
See the figures below:
3. Execute the command lsmod | grep nvidia to check whether the driver has been completely uninstalled. If the result is empty, the driver has been successfully removed, as shown below:
If residual files are detected, you can repeatedly execute the following commands:
Make sure to use sudo su to switch to root permissions before executing the command. The command can be executed multiple times without causing any side effects.
4. Execute lsmod | grep nvidia again to check if the driver has been completely removed. If the result is empty, the uninstallation was successful.
in the lower-left corner, go to Control Panel > Programs and Features, right-click and select Uninstall.
3. Follow the instructions in the interface to proceed to the next step.
4. In the final step, if the system prompts you to restart the machine, click Restart Now.
5. After the machine restarts, go to Control Panel > Programs and Features to confirm that the Tesla driver is no longer listed, indicating that it has been completely uninstalled.