SDK 集成(XCode)
Download
聚焦模式
字号
支持平台
SDK 支持 iOS 8.0 以上系统。
开发环境
Xcode 9 或更高版本。
iOS12.0及以上系统。
设置步骤
步骤1:链接 SDK 及系统库
添加依赖
添加依赖
1. 选中工程的 Target,添加以下系统库:
Accelerate.framework
SystemConfiguration.framework
libc++.tbd
libsqlite3.tbd
MetalKit.framework
VideoToolbox.framework
ReplayKit.framework
GLKit.framework
OpenAL.framework
CoreServices.framework
2. 将下载的SDK 资源包解压,复制到工程所在文件夹。选中工程的 Target,Build Phases 选项下面添加以下动态库,动态库在 SDK 目录下的 Link Binary With Libraries 添加:
TXFFmpeg.xcframework
TXSoundTouch.xcframework
TXLiteAVSDK_UGC.xcframework
3. Embed Frameworks 中添加以下,勾选 Code Sign On Copy。
TXFFmpeg.xcframework
TXSoundTouch.xcframework
4. 选中工程的 Target,在 Build Settings 中搜索
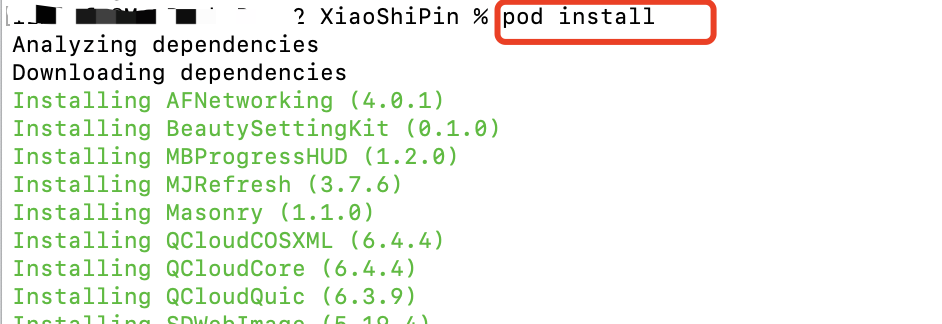
bitcode,将 Enable Bitcode 设置为 NO。1. 在终端进入到 TXLiteAVDemo(UGC)/XiaoShiPin 目录下
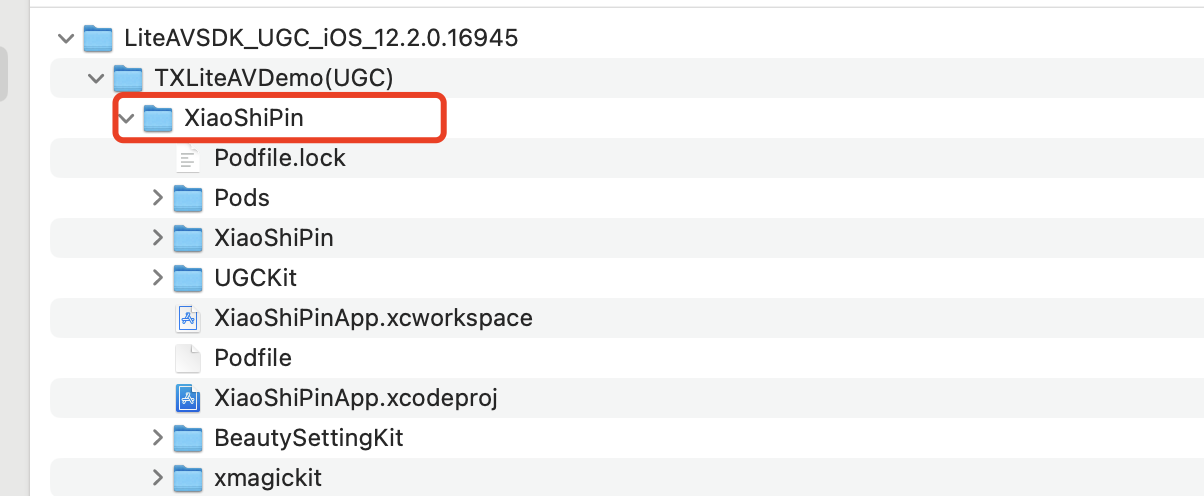
2. 执行 pod install
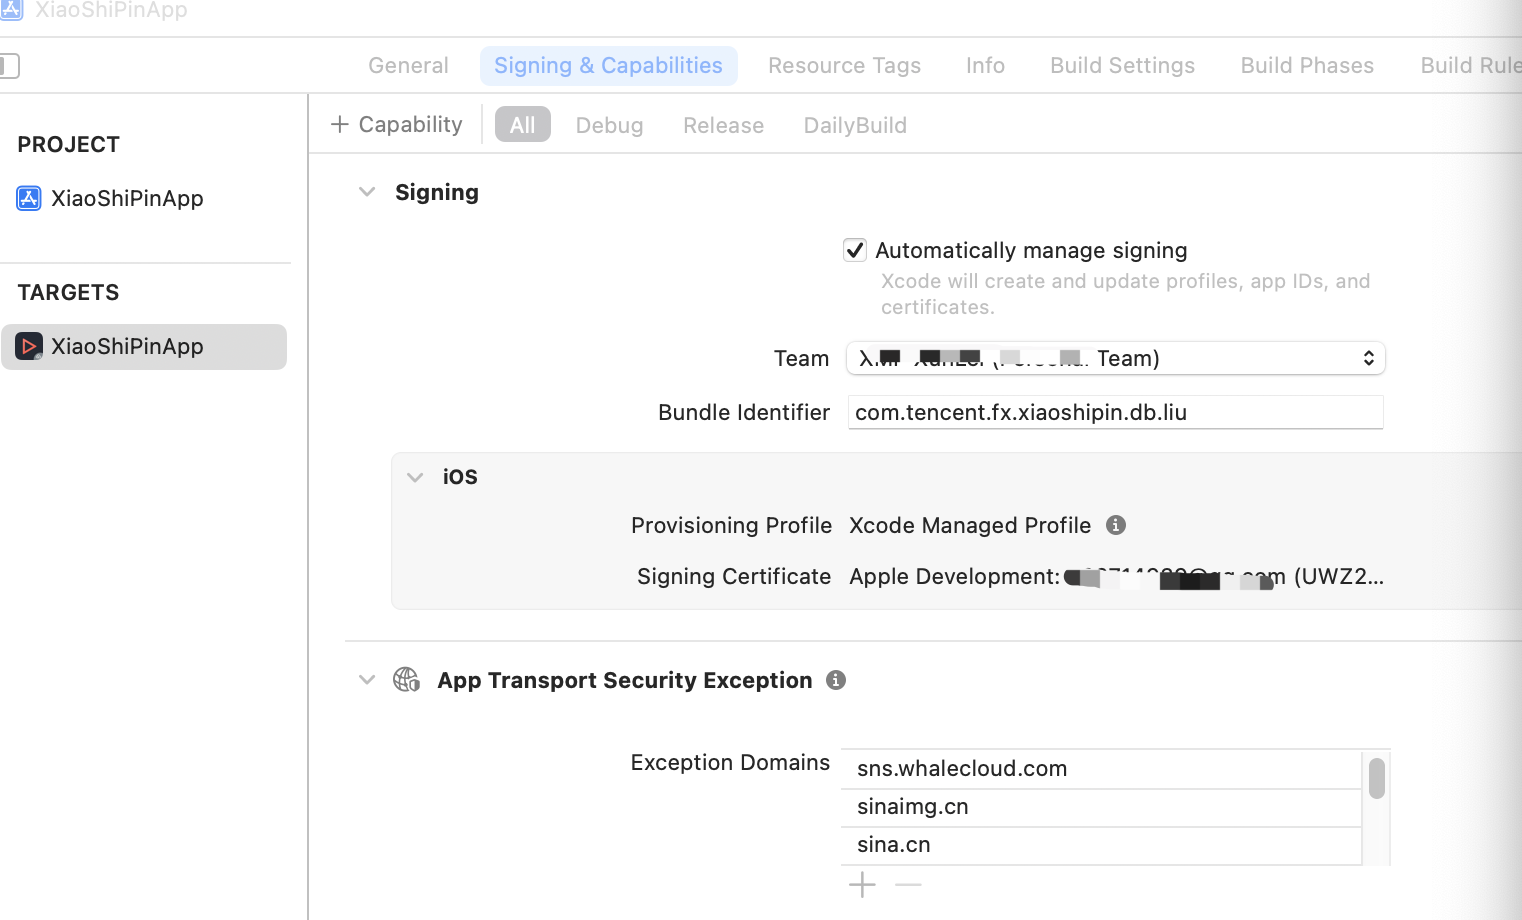
3. 配置好您的 iOS 开发者签名
步骤2:配置 App 权限
应用会需要相册及相册的访问权限,需要在 Info.plist 中添加对应项,可以通过在 Info.plist 中右键选 Open as / Source Code 粘贴并修改以下内容进行配置。
<key>NSAppleMusicUsageDescription</key><string>视频云工具包需要访问您的媒体库权限以获取音乐,不允许则无法添加音乐</string><key>NSCameraUsageDescription</key><string>视频云工具包需要访问您的相机权限,开启后录制的视频才会有画面</string><key>NSMicrophoneUsageDescription</key><string>视频云工具包需要访问您的麦克风权限,开启后录制的视频才会有声音</string><key>NSPhotoLibraryAddUsageDescription</key><string>视频云工具包需要访问您的相册权限,开启后才能保存编辑的文件</string><key>NSPhotoLibraryUsageDescription</key><string>视频云工具包需要访问您的相册权限,开启后才能编辑视频文件</string>
步骤3:SDK License 设置与基本信息获取
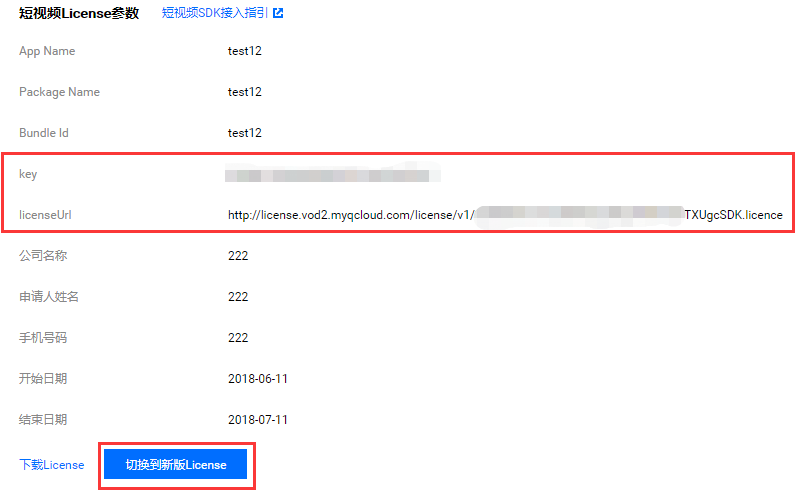
1. 通过 License 申请 的指引申请 License 后,从 控制台 复制 key 和 url,见下图。
1. 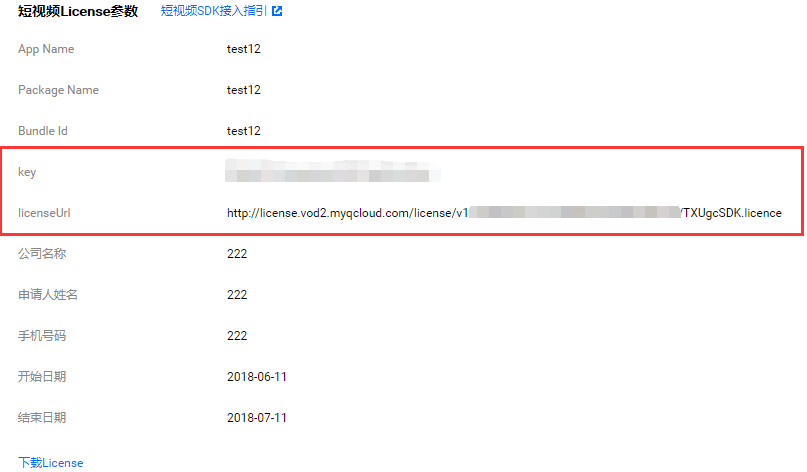
2. 在您的应用中使用短视频功能之前,建议在
- [AppDelegate application:didFinishLaunchingWithOptions:]中进行如下设置:@import TXLiteAVSDK_UGC;@implementation AppDelegate- (BOOL)application:(UIApplication*)applicationdidFinishLaunchingWithOptions:(NSDictinoary*)options {NSString * const licenceURL = @"<获取到的licnseUrl>";NSString * const licenceKey = @"<获取到的key>";[TXUGCBase setLicenceURL:licenceURL key:licenceKey];NSLog(@"SDK Version = %@", [TXLiveBase getSDKVersionStr]);}@end
说明:
对于使用4.7版本 License 的用户,如果您升级了 SDK 到4.9版本,您可以登录控制台,单击下图的切换到新版License 生成对应的 key 和 url,切换后的 License 必须使用4.9及更高的版本,切换后按照上述操作集成即可。
步骤4:Log 配置
在 TXLiveBase 中可以设置 log 是否在控制台打印以及 log 的级别,相关接口如下:
setConsoleEnabled
设置是否在 xcode 的控制台打印 SDK 的相关输出。
setLogLevel
设置是否允许 SDK 打印本地 log,SDK 默认会将 log 写到当前 App 的 Documents/logs 文件夹下。
如果您需要我们的技术支持,建议将此开关打开,在重现问题后提供 log 文件,非常感谢您的支持。
Log 文件的查看
小直播 SDK 为了减少 log 的存储体积,对本地存储的 log 文件做了加密,并且限制了 log 数量的大小,所以要查看 log 的文本内容,需要使用 log 解压缩工具。
[TXLiveBase setConsoleEnabled:YES];[TXLiveBase setLogLevel:LOGLEVEL_DEBUG];
步骤5:编译运行
如果前面各步骤都操作正确的话,HelloSDK 工程就可以顺利编译通过。在 Debug 模式下运行 App,Xcode 的 Console 窗格会打印出 SDK 的版本信息:
2017-09-26 16:16:15.767 HelloSDK[17929:7488566] SDK Version = 5.2.5541
详细介绍
以下为 SDK 各模块的详细说明:
视频录制
视频编辑
视频拼接
视频上传
视频播放
文档反馈