Binding a Routing Relationship
Routing relationship refers to the rules for messages to be delivered from an exchange to an exchange/queue. When a producer sends a message to an exchange, the exchange will, based on preset routing rules, automatically forward the message to the target exchange or queue bound to it. An exchange can be bound to multiple target exchanges/queues, and a queue can be bound to multiple source exchanges.
This document introduces how to create binding rules in the console.
Constraints and Limitations
The default exchange named "AMQP default exchange" automatically created by the system in Managed Edition clusters is bound to each queue by default, with the Routing Key being the queue name. The default binding relationship cannot be canceled or deleted.
Exchanges with Internal set to true cannot be directly used by producers. They are exclusively used in the internal routing mechanism of RabbitMQ. If messages are published directly to such an exchange, an error will be returned. A routing chain can be established by binding it to other exchanges or queues.
Prerequisites
You have created an exchange or queue to be bound.
Creating a Binding Relationship
1. Log in to the TDMQ for RabbitMQ console. Routing relationships can be bound from multiple entries:
Entry 1: In the left sidebar, choose Cluster > Exchange List, locate the target exchange in the list, and click Bind Route in the Operation column. In this context, the exchange can only be bound as a source exchange. The exchange or queue can be selected as a binding target.
Entry 2: In the left sidebar, choose Cluster > Queue List, locate the target queue in the list, and click Bind Route in the Operation column. In this context, the specified queue serves as a binding target, to which source exchanges can be bound.
Entry 3: In the left sidebar, choose Cluster > Vhost, locate the target vhost, click the vhost name, select the Routing tab at the top of the page, and click Create. At this point, you can freely configure the source exchange and the binding target.
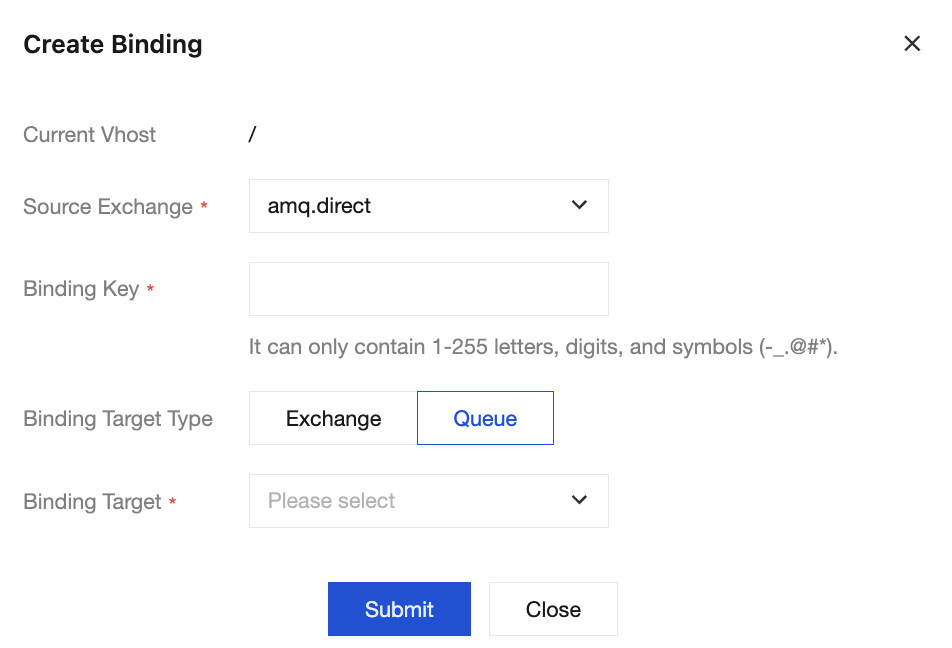
2. In the Add Binding Relationship pop-up window, set the source exchange, Binding Key, binding target type, and binding target, and then click Submit to complete the creation of the binding relationship.
Help and Support
Was this page helpful?
You can also Contact sales or Submit a Ticket for help.
Help us improve! Rate your documentation experience in 5 mins.
Feedback