Container network policies provide network policy distribution and management capabilities for cluster containers based on native Kubernetes NetworkPolicies. It defines the protected targets in the cluster and sets their outbound and inbound rules to control network access between containers. This document describes how to configure and manage a container network policy and implement network isolation between containers.
Limits
Currently, container network policies are supported for the following clusters: TKE self-deployed clusters, TKE managed clusters, and self-built Kubernetes clusters.
Container network policies rely on the network component deployed in the cluster. Currently, the Kube-router network component is supported.
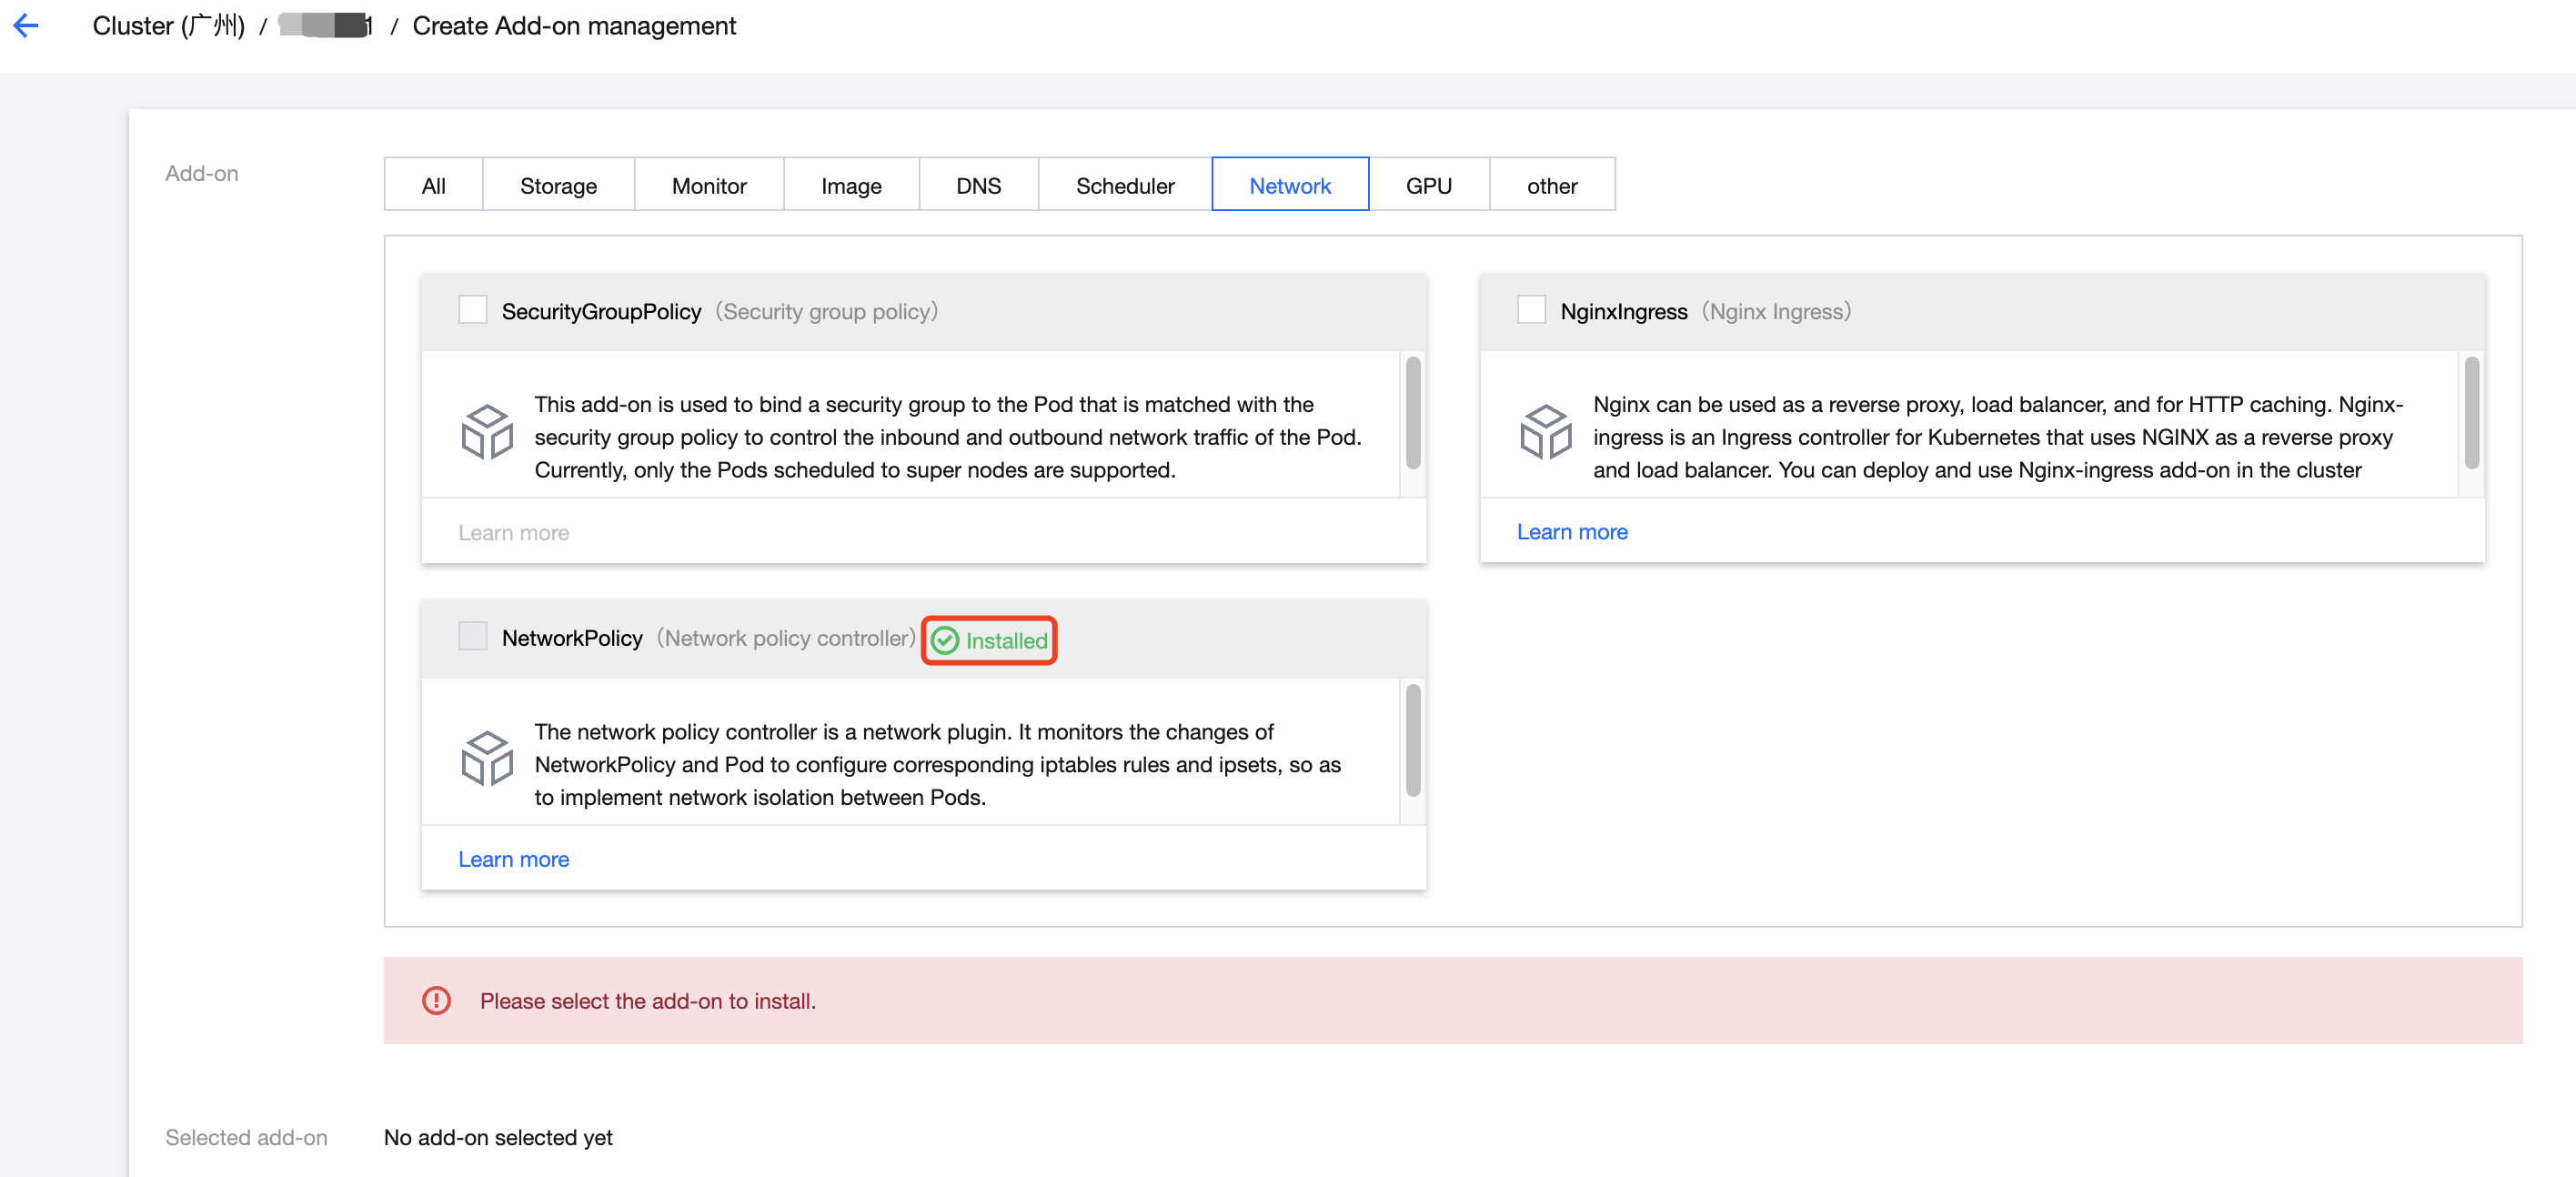
To use container network policies in a TKE cluster, make sure that the NetworkPolicy component is installed in the cluster. For more information on the component, see Network Policy.
For directions on how to install the Kube-router network component in a self-built Kubernetes cluster, see User Guide - Kube-router.
As using container network policies may compromise the cluster performance, you should carefully assess the cluster size and performance loss first. For example, if the network policy is enabled during Kube-router component deployment, when the number of Pods increases from 2,000 to 8,000, the cluster performance will drop by 10% to 20%. For more information, see Using Network Policy for Network Access Control.
Managing Cluster Network Policies
1. Log in to the TCSS console and click Policy Management > Container Network Policies on the left sidebar.
2. On the Container Network Policies page, view the network component type, region, number of enabled policies, and total number of policies of the cluster.
3. Select the target cluster and click Policy Management to enter the Cluster policies page, where you can add, edit, or delete policies or sync them from the cluster.
Note:
Currently, only the Kube-router network component is supported.
Container network policies rely on the network component deployed in the cluster. The cluster policy management feature is unavailable for network components not supported.
Creating a Cluster Network Policy
1. On the Cluster policies page, click Create policy.
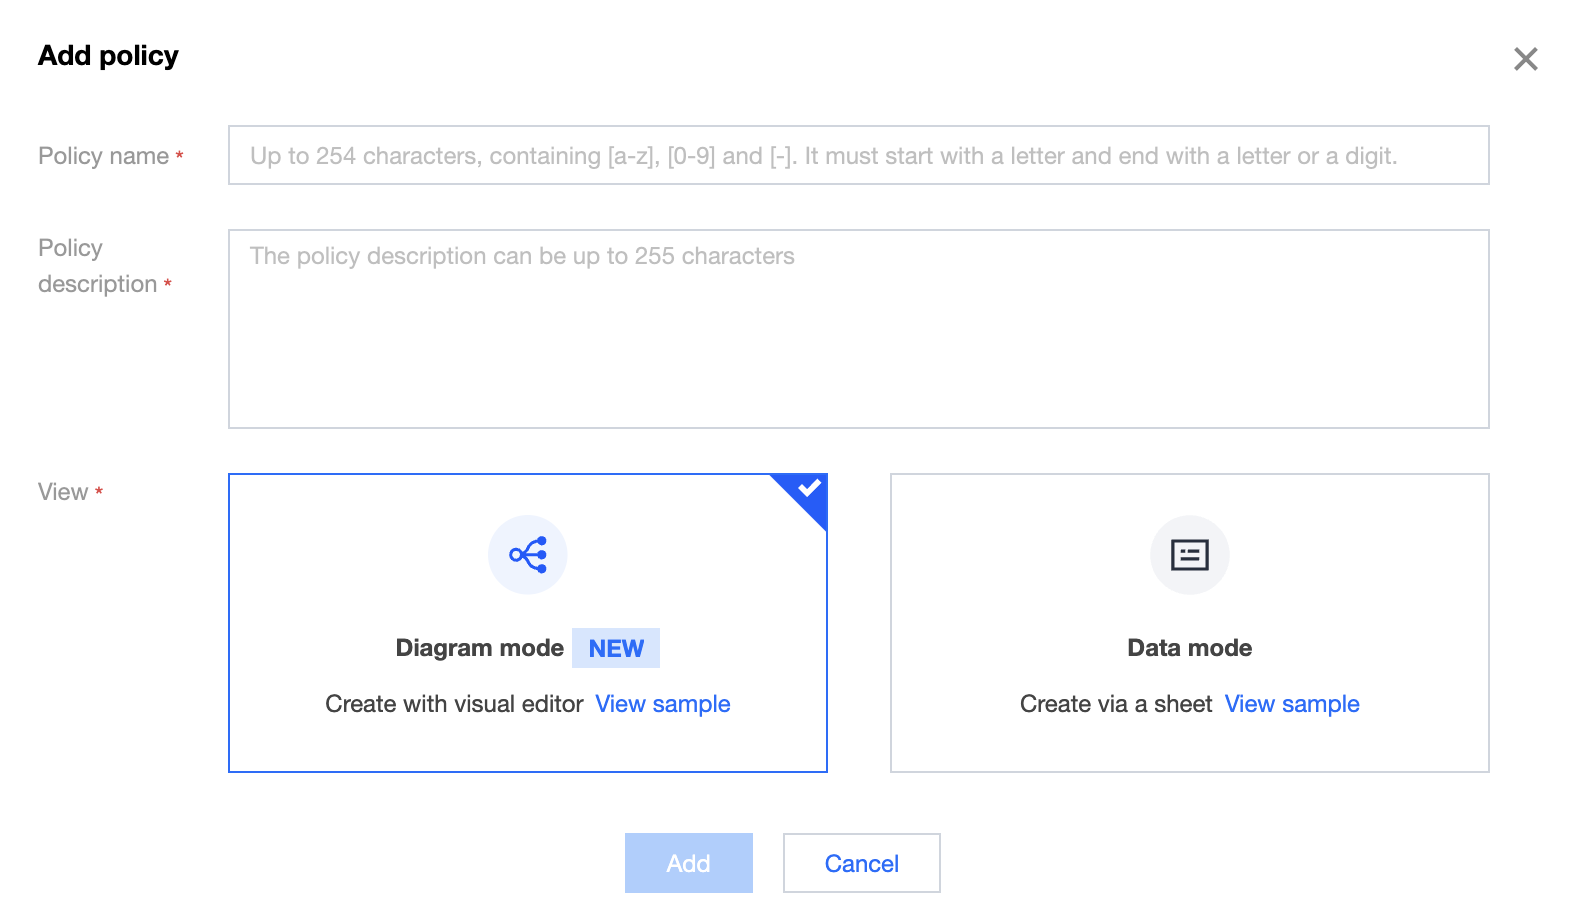
2. In the Create policy pop-up window, enter the policy name and description and select the diagram mode or data mode to enter the container network policy editing page.
Note:
If the mode is switched in the edit view, the policy created in the original mode will not be saved, and a new empty policy will be created.
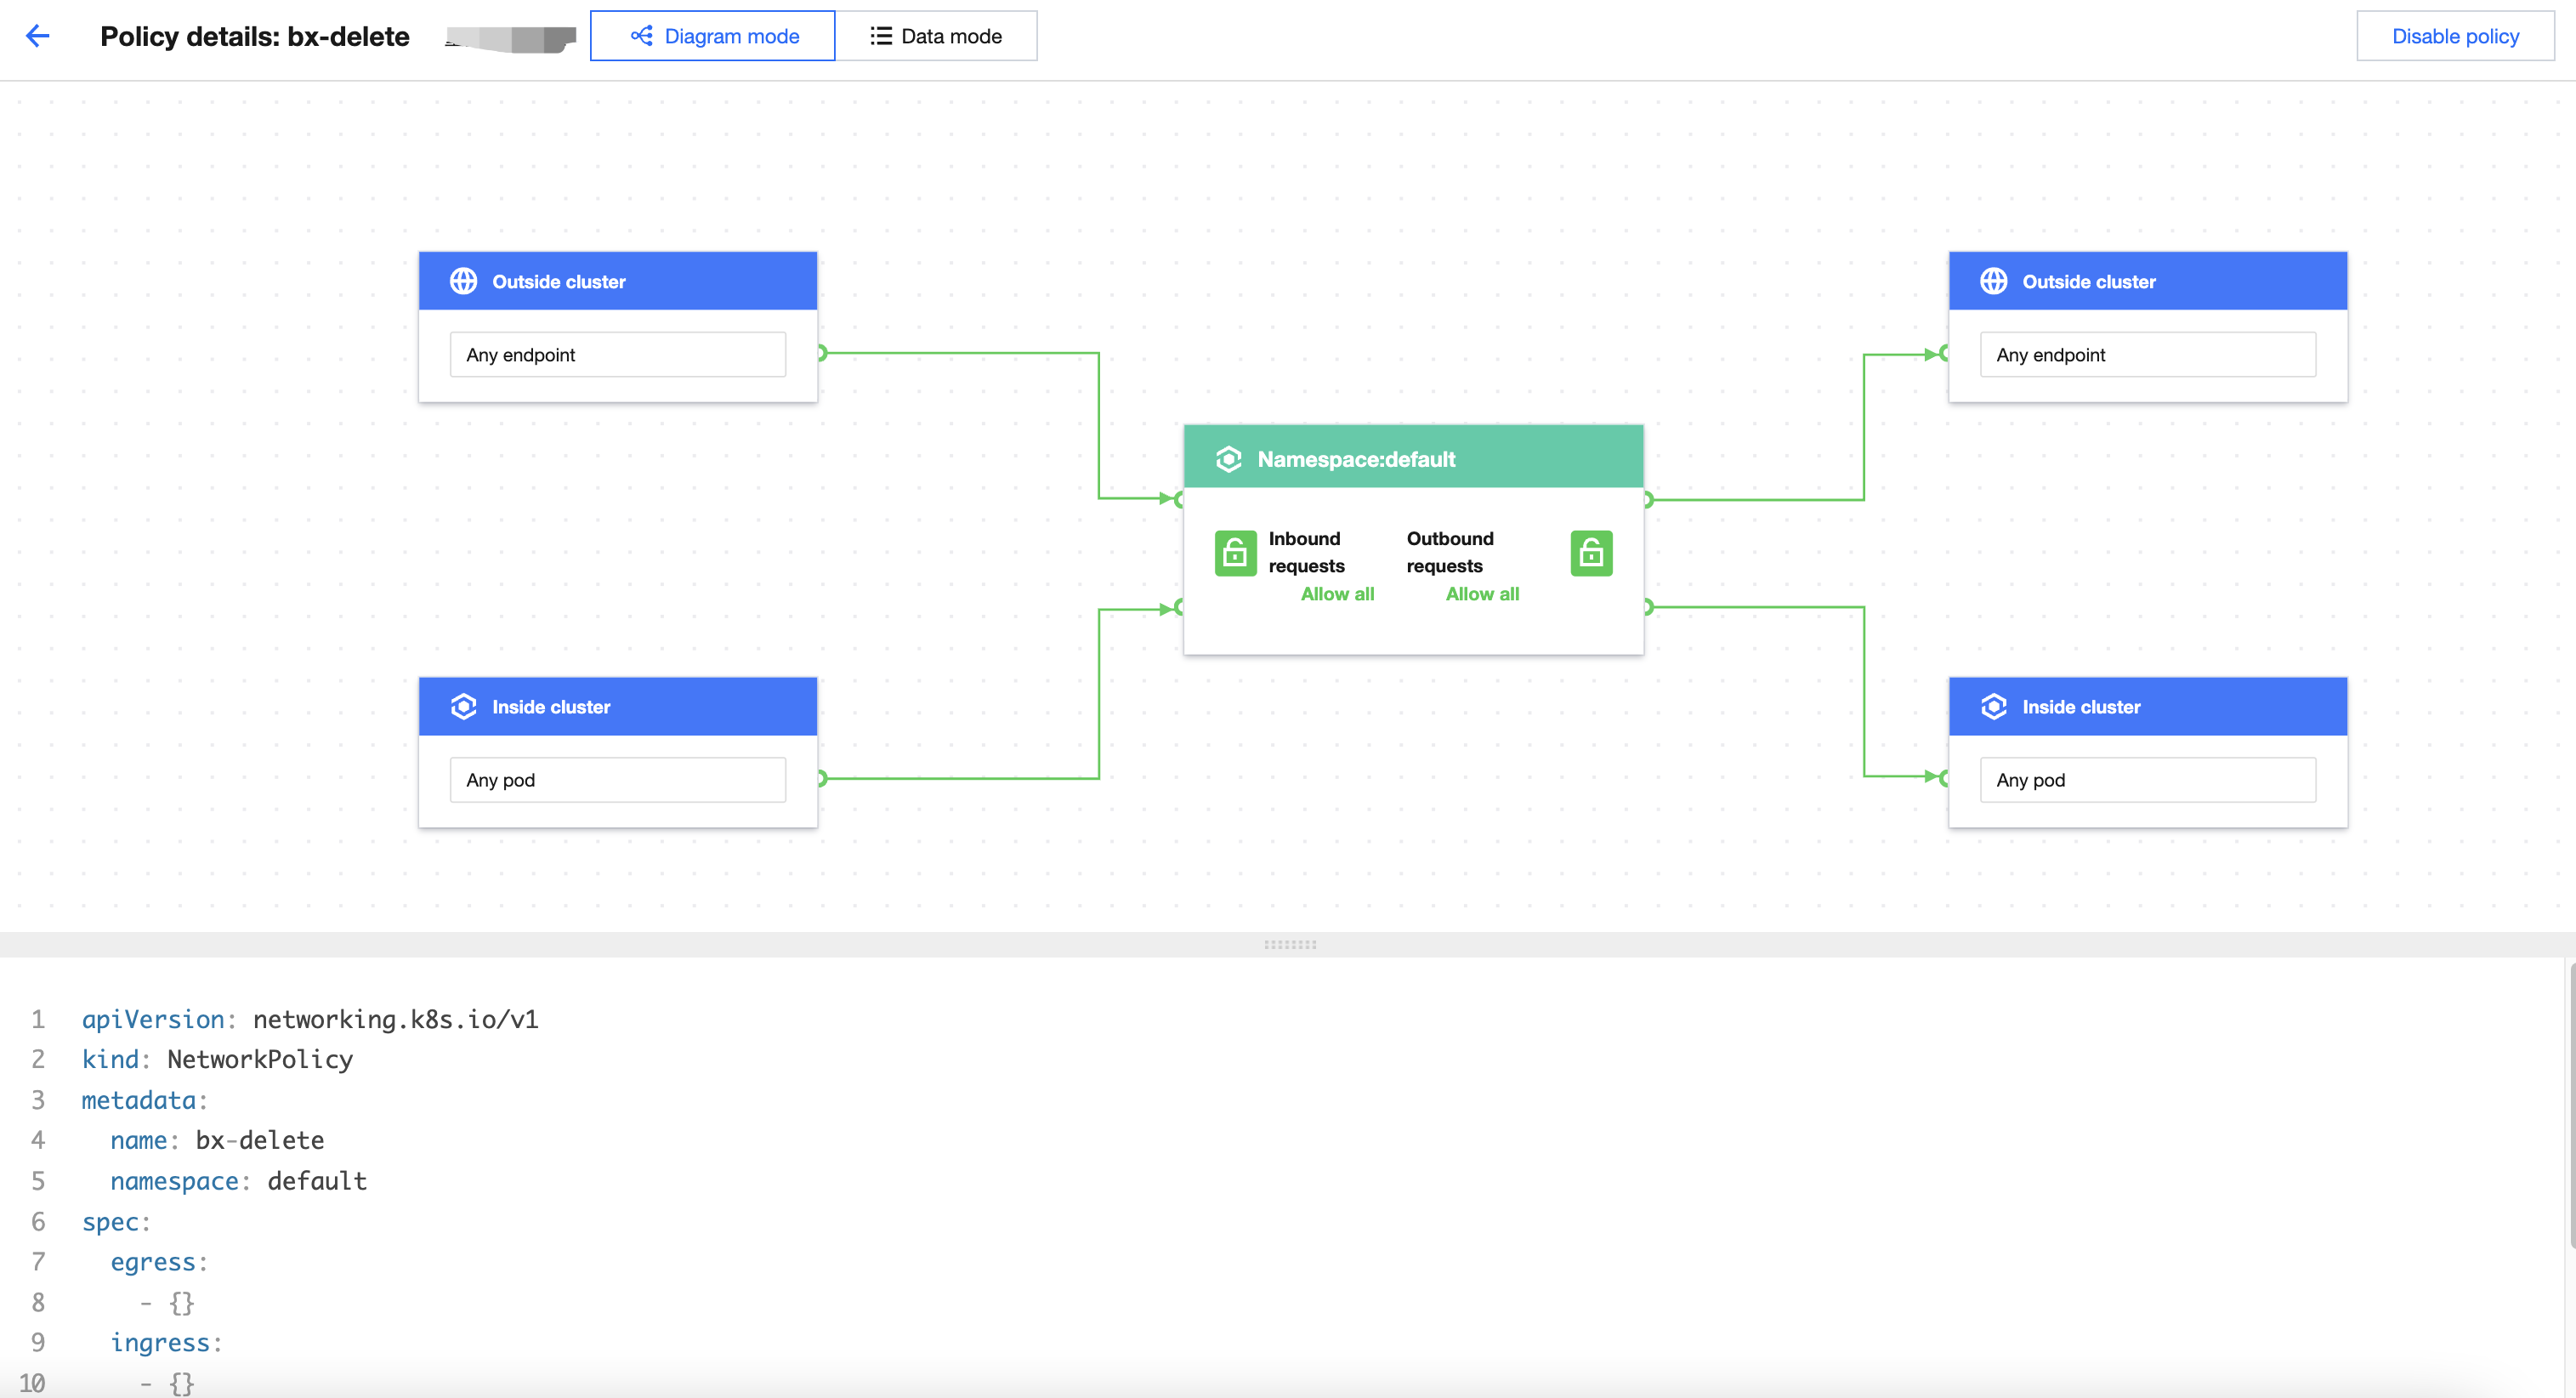
3. In the edit view, configure the container network policy and click Save only or Save and enable in the top-right corner.
Note:
Save only: Save the current network policy but do not enable it.
Save and enable: Save the current network policy and enable it.
Policy Description
Basic information
Policy name: The policy name will be associated with the NetworkPolicy name. It must be unique, cannot be changed, and can contain up to 254 characters.
Policy description: It can contain up to 1,000 characters.
Policy type
A container network policy is either a preset policy or one synched from the cluster. The former is created and managed in the TCSS console, while the latter is automatically discovered and obtained by the system, including policies created and modified manually in the cluster.
A policy synced from the cluster will be included in the product policy library for unified management after confirmation. It can be enabled, disabled, or edited in the console.
Protected target
A protected target is a Pod associated through the Pod label in a namespace. Pod applications with the same label are a group of protected targets.
Note:
A label is a Kubernetes label, a key-value pair attached to a Kubernetes object (such as a Pod). For more information, see Labels and Selectors.
When a protected target is associated through multiple Pod labels, the logic between the labels is "AND", indicating that only Pod applications meeting all the label conditions will be associated with the protected target.
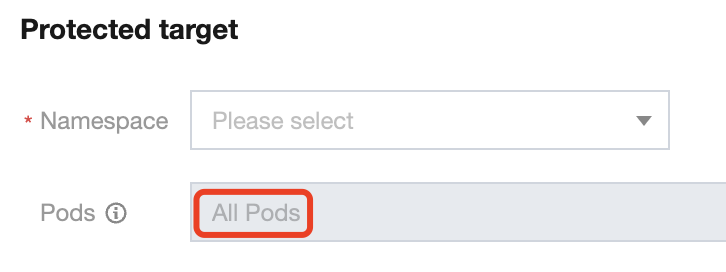
Namespace: Namespace of the protected target, which is Default by default.
Pods: When the Pod label is All Pods, all Pods in the namespace are protected targets. In this case, the network policy takes effect for the entire namespace.
Note:
If multiple Pod labels are used to associate a protected target, when the key-value of a newly added label is the same as that of an existing one, only one key-value will take effect, and the label with the existing key-value will be overwritten. For example, if app1=a, app1=b, app2=c, and app2=d are used, only app1=b and app2=d will take effect.
Rule Description
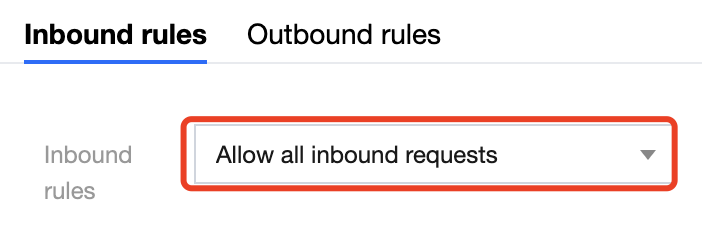
By default, the container network policy is Allow all inbound/outbound requests. If you select Reject all inbound requests, the protected target will reject all connection requests. If you select Reject all outbound requests, the protected target will reject all initiated requests.
The rule takes effect about one minute after the container network policy is enabled. Usually, it takes only seconds to take effect.
After a custom inbound/outbound rule is configured and enabled in the policy, only requests meeting the rule will be allowed, and other requests will be rejected.
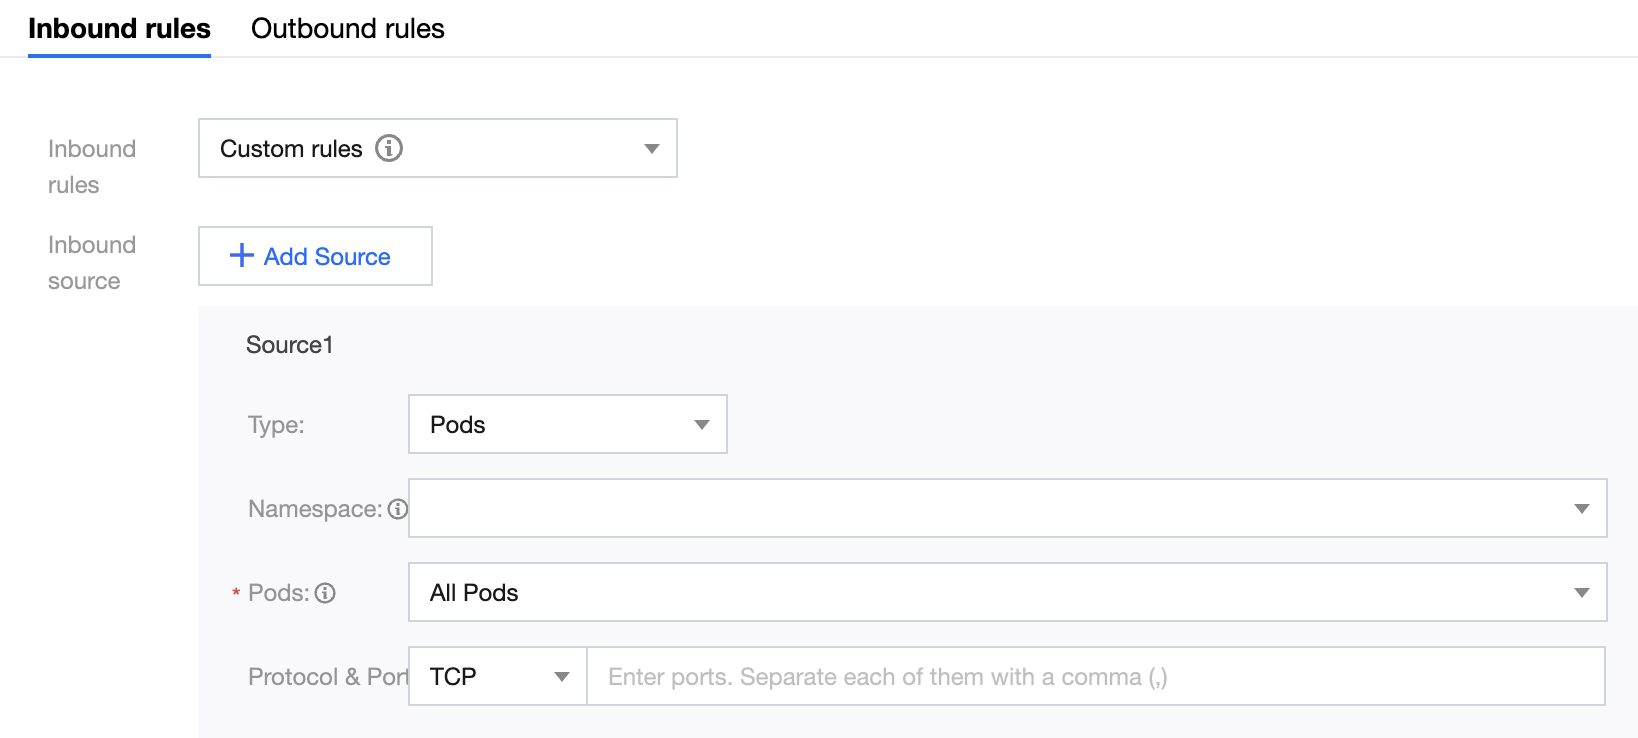
Custom rule description
When a custom rule is applied to the protected target, only requests from the specified sources or to the specified protocol port ranges will be allowed, while other requests will be rejected.
Type:
Pods: Specify the allowed Pod applications. The association is based on Pod labels, and a Pod is allowed when one of the label conditions is met. To specify the Pod label, you need to specify the namespace. If the namespace is left empty, the scope will be the current namespace (the namespace of the protected target).
Namespace: Specify the allowed namespace. The association is based on namespace labels, and a namespace is allowed when one of the label conditions is met.
IP: Specify the allowed IP range, which must be in the CIDR format and valid.
Protocol & Port: It can be used together with the above sources or target types. The protocol can be TCP or UDP, and the port is the Pod port number in the range of 1–65535. Separate ports by comma.
Note:
The configured protocol and port rules allow requests only through the specified port over the specified protocol. For example, "TCP 80" indicates to allow communication through port 80 over TCP, and communication over UDP is not affected.
You can add multiple allowed sources or targets to the custom rule, and the rule will be hit when any of them is matched.
Note:
If multiple labels are used to associate the Pod or namespace, when the key-value of a newly added label is the same as that of an existing one, only one key-value will take effect, and the label with the existing key-value will be overwritten. For example, if app1=a, app1=b, app2=c, and app2=d are used, only app1=b and app2=d will take effect.
Policy rule conflict
If the network policy rules for the same protected target conflict with each other, the Kubernetes NetworkPolicy conflict resolution principles will apply, for example:
Conflict Type
Sample Conflict
Sample Effect
Rule conflict for the same Pod
Rule A: The protected target is Pod 1 in namespace A, and the rule allows all inbound requests.
Rule B: The protected target is Pod 1 in namespace A, and the rule rejects all inbound requests.
Pod 1 in namespace A allows all inbound requests.
Rule conflict for the Pod and namespace
Rule A: The protected target is namespace A (all Pods by default), and the rule allows all inbound requests.
Rule B: The protected target is Pod 1 in namespace A, and the rule rejects all inbound requests.
Pod 1 in namespace A rejects all inbound requests, and other Pods in namespace A allow all inbound requests.
Rule conflict for the Pod and namespace
Rule A: The protected target is namespace A (all Pods by default), and the rule rejects all inbound requests.
Rule B: The protected target is Pod 1 in namespace A, and the rule allows all inbound requests.
Pod 1 in namespace A allows all inbound requests, and other Pods in namespace A reject all inbound requests.
Policy Change Audit
On the Network policy page, click Change history in the top-right corner to view the change audit records of all policy rules. The audit operations include adding, enabling, disabling, editing, deleting, and confirming a policy.


 Yes
Yes
 No
No
Was this page helpful?