Android Project Configuration
System requirements
We recommend you run the SDK on Android 5.0 (API level 21) or later.
Development environment
Below are the environment requirements for SDK development. You don't need to meet the same requirements for application development, but make sure that your application is compatible with the SDK.
Android NDK: android-ndk-r12b
Android SDK Tools: android-sdk_25.0.2
minSdkVersion: 21
targetSdkVersion: 26
Android Studio (recommended)
Step 1. Integrate the SDK
1. Project Configuration
1.1 Specify dependencies in the build.gradle file located in your project's app directory
If using version 3.x of com.android.tools.build:gradle, add the following code:
dependencies {
implementation 'com.tencent.liteav:LiteAVSDK_UGC:latest.release'
}
If using version 2.x of com.android.tools.build:gradle, add the following code:
dependencies {
compile 'com.tencent.liteav:LiteAVSDK_UGC:latest.release'
}
1.2 In defaultConfig, specify the CPU architecture to be used by your application.
defaultConfig {
ndk {
abiFilters "armeabi-v7a", "arm64-v8a"
}
}
Note:
Currently, the SDK supports armeabi-v7a and arm64-v8a.
2. Click Sync Now, wait for the SDK to download automatically, then build the project.
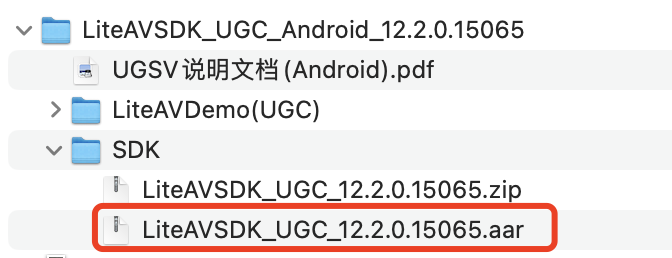
1. Download the latest SDK.
Download Link: SDK Download. Copy the .aar files from the downloaded SDK directory to the specified local repository directory (the one added in Step 2.2 of the project configuration). 2. Project Configuration
2.1. In the build.gradle file under your app module, add the dependency (replace LiteAVSDK_UGC_12.2.0.15065 with your actual SDK version):
If using version 3.x of com.android.tools.build:gradle, add the following code:
dependencies {
implementation(name: 'LiteAVSDK_UGC_12.2.0.15065', ext: 'aar')
}
If using version 2.x of com.android.tools.build:gradle, add the following code:
dependencies {
compile(name: 'LiteAVSDK_UGC_12.2.0.15065', ext: 'aar')
}
2.2. In the project-level build.gradle, add the flatDir configuration to specify the local repository directory (where the SDK files are copied):
allprojects {
repositories {
jcenter()
flatDir {
dirs 'libs'
}
}
}
2.3. In the build.gradle file under your app module, add the following under defaultConfig to specify NDK-compatible architectures:
defaultConfig {
ndk {
abiFilters "armeabi-v7a", "arm64-v8a"
}
}
3. Click Sync Now to synchronize the project, then build it.
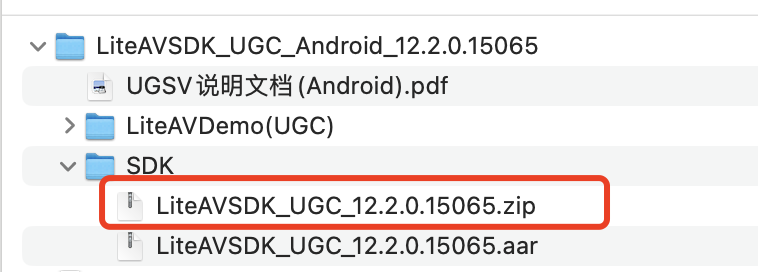
1. Download the latest SDK.
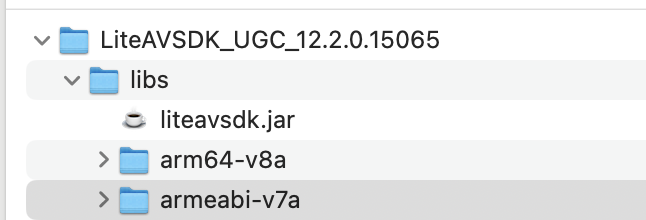
1.1 Download Link: SDK Download. Unzip the ZIP file in the SDK directory. 1.2 Copy Files
If you have not specified the JNI library loading path for your project, we recommend you copy the .jar package and the .so library for the corresponding architecture obtained in the previous step to the Demo\\app\\src\\main\\jniLibs directory (Android Studio's default path for loading JNI libraries) and put the .jar package in the libs folder.
2. Project Configuration
2.1 In the build.gradle file under your app module, add the following to reference the JAR and SO libraries:
If using version 3.x of com.android.tools.build:gradle, add the following code:
dependencies {
compile fileTree(dir: 'libs', include: ['*.jar'])
compile fileTree(dir: 'src/main/jniLibs', includes: ['*.jar'])
...
}
If using version 2.x of com.android.tools.build:gradle, add the following code:
dependencies {
compile fileTree(dir: 'libs', include: ['*.jar'])
compile fileTree(dir: 'src/main/jniLibs', includes: ['*.jar'])
...
}
2.2 In the same build.gradle file, under defaultConfig, specify NDK-compatible architectures:
defaultConfig {
ndk {
abiFilters "armeabi-v7a", "arm64-v8a"
}
}
3. Click Sync Now to synchronize the project, then build it.
Configure application permissions in AndroidManifest.xml. Audio/Video applications generally need the following permissions:
<uses-permission android:name="android.permission.INTERNET" />
<uses-permission android:name="android.permission.ACCESS_NETWORK_STATE" />
<uses-permission android:name="android.permission.ACCESS_WIFI_STATE" />
<uses-permission android:name="android.permission.WRITE_EXTERNAL_STORAGE"/>
<uses-permission android:name="android.permission.READ_EXTERNAL_STORAGE"/>
<uses-permission android:name="android.permission.RECORD_AUDIO" />
<uses-permission android:name="android.permission.CAMERA" />
<uses-feature android:name="android.hardware.Camera"/>
<uses-feature android:name="android.hardware.camera.autofocus" />
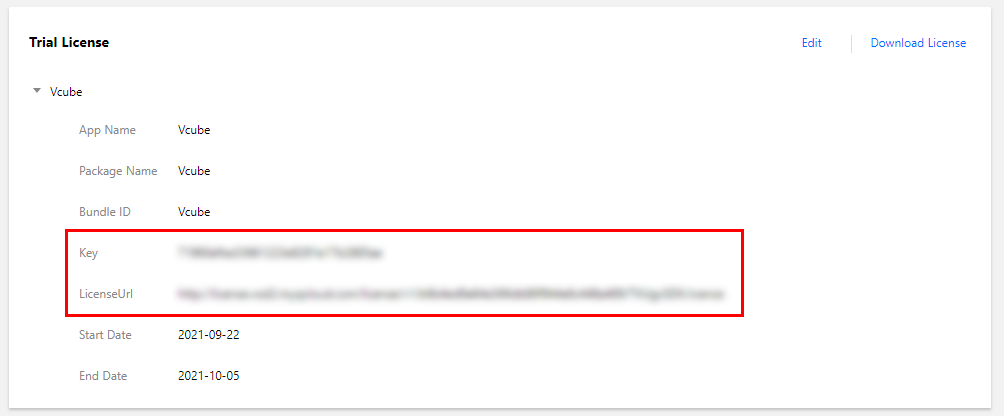
1. After successfully obtaining a license, copy the license key and URL in the VOD console as shown below: 2. Before you use UGSV features in your application, we recommend that you complete the following configuration in - Application onCreate():
public class DemoApplication extends Application {
String ugcLicenceUrl = ""; // Enter the license URL obtained from the console.
String ugcKey = ""; // Enter the license key obtained from the console.
@Override
public void onCreate() {
super.onCreate();
TXUGCBase.getInstance().setLicence(instance, ugcLicenceUrl, ugcKey);
}
}
3. The latest SDK version includes short video license verification. If verification fails, you can use the following API to retrieve specific details from the license:
TXUGCBase.getInstance().getLicenceInfo(Context context);
Note:
If you use a license for the SDK on v4.7 and have upgraded the SDK to v4.9, you can click Switch to New License in the console to generate a new license key and URL. A new license can be used only for the SDK on v4.9 or later and should be configured as described above.
Step 4. Print logs
You can enable/disable console log printing and set the log level in TXLiveBase. See the sample code below.
setConsoleEnabled
Sets whether to print the SDK logs in the Android Studio console.
setLogLevel
It is used to set whether the SDK can print local logs. The SDK will write logs into the Android/data/application package name/files/log/tencent/liteav folder on the SD card by default. If you need technical support from Tencent Cloud, we recommend you enable this feature and provide the log file after reproducing the problem.
TXLiveBase.setConsoleEnabled(true);
TXLiveBase.setLogLevel(TXLiveConstants.LOG_LEVEL_DEBUG);
Troubleshooting
After importing the UGSV SDK, when you build and run your project, if the following error occurs:
Caused by: android.view.InflateException:
Binary XML file
Follow the steps below to troubleshoot the problem:
1. Check whether you have copied the JAR and SO files to the jniLibs directory.
2. If you use the full edition integrated with the .aar file, check whether the .so libraries for the x64 architecture are filtered out in defaultConfig in build.gradle in the project directory.
defaultConfig {
...
ndk {
abiFilters "armeabi-v7a", "arm64-v8a"
}
}
3. Check if the package name of the SDK has been added to the "do not obfuscate" list.
-keep class com.tencent.** { *;}
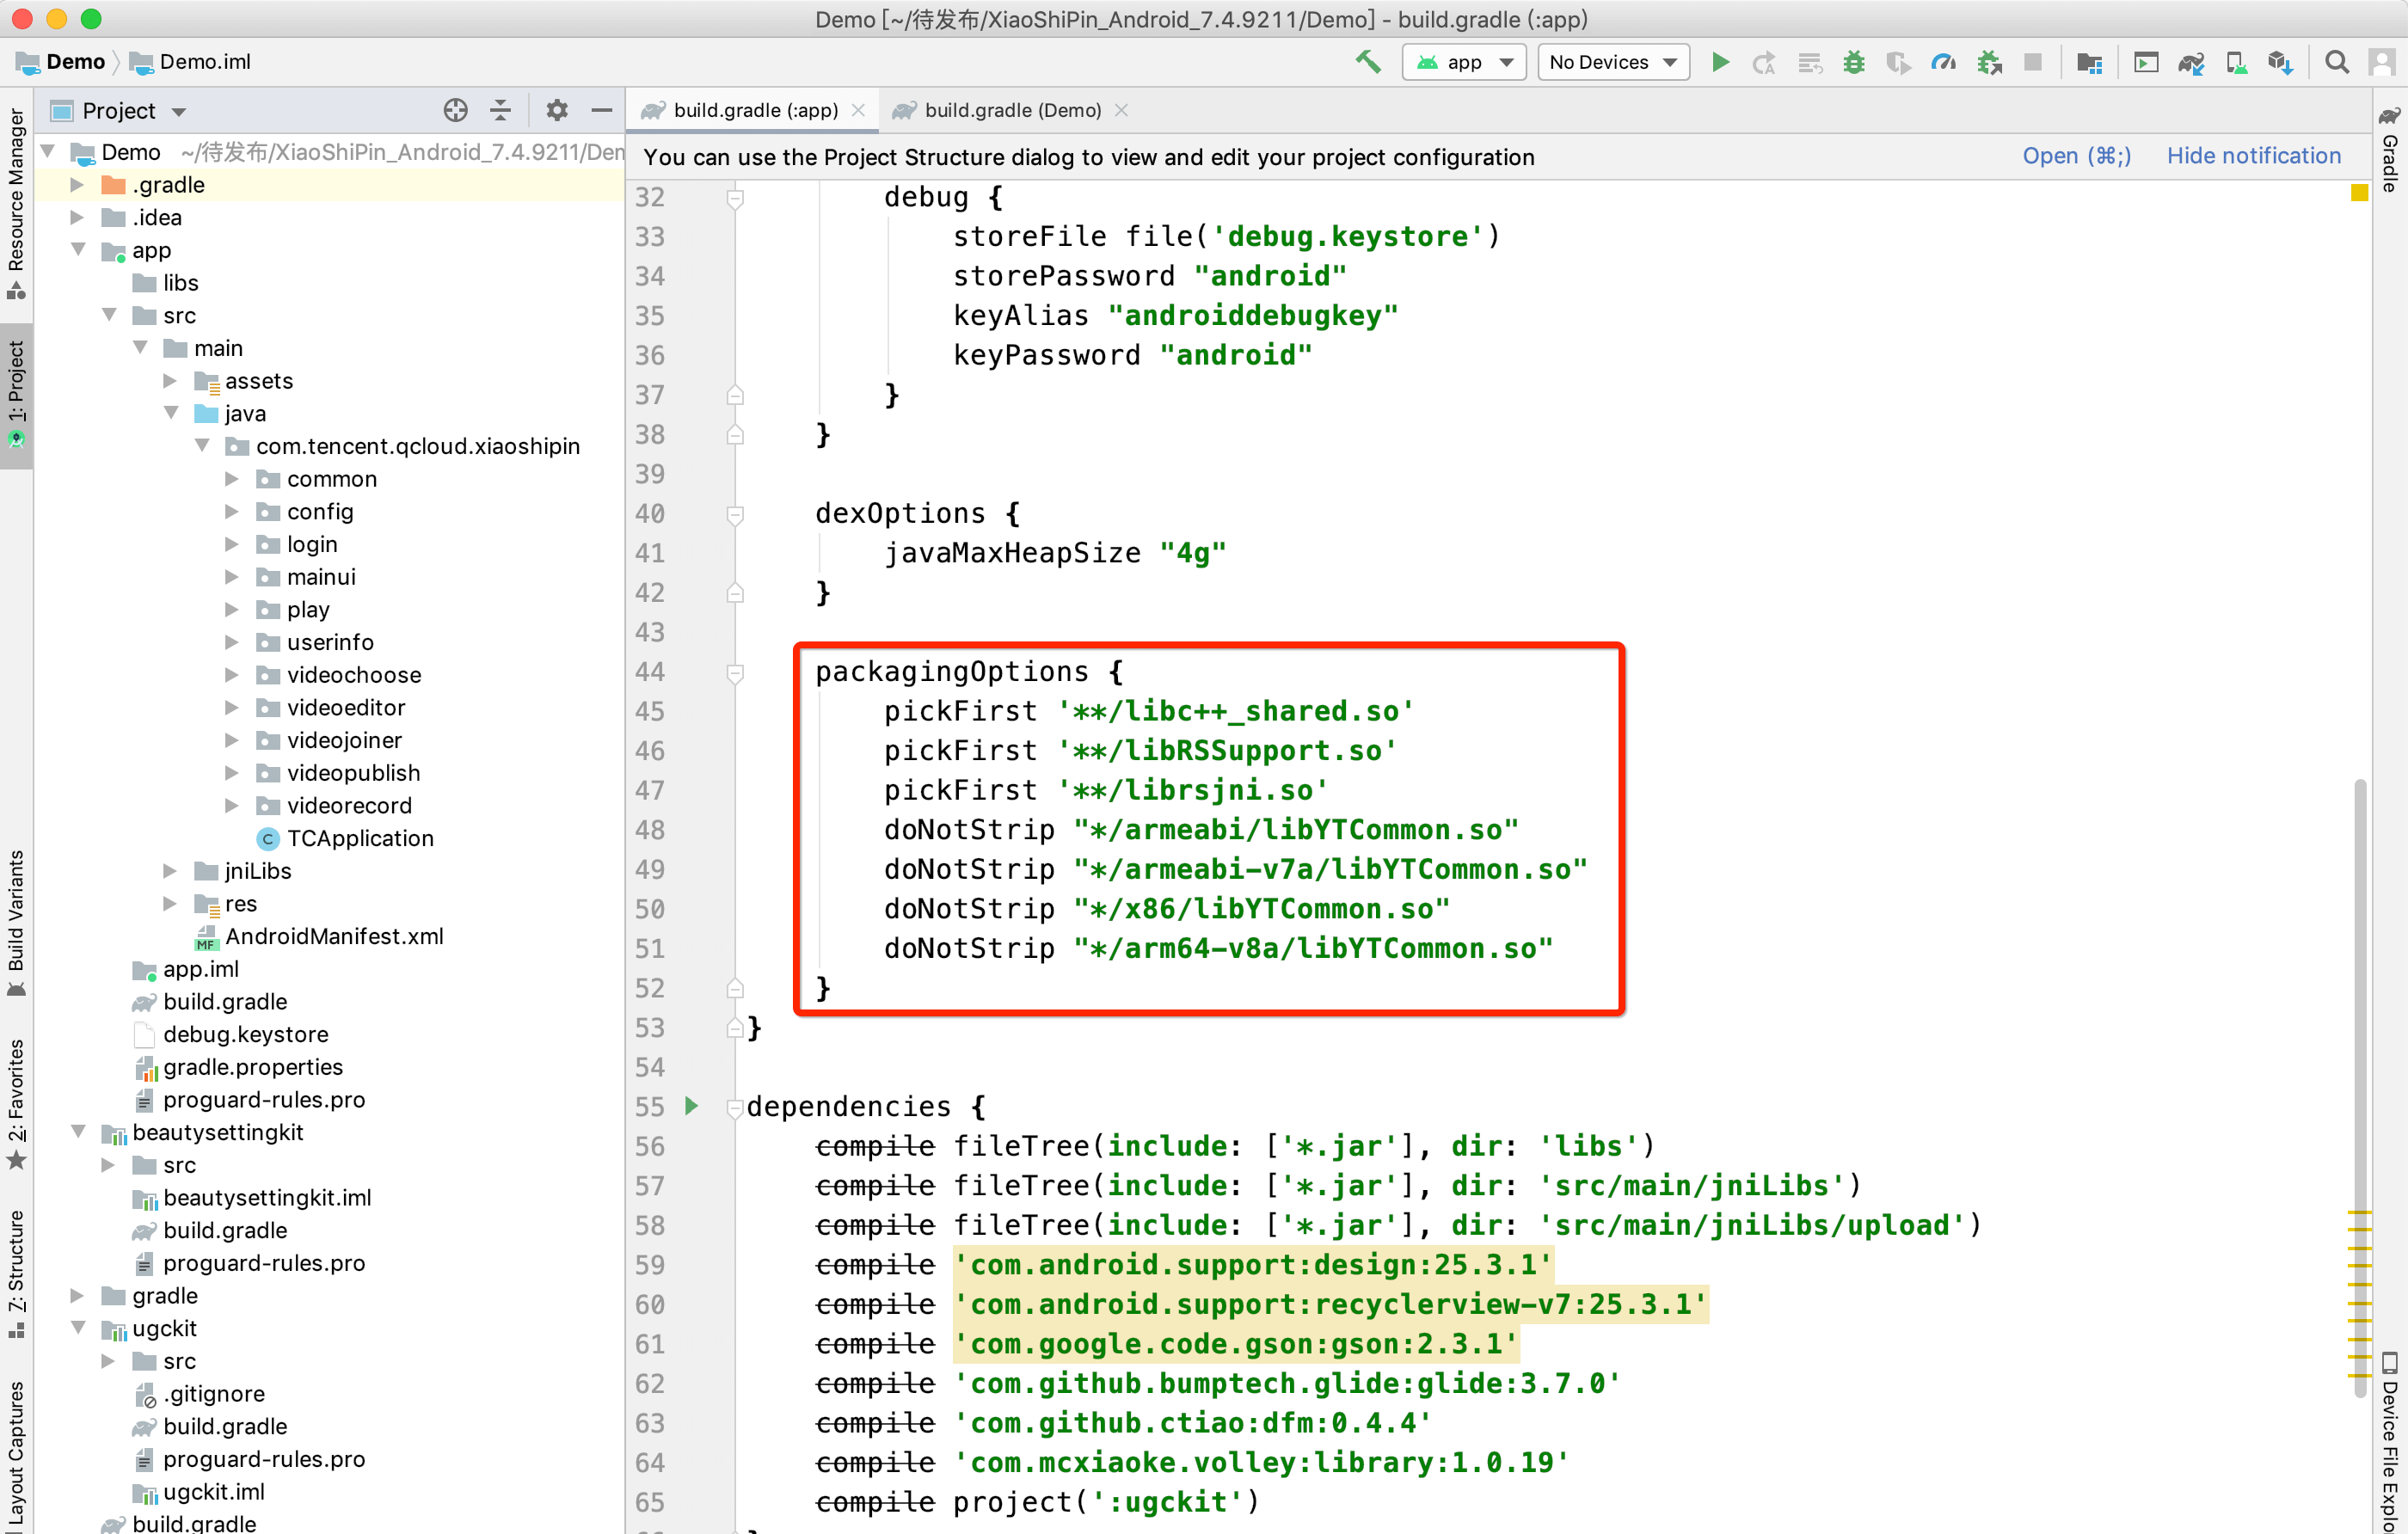
4. Configure packaging options for your application. Detailed description
See the documents below for a detailed description of different UGSV modules.