Getting Started with Global Accelerator
Step 1: Activating GAAP
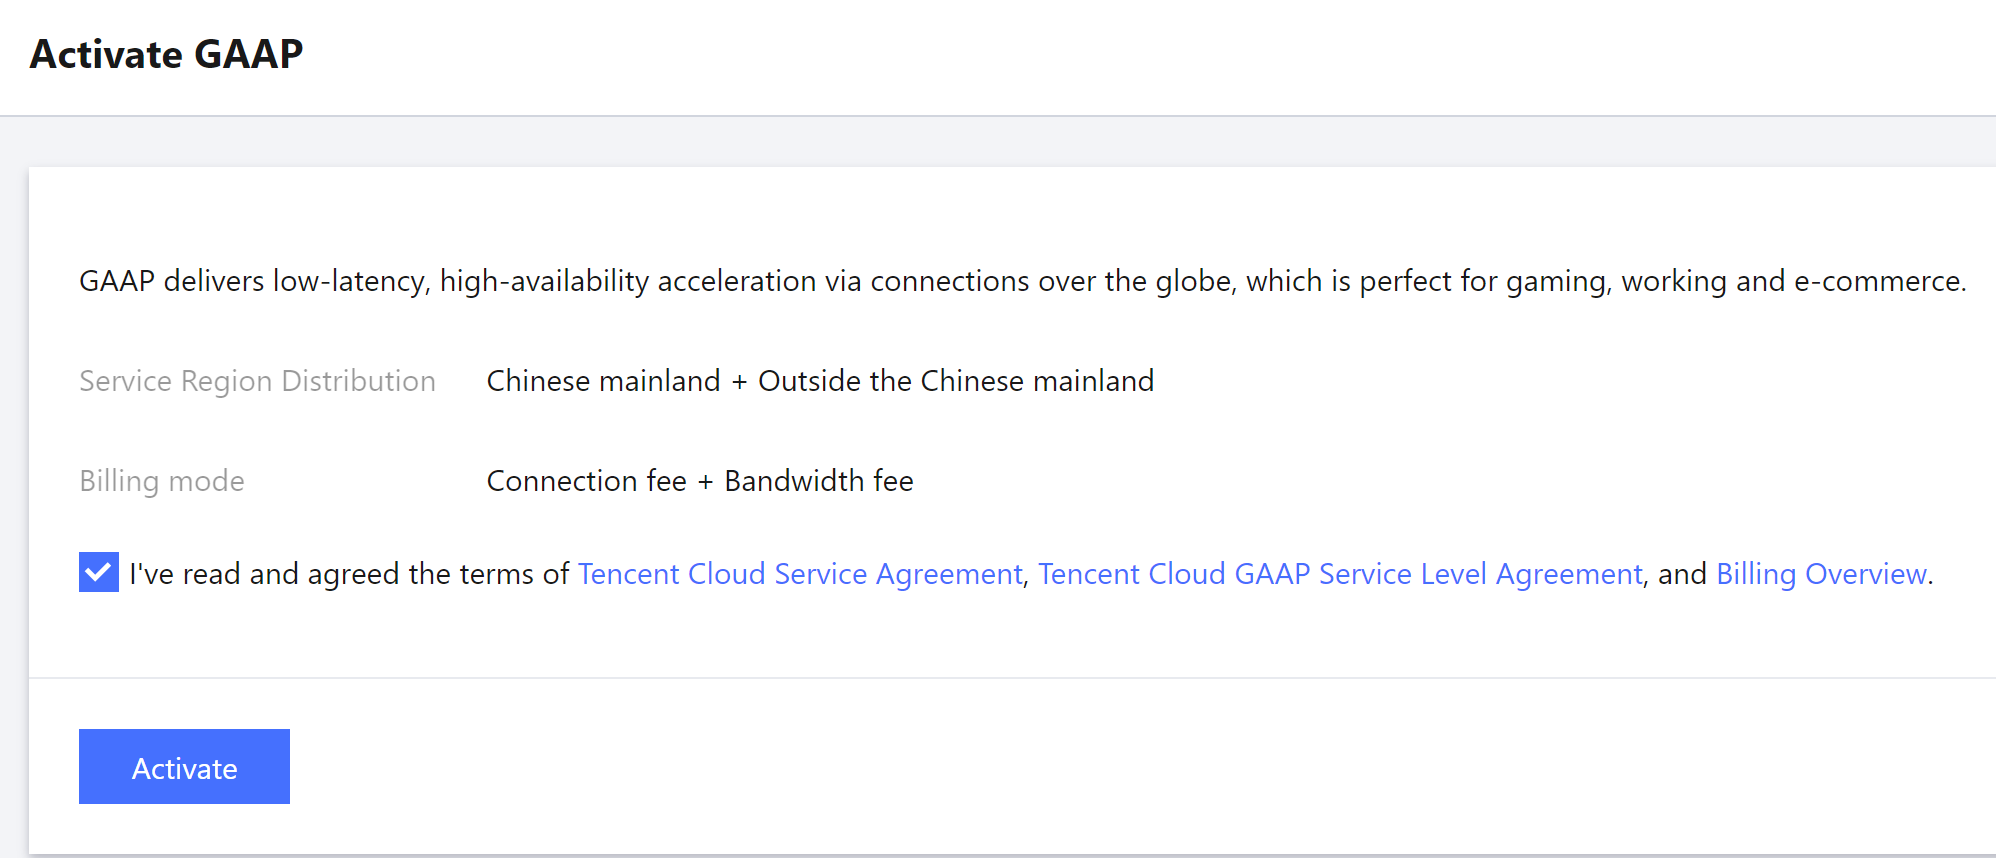
1. Click Get Started on the product page. Log in to the GAAP console with your Tencent Cloud account.
2. For new users, you’re asked to read through and accept the terms of the service. Then Click Activate GAAP.
Step 2: Adding an Origin Server
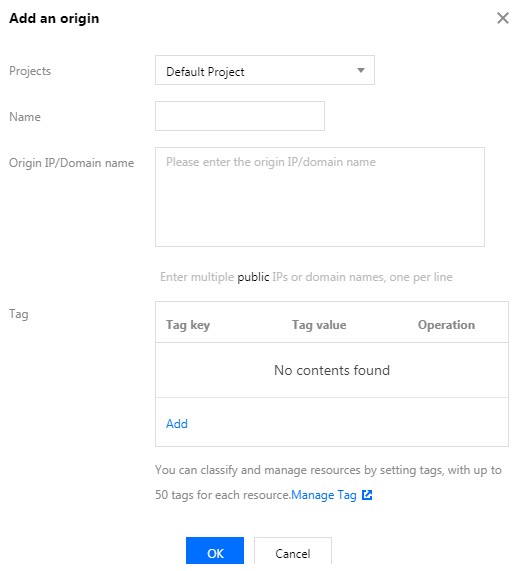
1. Click Origin Server Management>Add. Configure the name, enter the origin server IP address or domain name, and add a tag (optional). You can add all the origin servers for which you want to accelerate your accesses to Origin Server Management.
2. Click OK.
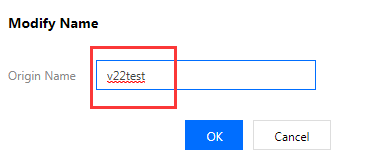
3. (Optional) Add an alias to the origin server for future use: Click the Edit icon next to the name of the origin server and enter a name. Click OK to save the configuration.
Step 3: Creating an Acceleration Connection
1. Click Access Management to enter the acceleration connection management page.

2. In the Add a connection window, enter the acceleration connection information before clicking OK.
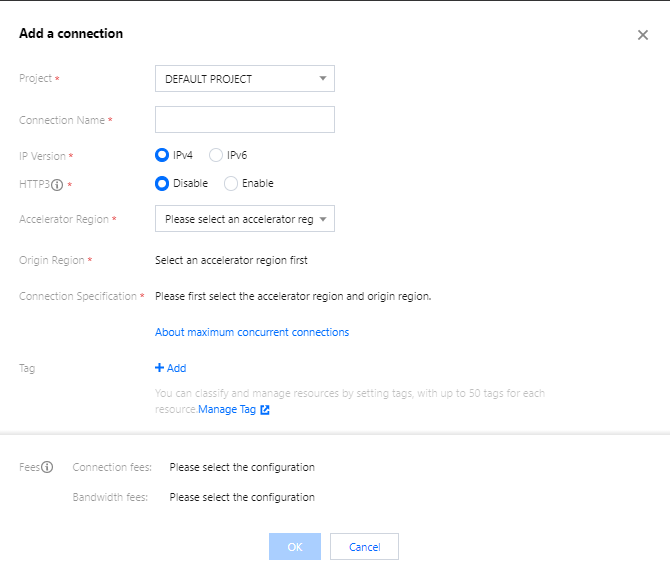
IP version: IPv4 is selected by default (IPv6 is only supported for regions in the Chinese mainland currently. To use it, submit a ticket for assistance).
HTTP3: Once enabled, the connection supports transfer over the HTTP3 (QUIC) protocol, and only HTTP/HTTPS listeners can be configured (this cannot be enabled or disabled after successful connection creation).
Accelerator region: Acceleration connection entry. Select a node in the client region or a nearby region.
Origin region: Acceleration connection exit. Select a node in the destination server region or a nearby region.
Bandwidth cap: The upper limit of the connection’s bandwidth.
Max concurrent connections: The maximum number of concurrent connections supported for a connection.
3. After the new connection is created, you can view its information. VIP/Domain Name is the access address for the acceleration connection.

4. Click the ID/Connection name of the connection to proceed to the next page, where you can view the specific information of the connection and configure the listener forwarding rules.
Step 4: Creating a Listener (with TCP as an example)
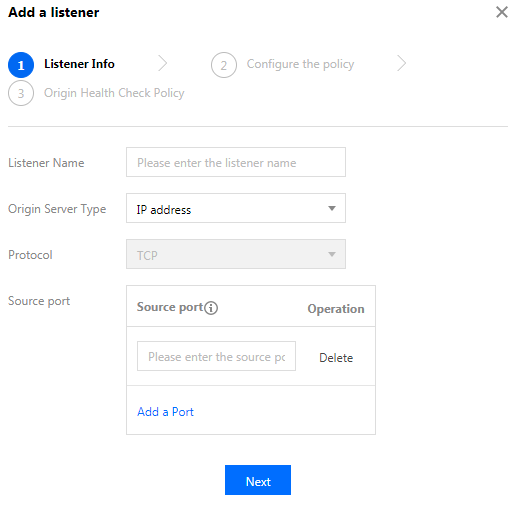
1. Click ID/Connection name > TCP/UDP listener management of the connection, enter the forwarding rule configuration, click Create, and add a forwarding policy in the pop-up window.
2. Configure the listener information for acceleration protocol and listening port mapping. You can map multiple listening ports at the same time, but they cannot be repeated.
Listening port: The access port of the acceleration connection VIP.
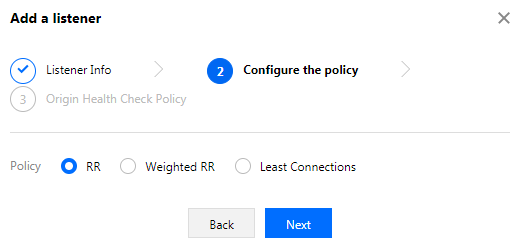
3. Configure the origin server processing policy, that is, when a listener is bound with multiple origin servers, you need to select a policy for scheduling among origin servers, as shown below:
4. Configure an origin health check.
If TCP protocol is used, the health check mechanism should be configured. Select Enable Health Check and then configure the response time and monitoring interval.
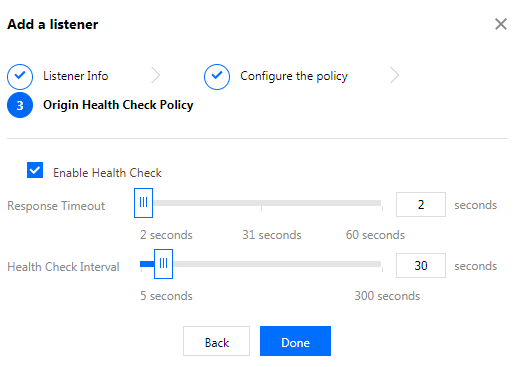
Response timeout: The timeout period for a response.Health Check Interval refers to the interval between two consecutive health checks. If the health check determines an origin server to be abnormal, the origin server will stop forwarding packets until it recovers to a normal status upon another health check.
Unhealthy/Healthy Threshold: it indicates the number of consecutive failed/successful checks before the origin server is deemed unhealthy/healthy.
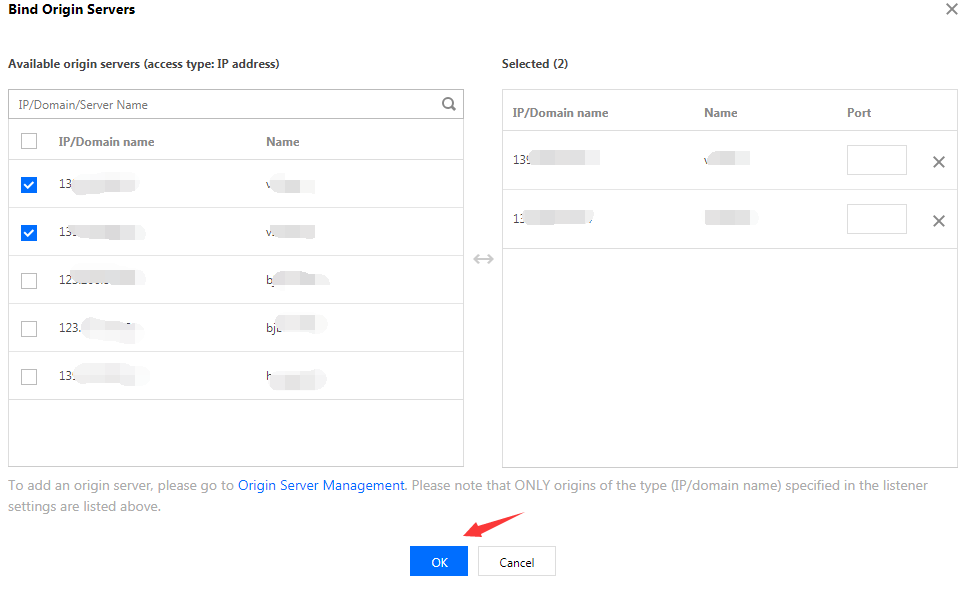
Step 5: Binding an Origin Server
1. Select a listener, and click Bind origin in the operation column.
2. Add all origin servers to be bound in the list on the left to the box on the right and then enter the origin server port number.
Step 6: Using Acceleration Connection
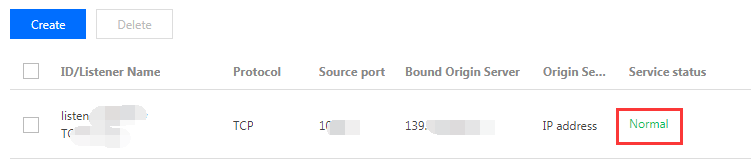
After completing the above steps, you can use the connection for acceleration when the listener's status becomes
Normal
.
1. Access Methods
Method 1: If the client accesses the VIP+port, the acceleration from the client requiring acceleration to the destination server can be achieved.
Method 2: If the client accesses the domain name+ port of an acceleration connection, the acceleration from the client requiring acceleration to the destination server can be achieved.
Method 3: If the client has originally accessed the domain name, this domain name can be resolved to that of an acceleration connection by configuring CNAME, to achieve acceleration from the client requiring acceleration to the destination server.
2. Acceleration Linkage Description
Acceleration linkages are divided into the following types:
Client to VIP: public network.
VIP to the forwarding server of the origin region: direct connect (private network).
The forwarding server of the origin server region to the origin server: public network.

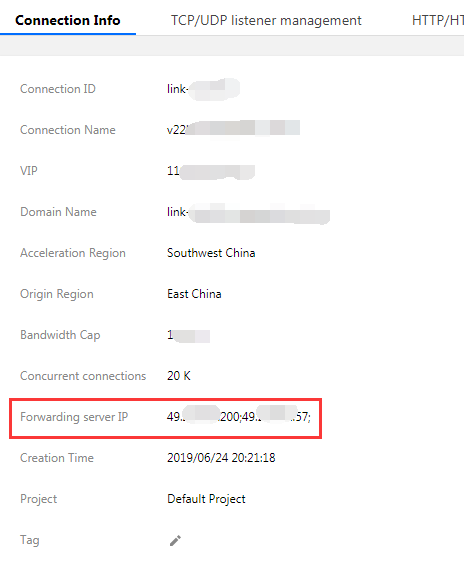
3. Forwarding Server IP Description
If security group rules have been configured for the origin server, click ID/Connection name of the connection, and query Forwarding IP under the Configure the connection tab. Acceleration is possible only if the origin server allows access from these IPs. See the following figure:
4. Get the real IP of the clientLayer-4 protocol: In TCP protocol listening, TOA and Proxy Protocol modules are supported. For more information, see Basic Principle.
Layer-7 protocol: The origin server can directly get the real client IP from the X-Real-IP or X-Forwarded-For field in the HTTP request header. This feature is enabled by default and can be customized as instructed in HTTP/HTTPS Listener Management. If there is an intermediate linkage such as CLB or self-built Nginx between the origin server and the program, you need to configure it by yourself to prevent the field from being overwritten by the intermediate linkage.
5. View Statistics
You can view current and historical statistics in Statistics page. For more information on operations, see Statistics.
Help and Support
Was this page helpful?
You can also Contact sales or Submit a Ticket for help.
Help us improve! Rate your documentation experience in 5 mins.
Feedback