React
Environment Requirements
React version 18+ (17.x versions are not supported)
TypeScript
Node.js version 16+
npm (use a version that matches the Node version in use)
Step 1: Integrating Chat
Step 2: Activating the Audio and Video Call Capability
Before using the audio and video services provided by Tencent Cloud, you need to go to the console to activate the service for the application. Refer to the specific steps in Activate the Service.
Step 3: Download the TUICallKit Component
npm i @tencentcloud/call-uikit-react
Step 4: Introducing and Invoking the TUICallKit Component
Just add two lines of code to experience the call feature. Introduce TUICallKit and invoke the TUICallKit component.
Enable Call in the <ChatHeader /> component, display the Icon, and set enableCall to true.
Note:
1. If you have not integrated TUIKit yet, please follow the Integrate TUIKit documentation to integrate TUIKit first. TUIKit version 2.2.8 and above.
2. The TUICallKit component can add style to display and control the position, width, height, and other styles of TUICallKit.
// 1. Import TUICallKitimport { TUICallKit } from '@tencentcloud/call-uikit-react';
// 2. If you are displaying on a PC, please add style to initialize the position of TUICallKit. If it is displayed on H5, it is not needed.const callStyle: React.CSSProperties = {position: 'fixed',top: '50%',left: '50%',zIndex: '999',transform: 'translate(-50%, -50%)',};
// 3. Please use the TUICallKit component in UIKitProviderreturn (<div style={{display: 'flex', height: '100vh'}}><UIKitProvider language={"en-US"}><TUICallKit style={callStyle} /><div style={{maxWidth: '400px'}}><Profile /><ConversationList /></div><Chat><ChatHeader enableCall={true}/><MessageList /><MessageInput /></Chat><ChatSetting /></UIKitProvider></div>);
Step 5: Launching the Project
npm run start
Step 6: Sending Your First Message
Enter your message in the input box and press Enter to send.
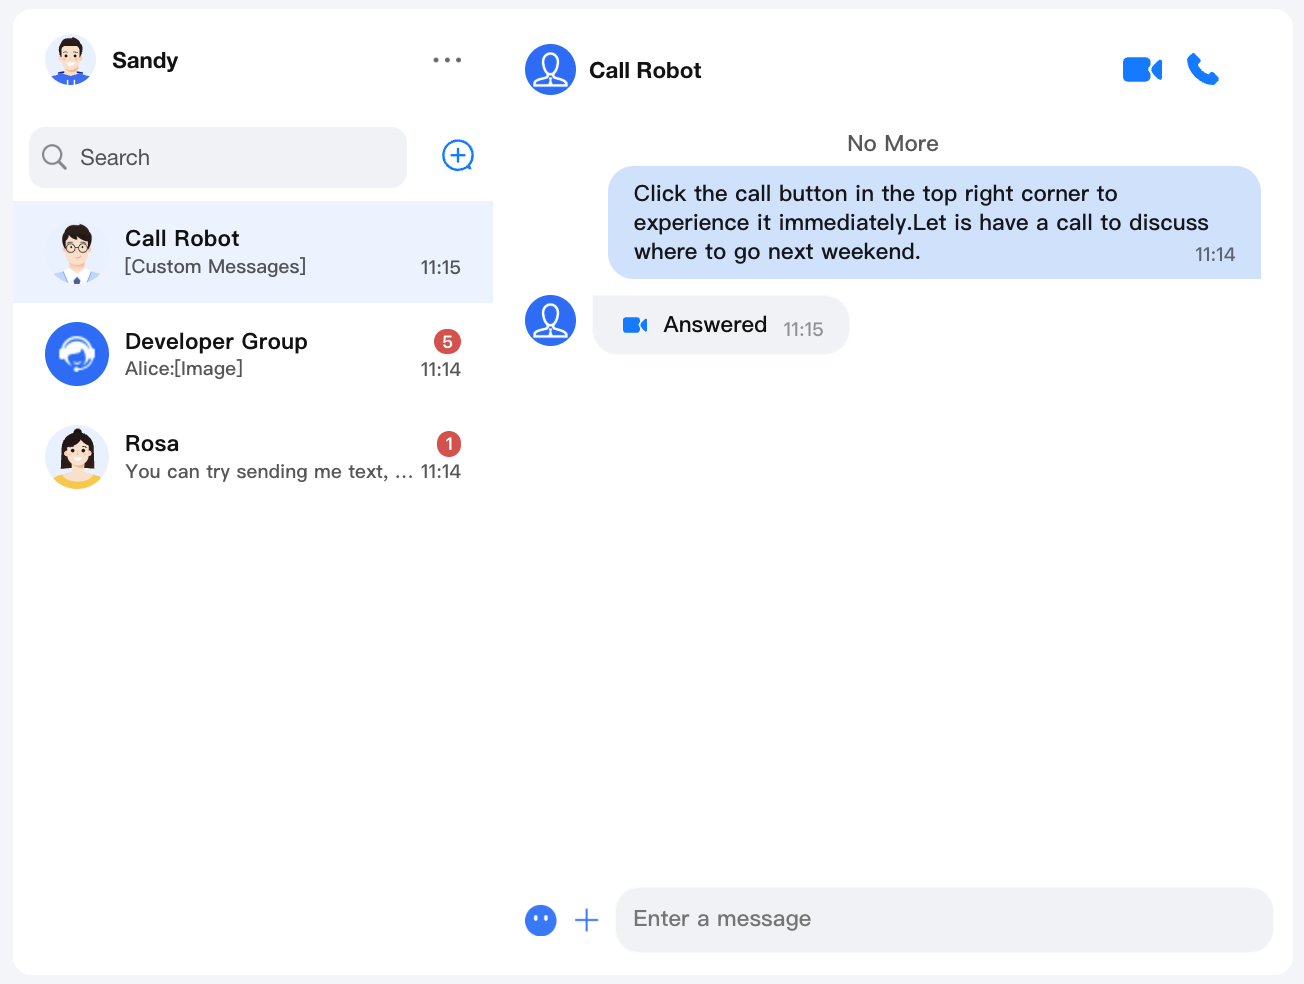
Step 7. Make your first call
As shown in the figure, click the video/audio Icon in the toolbar to realize the call effect.
FAQs
If you encounter any problems with access and use, please refer to FAQs.
If you have any requirements or feedback, you can contact: info_rtc@tencent.com.
Help and Support
Was this page helpful?
You can also Contact sales or Submit a Ticket for help.
Help us improve! Rate your documentation experience in 5 mins.
Feedback