Cloud Streaming Services (CSS) supports access control by configuring User-Agent blacklist and whitelist rules. This method makes rule judgment based on the User-Agent information in the user's HTTP request header to allow or deny user access as needed.
How It Works
Configure UA allowlist: Only the configured UA content can access the current live broadcast content.
Configure UA blocklist: Only the configured UA content cannot access the current live broadcast content.
Must-Knows
Turn on/off UA Blocklist/Allowlist, it is expected to take effect in 15-20 minutes.
If UA authentication and other authentication methods are configured at the same time, the priority order is: Protocol > IP > Region > UA. The system will first authenticate according to the protocol, then IP, region, and finally UA.
Prerequisites
You have activated CSS and logged in to the CSS console.
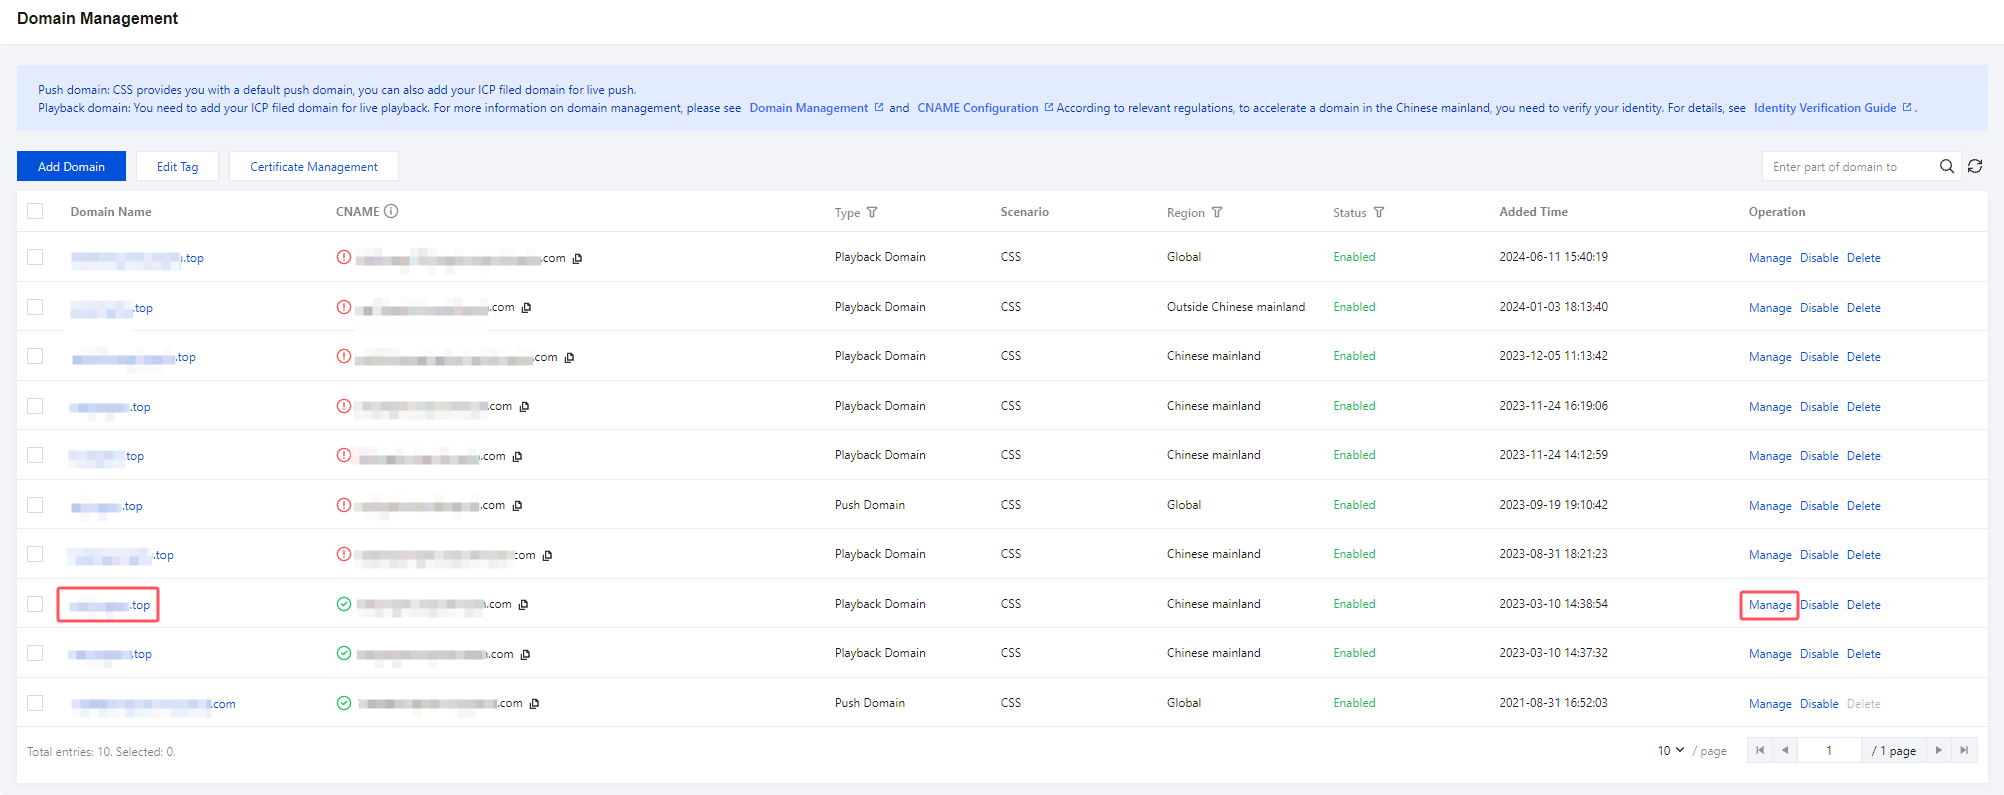
1. Select Domain Management, click the Playback Domain that requires UA Blocklist/Allowlist configuration or the Manage on the right, and enter the Domain Management page.
2. Within the Access Control > UA Blocklist/Allowlist, click on
to enable the UA Blocklist/Allowlist.
3. After enabling the UA blocklist/allowlist, enter the UA blocklist/allowlist, configuration page and perform the following configuration:
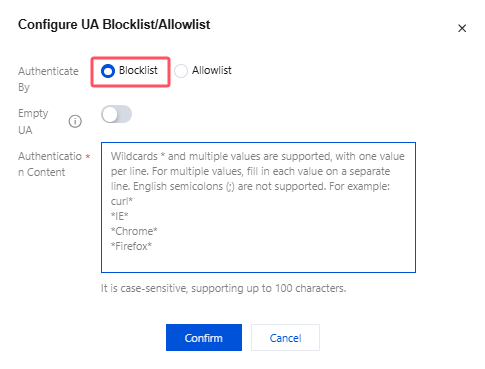
Blocklist
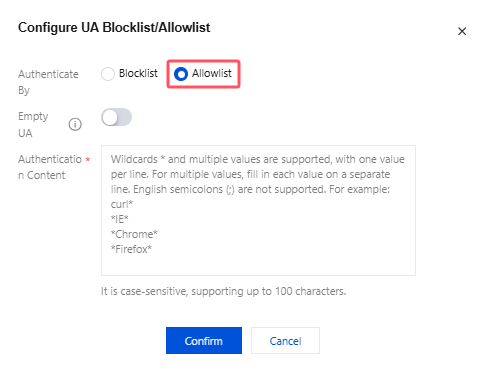
Allowlist
Configuration Item
Description
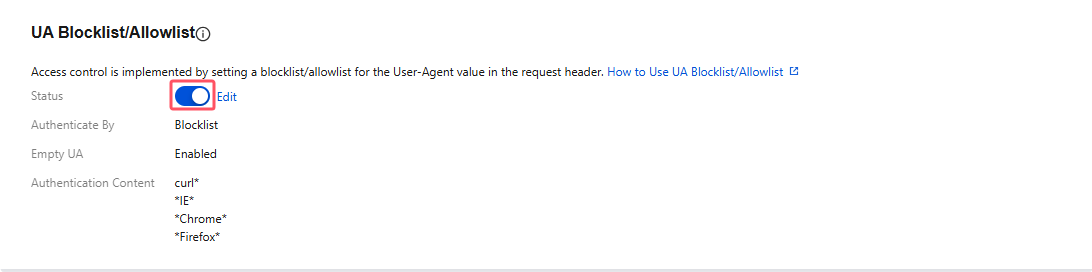
Authenticate By
Allowlist or blocklist:
You cannot select both.
Empty UA
The empty User-Agent function is turned off by default and can be turned on manually.
After empty User-Agent is enabled:
In the blocklist scenario, requests are allowed if the UA value is empty or the UA field does not exist.
In the allowlist scenario, requests are rejected if the UA value is empty, and requests are allowed if the UA field does not exist.
Authentication Content
Wildcards * and multiple values are supported, with one value per line. For multiple values, fill in each value on a separate line. English semicolons (;) are not supported. For example:
curl*
*IE*
*Chrome*
*Firefox*
It is case-sensitive, supporting up to 100 characters.
4. Click Confirm to save the configuration.
Note:
The UA blocklist/allowlist will take effect in about 10 minutes after configuration. Please wait.
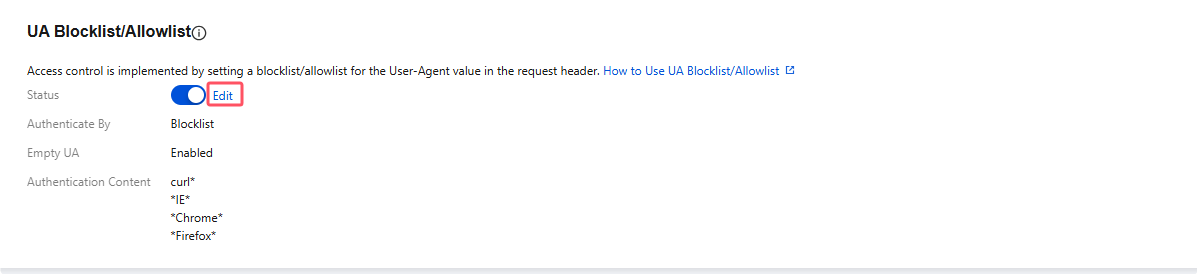
Modifying an UA Blocklist/Allowlist
1. Select Domain Management on the left sidebar, and click the target playback domain or click Manage on the right to enter the domain management page.
2. Click Access Control and, in the UA Blocklist/Allowlist area, click Edit.
3. Modify the configuration and click Confirm.
Disabling UA Blocklist/Allowlist
Follow the steps below to disable UA Blocklist/Allowlist:
1. Select Domain Management on the left sidebar, and click the target playback domain or click Manage on the right to enter the domain management page.
2. Select the Access Control tab. In the UA Blocklist/Allowlist area, click
to disable UA Blocklist/Allowlist.
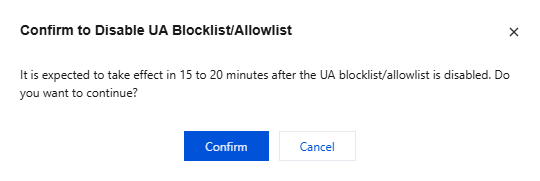
3. When closing UA Blocklist/Allowlist, the system will pop up a confirmation window. Click Confirm to turn off the feature. Please note that it is expected to take 15-20 minutes after shutdown to take effect.