tencent cloud

Cloud Access Management

Product Introduction
CAM Overview
Features
Scenarios
Basic Concepts
Use Limits
User Types
Purchase Guide
Getting Started
Creating Admin User
Creating and Authorizing Sub-account
Logging In to Console with Sub-account
User Guide
Overview
Users
Access Key
User Groups
Role
Identity Provider
Policies
Permissions Boundary
Troubleshooting
Downloading Security Analysis Report
CAM-Enabled Role
Overview
Compute
Container
Microservice
Essential Storage Service
Data Process and Analysis
Data Migration
Relational Database
Enterprise Distributed DBMS
NoSQL Database
Database SaaS Tool
Database SaaS Service
Networking
CDN and Acceleration
Network Security
Data Security
Application Security
Domains & Websites
Big Data
Middleware
Interactive Video Services
Real-Time Interaction
Media On-Demand
Media Process Services
Media Process
Cloud Real-time Rendering
Game Services
Cloud Resource Management
Management and Audit Tools
Developer Tools
Monitor and Operation
More
CAM-Enabled API
Overview
Compute
Edge Computing
Container
Distributed cloud
Microservice
Serverless
Essential Storage Service
Data Process and Analysis
Data Migration
Relational Database
Enterprise Distributed DBMS
NoSQL Database
Database SaaS Tool
Networking
CDN and Acceleration
Network Security
Endpoint Security
Data Security
Business Security
Application Security
Domains & Websites
Office Collaboration
Big Data
Voice Technology
Image Creation
Tencent Big Model
AI Platform Service
Natural Language Processing
Optical Character Recognition
Middleware
Communication
Interactive Video Services
Real-Time Interaction
Stream Services
Media On-Demand
Media Process Services
Media Process
Cloud Real-time Rendering
Game Services
Education Sevices
Medical Services
Cloud Resource Management
Management and Audit Tools
Developer Tools
Monitor and Operation
More
Use Cases
Security Practical Tutorial
Multi-Identity Personnel Permission Management
Authorizing Certain Operations by Tag
Supporting Isolated Resource Access for Employees
Enterprise Multi-Account Permissions Management
Reviewing Employee Operation Records on Tencent Cloud
Implementing Attribute-Based Access Control for Employee Resource Permissions Management
During tag-based authentication, only tag key matching is supported
Business Use Cases
TencentDB for MySQL
CLB
CMQ
COS
CVM
VPC
VOD
Others
API Documentation
History
Introduction
API Category
Making API Requests
User APIs
Policy APIs
Role APIs
Identity Provider APIs
Data Types
Error Codes
FAQs
Role
Key
Others
CAM Users and Permissions
Glossary

Configure OIDC In the Enterprise IdP

PDF
Focus Mode
Font Size
Last updated: 2024-01-23 17:39:39

Overview

It's crucial for an enterprise's existing identity system - as an IdP - to configure OIDC for Tencent Cloud (the SP). This establishes trust from the enterprise IdP towards Tencent Cloud, enabling enterprise IdP users to log in to Tencent Cloud using user-based SSO.
Note: This document uses IdP Azure Active Directory as an example.

Directions

Creating an Application in Enterprise IdP

1. Log in to the Azure Active Directory portal as an administrator.
2. Navigate to Azure Active Directory> Enterprise Applications > All Applications.
3. Click New Application.


4. Click Create Your Own Application.


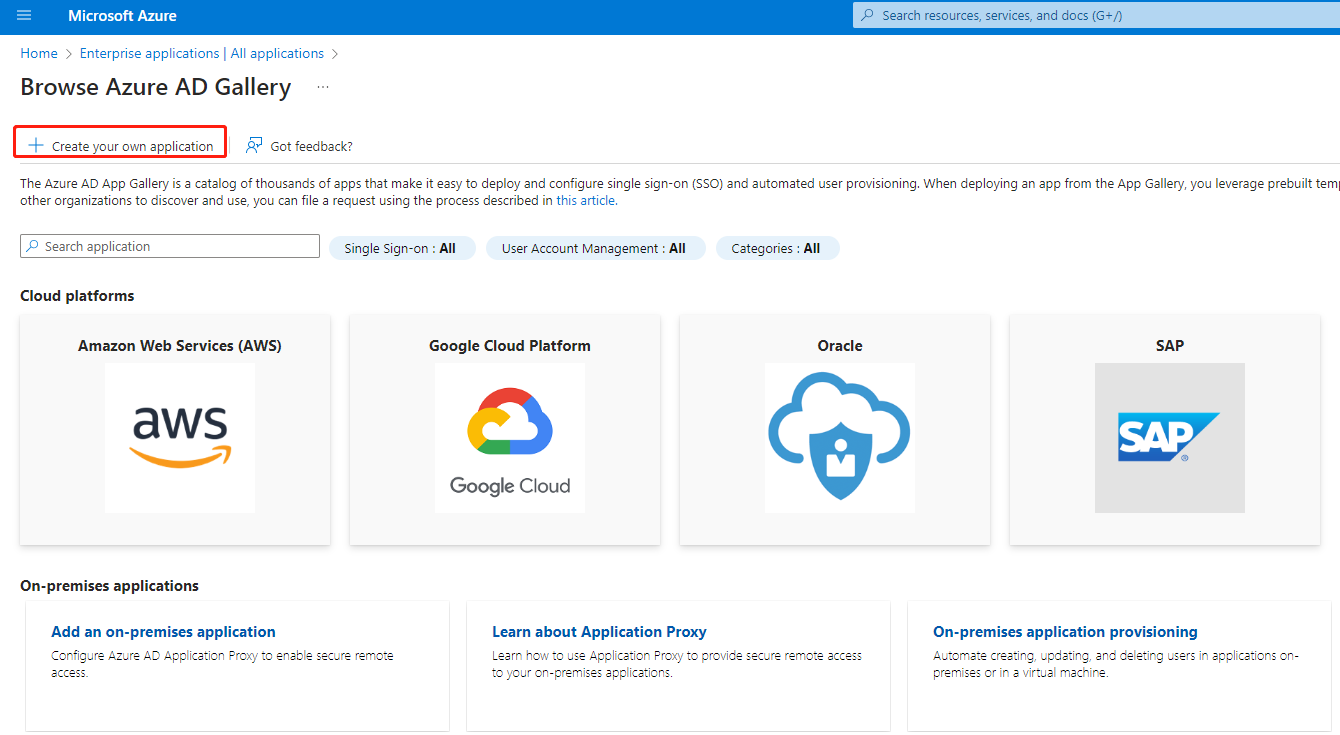
5. In the pop-up window on the right, enter the application name and select any additional applications not found in your current collection (non-database).

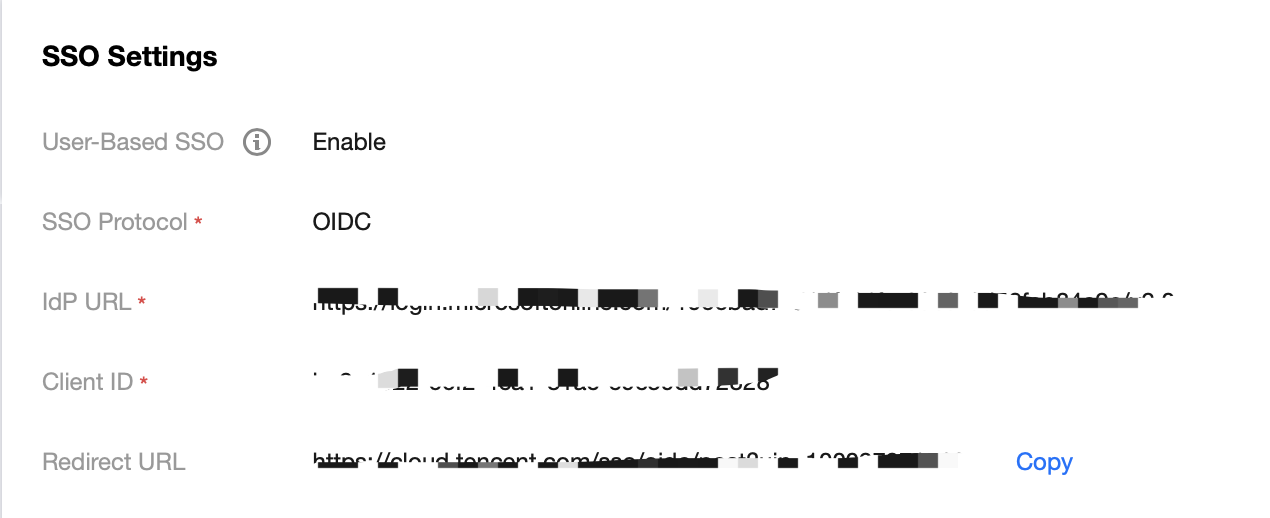
Obtaining the URL for the Metadata of the OIDC Service Provider from Tencent Cloud

1. Log in to the Tencent Cloud account Cloud Access Management Console.
Please Note:
For steps on Tencent Cloud's OIDC configuration, please refer to Configuring OIDC in Tencent Cloud SP.
2. In the left navigation bar, select Identity Provider > User SSO, as detailed below:


3. Click Copy to acquire the Redirect URL information.

Incorporating the Redirect URL Obtained from Tencent Cloud to the Enterprise IdP

1. Navigate to Azure Active Directory> App Registrations > All Applications.
2. At the application name field, click the application that has been created.
3. In the left navigation bar, click on Single Sign-On.
4. Select link for the SSO method, as shown in the figure:


5. Enter the Redirect URL obtained from Tencent Cloud.


6. Click Save.

Help and Support

Was this page helpful?

Help us improve! Rate your documentation experience in 5 mins.

Feedback