tencent cloud

文档反馈

Web TUIChat 独立集成方案(Vue2 & Vue3)

最后更新时间:2024-01-31 17:02:18

    适用场景

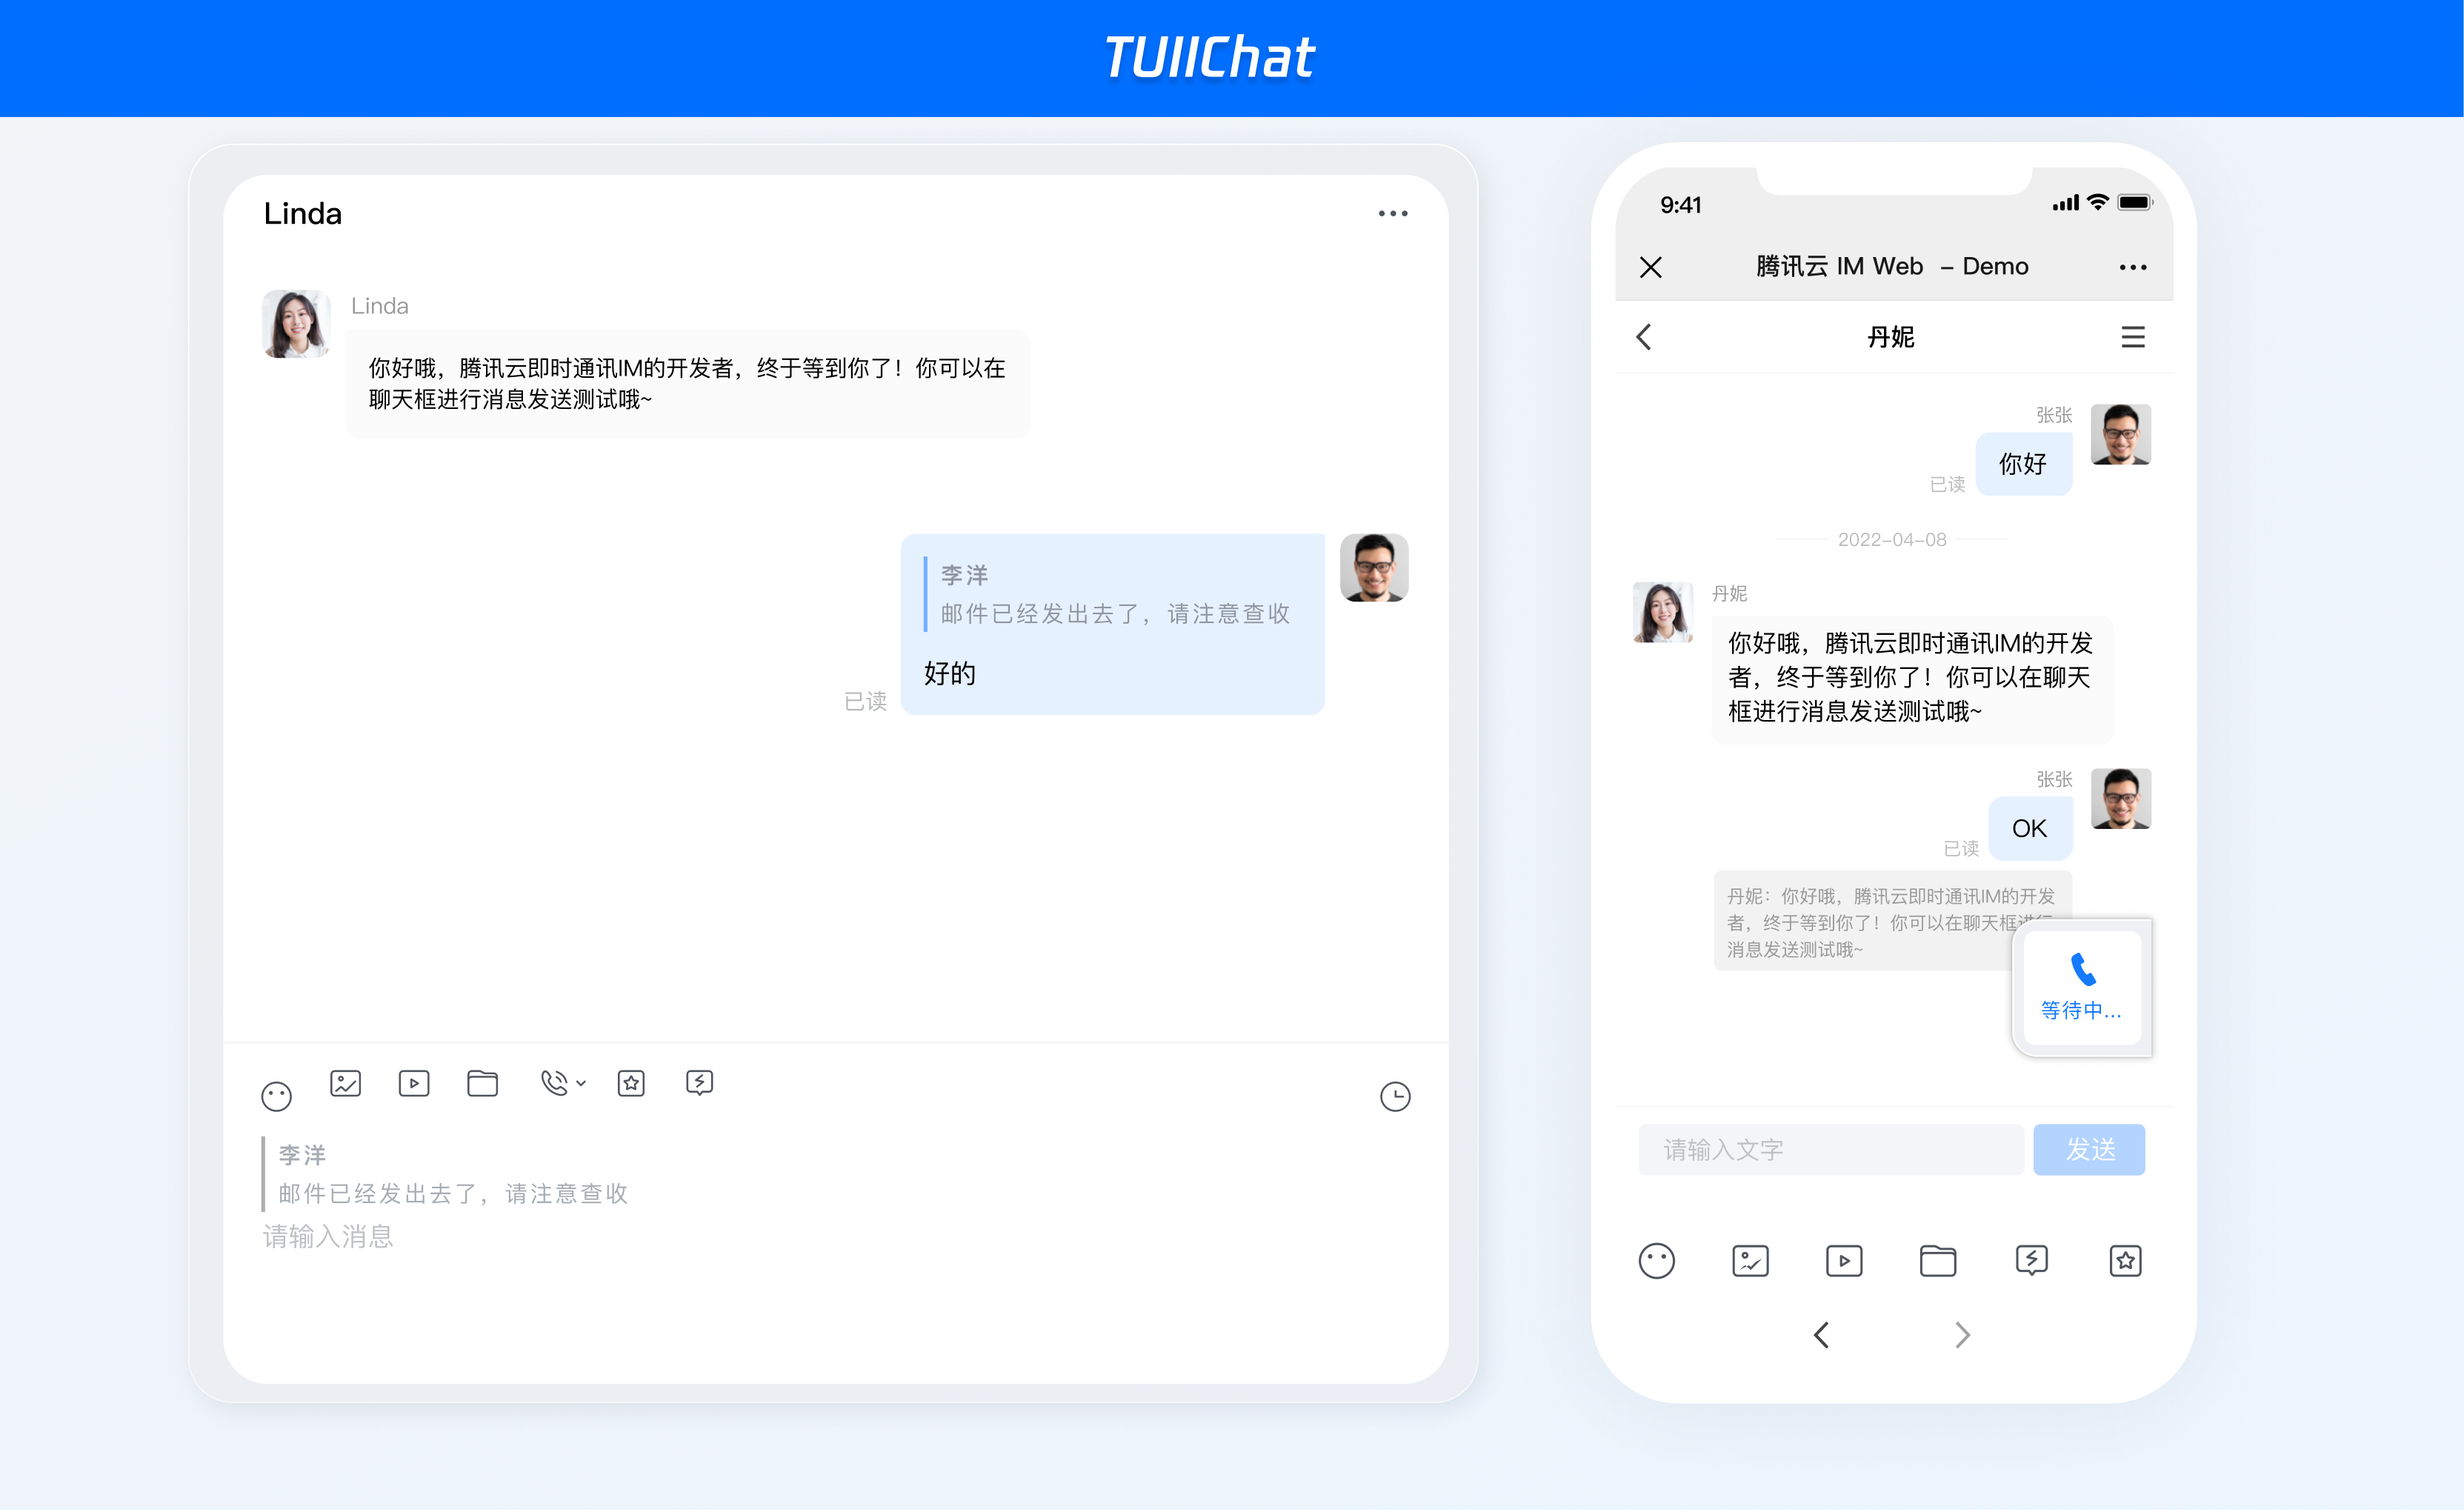
    Web & H5 平台,独立集成私信聊天(1V1)或者群聊(Group),如房产中介咨询、电商在线客服、保险远程定损等。

    开发环境要求

    Vue ( 全面支持 Vue2 & Vue3 , 请您在下方接入时选择您所匹配的 Vue 版本接入指引进行接入)
    TypeScript ( 如您是 js 项目, 请跳转至 js 工程如何接入 TUIKit 组件 进行配置 ts 渐进式支持)
    sass(sass-loader 版本 ≤ 10.1.1)
    node(node.js ≥ 16.0.0)
    npm(版本请与 node 版本匹配)

    TUIKit 源码集成( Web & H5 )

    步骤1:创建项目

    TUIKit 支持使用 webpack 或 vite 创建项目工程,配置 Vue3 / Vue2 + TypeScript + sass。以下是几种项目工程搭建示例:
    vue-cli
    vite
    注意:
    请您务必保证您的 @vue/cli 版本在 5.0.0 以上,您可使用以下示例代码升级您的 @vue/cli 版本至 v5.0.8。
    使用 vue-cli 方式创建项目, 配置 Vue2 / Vue3 + TypeScript + sass。 如果您尚未安装 vue-cli 或者 vue-cli 版本低于 5.0.0 ,可以在 terminal 或 cmd 中采用如下方式进行安装:
    npm install -g @vue/cli@5.0.8 sass sass-loader@10.1.1
    通过 vue-cli 创建项目,并选择下图中所选配置项。
    vue create chat-example
    请务必保证按照如下配置选择:
    
    创建完成后,切换到项目所在目录:
    cd chat-example
    如果您是 vue2 项目,请根据您所使用的 Vue 版本进行以下相应的环境配置, vue3 项目请忽略。
    vue2.7
    vue2.6及以下
    npm i vue@2.7.9 vue-template-compiler@2.7.9
    npm i @vue/composition-api unplugin-vue2-script-setup vue@2.6.14 vue-template-compiler@2.6.14
    
    注意:
    Vite 需要 Node.js 版本 18+,20+。当你的包管理器发出警告时,请注意升级你的 Node 版本,详情请参考 vite 官网
    使用 vite 方式创建项目,按照下图选项配置 Vue + TypeScript 。
    npm create vite@latest


    之后切换到项目目录,安装项目依赖:
    cd chat-example
    npm install
    安装 TUIKit 所需 sass 环境依赖:
    npm i -D sass sass-loader

    步骤2:下载 TUIKit 组件

    通过 npm 方式下载 TUIKit 组件,为了方便您后续的拓展,建议您将 TUIKit 组件复制到自己工程的 src 目录下:
    macOS 端
    Windows 端
    npm i @tencentcloud/chat-uikit-vue
    mkdir -p ./src/TUIKit && rsync -av --exclude={'node_modules','package.json','excluded-list.txt'} ./node_modules/@tencentcloud/chat-uikit-vue/ ./src/TUIKit
    npm i @tencentcloud/chat-uikit-vue
    xcopy .\\node_modules\\@tencentcloud\\chat-uikit-vue .\\src\\TUIKit /i /e /exclude:.\\node_modules\\@tencentcloud\\chat-uikit-vue\\excluded-list.txt
    成功后目录结构如图所示:


    步骤3:引入 TUIKit 组件

    main.ts / main.js 中,引入 TUIKit,并注册到 Vue 项目实例中
    Vue3 版本
    Vue2版本
    import { createApp } from 'vue';
    import App from './App.vue';
    import { TUIComponents, TUIChatKit, genTestUserSig } from "./TUIKit";
    import { TUILogin } from "@tencentcloud/tui-core"; const app = createApp(App);
    
    const SDKAppID = 0; // Your SDKAppID
    const secretKey = ""; //Your secretKey
    const userID = ""; // User ID
    
    // TUIChatKit add TUIComponents
    TUIChatKit.components(TUIComponents, app);
    // TUIChatKit init
    TUIChatKit.init();
    // TUICore login
    TUILogin.login({
    SDKAppID,
    userID,
    // UserSig is a password used to log in to IM. It is the ciphertext obtained after data such as UserID is encrypted.
    // this method is only suitable for locally running a demo project and feature debugging. https://www.tencentcloud.com/document/product/269/32688?from_cn_redirect=1
    userSig: genTestUserSig({
    SDKAppID,
    secretKey,
    userID,
    }).userSig,
    useUploadPlugin: true,
    useProfanityFilterPlugin: false,
    framework: "vue3",
    });
    
    app.mount("#app");
    export { SDKAppID, secretKey };
    import Vue from "vue";
    import App from "./App.vue";
    import { TUIComponents, TUIChatKit, genTestUserSig } from "./TUIKit";
    import { TUILogin } from "@tencentcloud/tui-core";
    
    const SDKAppID = 0; // Your SDKAppID
    const secretKey = ""; //Your secretKey
    const userID = ""; // User ID
    
    // TUIChatKit add TUIComponents
    TUIChatKit.components(TUIComponents, Vue);
    // TUIChatKit init
    TUIChatKit.init();
    // TUICore login
    TUILogin.login({
    SDKAppID,
    userID,
    // UserSig is a password used to log in to IM. It is the ciphertext obtained after data such as UserID is encrypted.
    // this method is only suitable for locally running a demo project and feature debugging. https://www.tencentcloud.com/document/product/269/32688?from_cn_redirect=1
    userSig: genTestUserSig({
    SDKAppID,
    secretKey,
    userID,
    }).userSig,
    useUploadPlugin: true,
    useProfanityFilterPlugin: false,
    framework: "vue2",
    });
    Vue.config.productionTip = false;
    new Vue({
    render: (h) => h(App),
    }).$mount("#app");
    export { SDKAppID, secretKey };

    步骤4: 获取 SDKAppID 、secretKey 与 userID

    设置 main.ts / main.js 文件示例代码中的相关参数 SDKAppID、secretKey 以及 userID :
    SDKAppID 和 secretKey 等信息,可通过 即时通信 IM 控制台 获取:


    userID 信息,可单击 即时通信 IM 控制台 > 账号管理,切换至目标应用所在账号,即可创建账号并获取 userID。


    步骤5:请填写 userID / groupID,打开会话进行聊天

    说明:
    conversationID:会话 ID。会话ID组成方式:
    C2C${userID}(单聊)
    GROUP${groupID}(群聊)
    关于群聊:
    通过调用 API createGroup 可获取 groupID
    如果是直播群, 需要通过调用 API joinGroup 加入群,才可以进行聊天。
    进入聊天
    通过调用 API switchConversation,传入 conversationID 进入聊天页面。
    Vue3 版本
    Vue2.7 版本
    Vue2.6 及以下版本
    在需要展示的页面,调用 TUIKit 的组件即可使用。 例如:在 App.vue 页面中,使用 TUIChat、TUICallKit 快速搭建聊天界面(以下示例代码同时支持 Web 端与 H5 端)。
    <template>
    <div :class="['TUIKit', isH5 && 'TUIKit-h5']">
    <div class="TUIKit-main-container">
    <div
    v-show="!isH5 || !currentConversationID"
    :class="['navbar', isH5 && 'navbar-h5']"
    >
    <div class="navbar-button" @click="openChat">Open OneToOne Chat</div>
    <div class="navbar-button" @click="openGroupChat">Open Group Chat</div>
    </div>
    <TUIChat v-show="!isH5 || currentConversationID">
    <h1>Let's chat!</h1>
    </TUIChat>
    <TUICallKit
    class="callkit-container"
    :allowedMinimized="true"
    :allowedFullScreen="false"
    />
    </div>
    </div>
    </template>
    <script setup lang="ts">
    import { ref } from "vue";
    import { TUIStore, StoreName, TUIConversationService } from "@tencentcloud/chat-uikit-engine";
    import { TUICallKit } from "@tencentcloud/call-uikit-vue";
    import { TUIChat } from "./TUIKit";
    import { isH5 } from "./TUIKit/utils/env";
    const currentConversationID = ref<string>("");
    const userID = "";// Please enter the userID you want to chat
    const groupID = "";// Please enter the groupID you want to chat
    TUIStore.watch(StoreName.CONV, {
    currentConversationID: (id: string) => {
    currentConversationID.value = id;
    },
    });
    function openChat() {
    TUIConversationService.switchConversation(`C2C${userID}`);
    }
    function openGroupChat() {
    TUIConversationService.switchConversation(`GROUP${groupID}`);
    }
    </script>
    <style scoped lang="scss">
    @import "./TUIKit/assets/styles/common.scss";
    @import "./TUIKit/assets/styles/sample.scss";
    .navbar {
    box-sizing: border-box;
    min-width: 285px;
    flex: 0 0 24%;
    border-right: 1px solid #f4f5f9;
    padding: 20px;
    .navbar-button {
    padding: 10px 40px;
    background-color: #006eff;
    color: #ffffff;
    font-size: 16px;
    margin-top: 65px;
    border-radius: 30px;
    text-align: center;
    cursor: pointer;
    }
    }
    .navbar-h5 {
    flex: 1;
    border-right: 1px solid #f4f5f9;
    .navbar-button {
    cursor: none;
    }
    }
    .chat {
    flex: 1;
    }
    </style>
    在需要展示的页面,调用 TUIKit 的组件即可使用。 例如:在 App.vue 页面中,使用 TUIChat、TUICallKit 快速搭建聊天界面(以下示例代码同时支持 Web 端与 H5 端)。
    <template>
    <div :class="['TUIKit', isH5 && 'TUIKit-h5']">
    <div class="TUIKit-main-container">
    <div
    v-show="!isH5 || !currentConversationID"
    :class="['navbar', isH5 && 'navbar-h5']"
    >
    <div class="navbar-button" @click="openChat">Open OneToOne Chat</div>
    <div class="navbar-button" @click="openGroupChat">Open Group Chat</div>
    </div>
    <TUIChat v-show="!isH5 || currentConversationID">
    <h1>Let's chat!</h1>
    </TUIChat>
    <TUICallKit
    class="callkit-container"
    :allowedMinimized="true"
    :allowedFullScreen="false"
    />
    </div>
    </div>
    </template>
    <script lang="ts">
    import Vue from "vue";
    import { TUIStore, StoreName, TUIConversationService } from "@tencentcloud/chat-uikit-engine";
    import { TUICallKit } from "@tencentcloud/call-uikit-vue2";
    import { TUIChat } from "./TUIKit";
    import { isH5 } from "./TUIKit/utils/env";
    export default Vue.extend({
    name: "App",
    components: {
    TUIChat,
    TUICallKit,
    },
    data() {
    return {
    isH5: isH5,
    currentConversationID: "",
    currentNavbar: "conversation",
    userID: "", // Please enter the userID you want to chat
    groupID: "", // Please enter the groupID you want to chat
    };
    },
    methods: {
    openChat() {
    TUIConversationService.switchConversation(`C2C${this.userID}`);
    },
    openGroupChat() {
    TUIConversationService.switchConversation(`GROUP${this.groupID}`);
    },
    },
    mounted: function () {
    TUIStore.watch(StoreName.CONV, {
    currentConversationID: (id: string) => {
    this.currentConversationID = id;
    },
    });
    },
    });
    </script>
    <style scoped lang="scss">
    @import "./TUIKit/assets/styles/common.scss";
    @import "./TUIKit/assets/styles/sample.scss";
    .navbar {
    box-sizing: border-box;
    min-width: 285px;
    flex: 0 0 24%;
    border-right: 1px solid #f4f5f9;
    padding: 20px;
    .navbar-button {
    padding: 10px 40px;
    background-color: #006eff;
    color: #ffffff;
    font-size: 16px;
    margin-top: 65px;
    border-radius: 30px;
    text-align: center;
    cursor: pointer;
    }
    }
    .navbar-h5 {
    flex: 1;
    border-right: 1px solid #f4f5f9;
    .navbar-button {
    cursor: none;
    }
    }
    .chat {
    flex: 1;
    }
    </style>
    1. 安装支持 composition-api 以及 script setup 的相关依赖,以及vue2.6相关依赖:
    npm i @vue/composition-api unplugin-vue2-script-setup vue@2.6.14 vue-template-compiler@2.6.14
    2. main.ts 中引入 VueCompositionAPI:
    import VueCompositionAPI from "@vue/composition-api";
    Vue.use(VueCompositionAPI);
    3. 在 vue.config.js 中增加,若没有该文件请新建:
    const ScriptSetup = require("unplugin-vue2-script-setup/webpack").default;
    module.exports = {
    parallel: false, // disable thread-loader, which is not compactible with this plugin
    configureWebpack: {
    plugins: [
    ScriptSetup({
    /* options */
    }),
    ],
    },
    chainWebpack(config) {
    // disable type check and let `vue-tsc` handles it
    config.plugins.delete("fork-ts-checker");
    },
    };
    4. 在 src/TUIKit/adapter-vue.ts 文件最后, 替换导出源:
    // 初始写法
    export * from "vue";
    // 替换为
    export * from "@vue/composition-api";
    5. 在需要展示的页面,调用 TUIKit 的组件即可使用。 例如:在 App.vue 页面中,使用 TUIChat、TUICallKit 快速搭建聊天界面(以下示例代码同时支持 Web 端与 H5 端)。
    <template>
    <div :class="['TUIKit', isH5 && 'TUIKit-h5']">
    <div class="TUIKit-main-container">
    <div
    v-show="!isH5 || !currentConversationID"
    :class="['navbar', isH5 && 'navbar-h5']"
    >
    <div class="navbar-button" @click="openChat">Open OneToOne Chat</div>
    <div class="navbar-button" @click="openGroupChat">Open Group Chat</div>
    </div>
    <TUIChat v-show="!isH5 || currentConversationID">
    <h1>Let's chat!</h1>
    </TUIChat>
    <TUICallKit
    class="callkit-container"
    :allowedMinimized="true"
    :allowedFullScreen="false"
    />
    </div>
    </div>
    </template>
    <script lang="ts">
    import Vue from "vue";
    import { TUIStore, StoreName, TUIConversationService } from "@tencentcloud/chat-uikit-engine";
    import { TUICallKit } from "@tencentcloud/call-uikit-vue2.6";
    import { TUIChat } from "./TUIKit";
    import { isH5 } from "./TUIKit/utils/env";
    export default Vue.extend({
    name: "App",
    components: {
    TUIChat,
    TUICallKit,
    },
    data() {
    return {
    isH5: isH5,
    currentConversationID: "",
    currentNavbar: "conversation",
    userID: "", // Please enter the userID you want to chat
    groupID: "", // Please enter the groupID you want to chat
    };
    },
    methods: {
    openChat() {
    TUIConversationService.switchConversation(`C2C${this.userID}`);
    },
    openGroupChat() {
    TUIConversationService.switchConversation(`GROUP${this.groupID}`);
    },
    },
    mounted: function () {
    TUIStore.watch(StoreName.CONV, {
    currentConversationID: (id: string) => {
    this.currentConversationID = id;
    },
    });
    },
    });
    </script>
    <style scoped lang="scss">
    @import "./TUIKit/assets/styles/common.scss";
    @import "./TUIKit/assets/styles/sample.scss";
    .navbar {
    box-sizing: border-box;
    min-width: 285px;
    flex: 0 0 24%;
    border-right: 1px solid #f4f5f9;
    padding: 20px;
    .navbar-button {
    padding: 10px 40px;
    background-color: #006eff;
    color: #ffffff;
    font-size: 16px;
    margin-top: 65px;
    border-radius: 30px;
    text-align: center;
    cursor: pointer;
    }
    }
    .navbar-h5 {
    flex: 1;
    border-right: 1px solid #f4f5f9;
    .navbar-button {
    cursor: none;
    }
    }
    .chat {
    flex: 1;
    }
    </style>

    步骤6:启动项目

    执行以下命令启动项目:
    vue-cli
    vite
    npm run serve
    npm run dev

    常见问题

    产品服务类问题

    1. 音视频通话能力包未开通?音视频通话发起失败?

    请单击 音视频通话 > 常见问题 查看解决方案。

    2. 什么是 UserSig?如何生成 UserSig?

    UserSig 是用户登录即时通信 IM 的密码,其本质是对 UserID 等信息加密后得到的密文。
    UserSig 签发方式是将 UserSig 的计算代码集成到您的服务端,并提供面向项目的接口,在需要 UserSig 时由您的项目向业务服务器发起请求获取动态UserSig。更多详情请参见 服务端生成 UserSig
    注意
    本文示例代码采用的获取 UserSig 的方案是在客户端代码中配置 SECRETKEY,该方法中 SECRETKEY 很容易被反编译逆向破解,一旦您的密钥泄露,攻击者就可以盗用您的腾讯云流量,因此该方法仅适合本地跑通功能调试。 正确的 UserSig 签发方式请参见上文。

    接入报错类问题

    1. 运行时报错:"TypeError: Cannot read properties of undefined (reading "getFriendList")"

    若按照上述步骤接入后,运行时出现以下错误,请您务必删除 TUIKit 目录下的 node_modules 目录,以保证 TUIKit 的依赖唯一性,避免 TUIKit 多份依赖造成问题。
    
    259937368-f7c85dfe-b4bd-4c73-88d9-3a9f0d7797f2.png (1186×550)


    2. js 工程如何接入 TUIKit 组件?

    TUIKit 仅支持 ts 环境运行,您可以通过渐进式配置 typescript 来使您项目中已有的 js 代码 与 TUIKit 中 ts 代码共存。
    vue-cli
    vite
    请在您 vue-cli 脚手架创建的工程根目录执行:
    vue add typescript
    之后按照如下进行配置项进行选择(为了保证能同时支持原有 js 代码 与 TUIKit 中 ts 代码,请您务必严格按照以下五个选项进行配置)
    260706614-5e2fc00b-ace5-4843-bef6-c0e234225b5d.png (1514×360)
    
    
    完成以上步骤后,请重新运行项目!
    请在您 vite 创建的工程根目录执行:
    npm install -D typescript

    3. 运行时报错:/chat-example/src/TUIKit/components/TUIChat /message-input/message-input-editor.vue .ts(8,23)TS1005: expected.


    出现以上报错信息,是因为您安装的 @vue/cli 版本过低导致,请您务必保证您的 @vue/cli 版本在 5.0.0 及以上。升级方式如下:
    npm install -g @vue/cli@5.0.8

    4. 运行时报错: Failed to resolve loader: sass-loader

    
    260897345-1ba994d8-da51-4820-94e7-a7145b34750b.png (690×160)
    
    
    出现以上报错信息,是因为您未安装 `sass` 环境导致,请执行以下命令进行 `sass` 环境安装:
    npm i -D sass sass-loader@10.1.1

    5. ESLint 其他报错?

    若 chat-uikit-vue 拷贝到 src 目录汇总与您本地项目代码风格不一致导致报错,可将本组件目录屏蔽,如在项目根目录增加 .eslintignore 文件:
    # .eslintignore
    src/TUIKit

    6. vue/cli 如何关闭 dev 模式下,webpack 全屏 overlay error 报错信息提示?

    可以在您项目根目录的 vue.config.js 中进行关闭:
    webpack4
    webpack3
    module.exports = defineConfig({
    ...
    devServer: {
    client: {
    overlay: false,
    },
    },
    });
    module.exports = {
    ...
    devServer: {
    overlay: false,
    },
    };

    7. 出现 Component name "XXXX" should always be multi-word 怎么办?

    IM TUIKit web 所使用的 ESLint 版本为 v6.7.2 ,对于模块名的驼峰式格式并不进行严格校验。
    如果您出现此问题,您可以在 .eslintrc.js 文件中进行如下配置:
    module.exports = {
    ...
    rules: {
    ...
    'vue/multi-word-component-names': 'warn',
    },
    };

    8. 出现 ERESOLVE unable to resolve dependency tree 怎么办?

    npm install 的时候如果出现 ERESOLVE unable to resolve dependency tree ,表示依赖安装冲突,可采用以下方式进行安装:
    npm install --legacy-peer-deps

    9. 运行报错如下'vue packages version mismatch',如何解决?

    // 如果您是 vue2.7 项目,请在您项目根目录执行
    npm i vue@2.7.9 vue-template-compiler@2.7.9
    // 如果您是 vue2.6 项目,请在您项目根目录执行
    npm i vue@2.6.14 vue-template-compiler@2.6.14

    10. vite 项目 npm run build 之后 ts 报错?


    原因:package.json script 下 "build": "vue-tsc && vite build" 中的 vue-tsc 命令导致。


    解决方案: 删除 vue-tsc 即可。 "build": "vite build"


    交流与反馈

    加入Telegram 技术交流群组WhatsApp 交流群,享有专业工程师的支持,解决您的难题。

    相关文档

    Vue2 & Vue3 UIKit 相关:

    Vue2 & Vue3 UIKit 逻辑层: engine 相关

    联系我们

    联系我们,为您的业务提供专属服务。

    技术支持

    如果你想寻求进一步的帮助,通过工单与我们进行联络。我们提供7x24的工单服务。

    7x24 电话支持