Release Notes
Announcements
Security Announcements
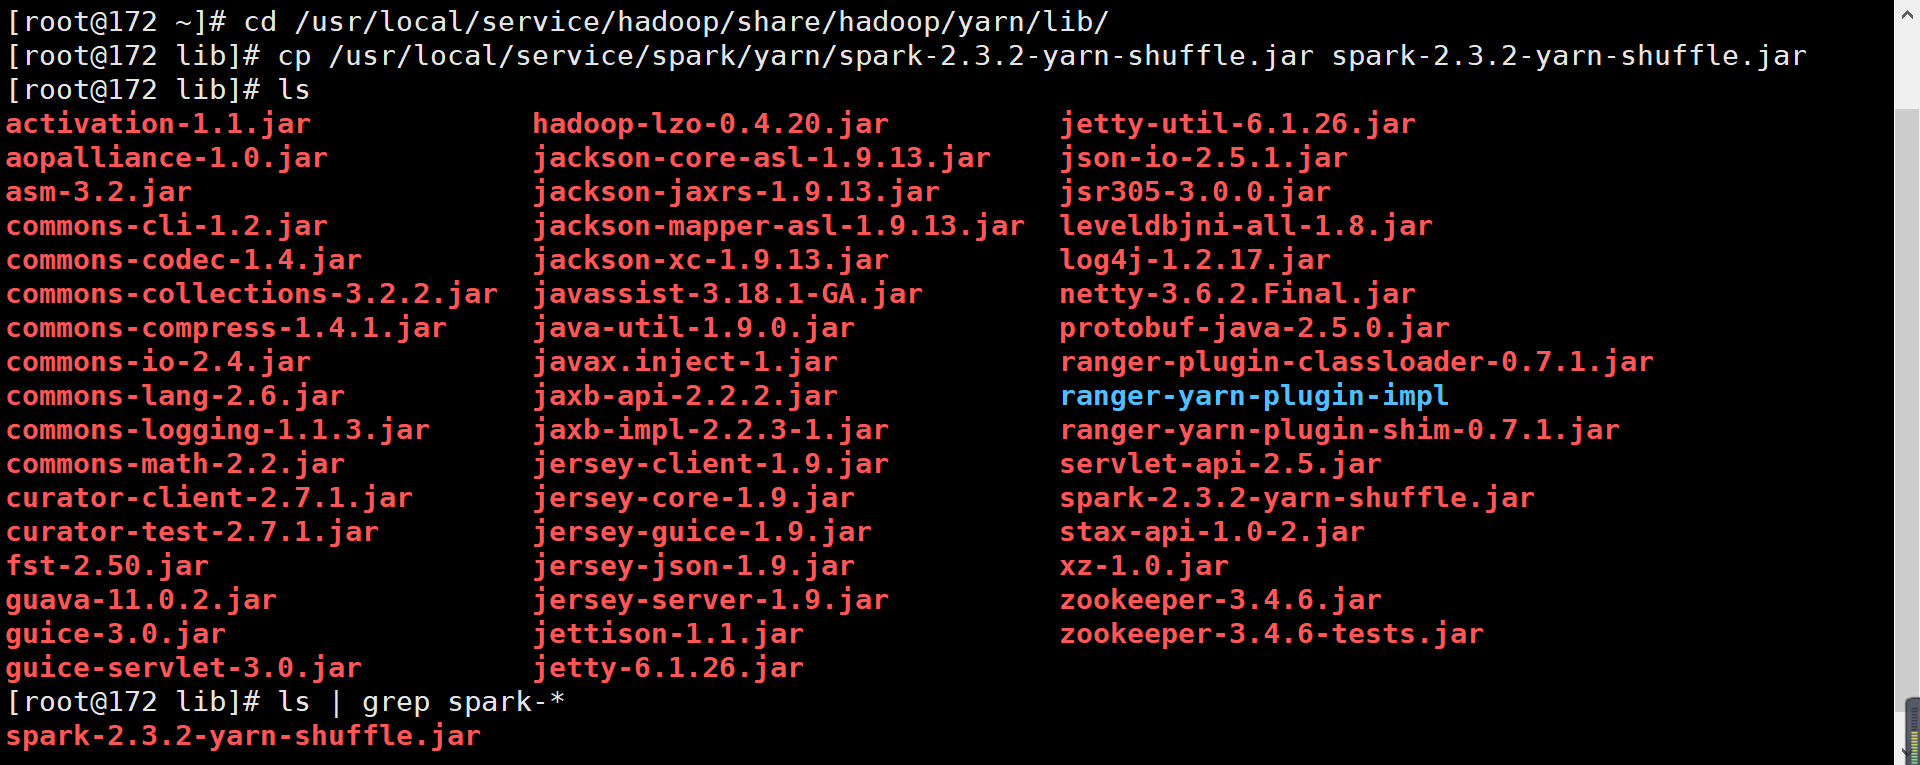
/usr/local/service/ path (/usr/local/service/spark) in the CVM instance for the EMR cluster.spark-<version>-yarn-shuffle.jar to the /usr/local/service/hadoop/share/hadoop/yarn/lib directory of all nodes in the cluster.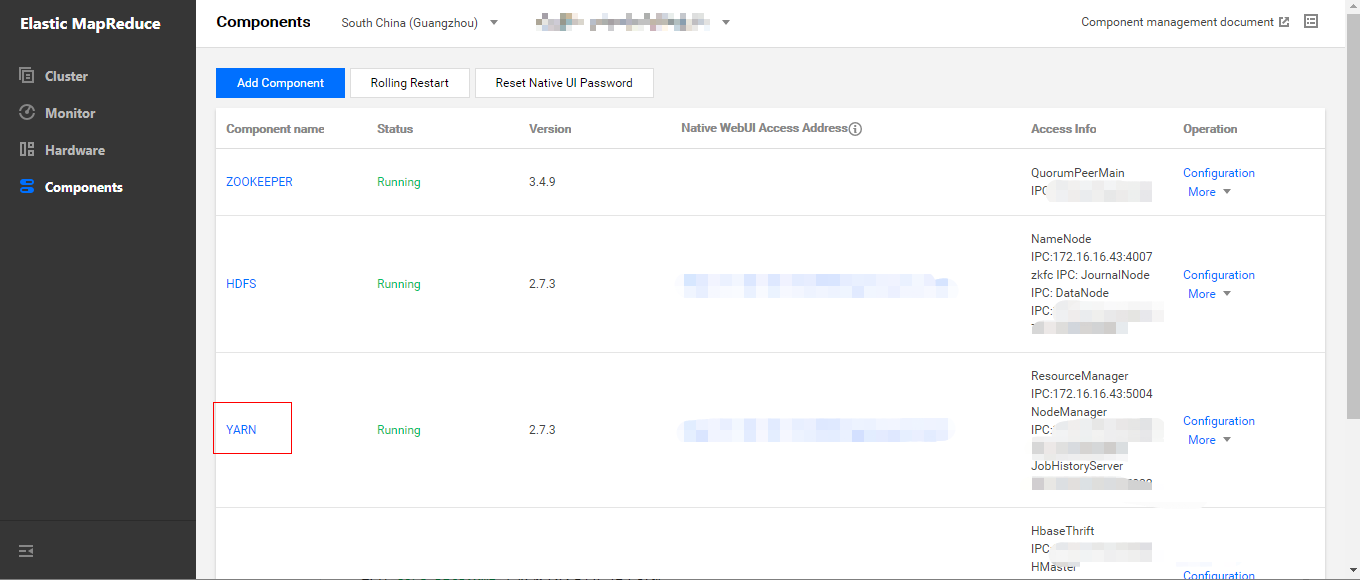
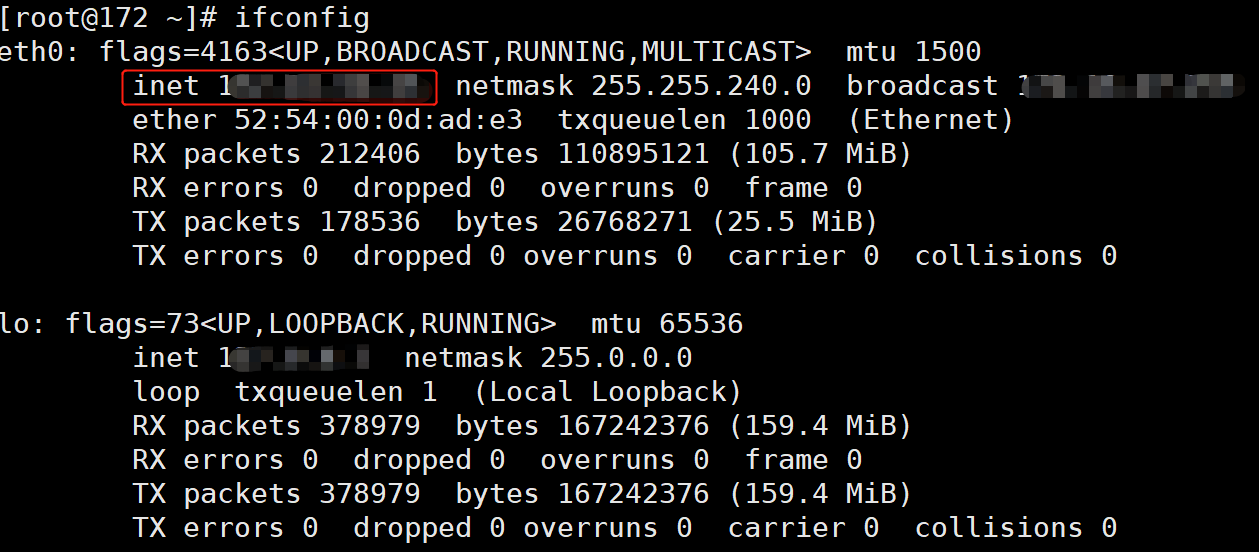
ssh $user@$ip, where $user is the login username, and $ip is the remote server IP (i.e., IP address confirmed in step 1).

spark-<version>-yarn-shuffle.jar file.

spark-<version>-yarn-shuffle.jar to /usr/local/service/hadoop/share/hadoop/yarn/lib.

history command.[root@172 ~]# yum install sshpass
#!/bin/bashnodes=(ip1 ip2 … ipn) # List of IPs of all nodes in the cluster separated by spaceslen=${#nodes[@]}password=<your password>file=" spark-2.3.2-yarn-shuffle.jar "source_dir="/usr/local/service/spark/yarn"target_dir="/usr/local/service/hadoop/share/hadoop/yarn/lib"echo $lenfor node in ${nodes[*]}doecho $node;sshpass -p $password scp "$source_dir/$file"root@$node:"$target_dir";done
#!/bin/bashnodes=(ip1 ip2 … ipn) # List of IPs of all nodes in the cluster separated by spaceslen=${#nodes[@]}password=<your password>file=" spark-2.3.2-yarn-shuffle.jar "source_dir="/usr/local/service/spark/yarn"target_dir="/usr/local/service/hadoop/share/hadoop/yarn/lib"echo $lenfor node in ${nodes[*]}doecho $node;scp "$source_dir/$file" root@$node:"$target_dir";done
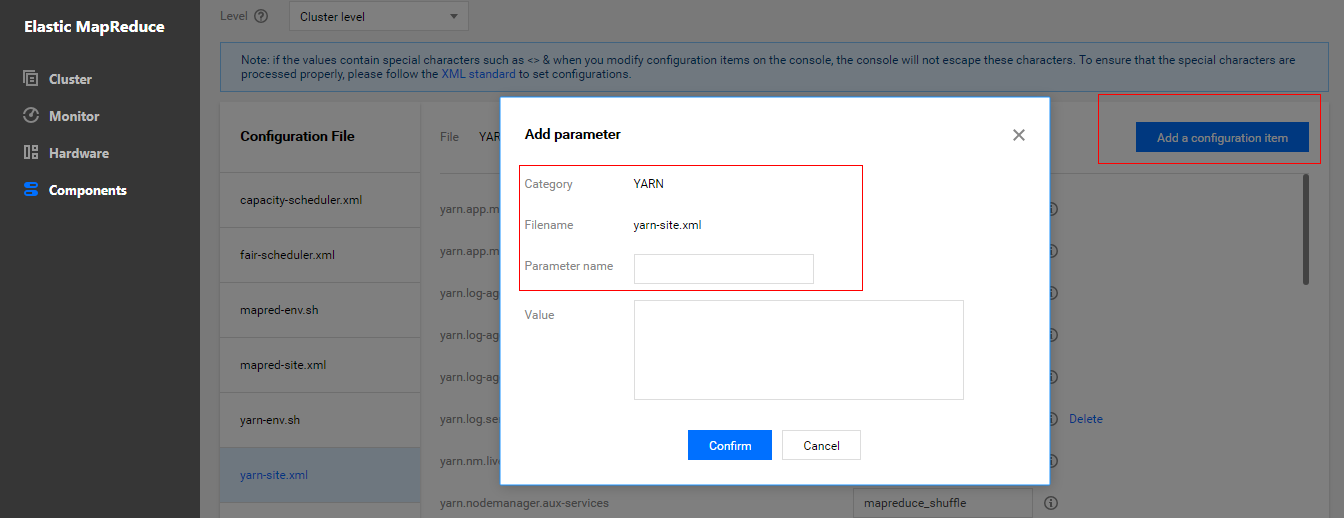
yarn-site.xml and select "cluster level" as the level (modifications of configuration items at the cluster level will be applied to all nodes in the cluster).
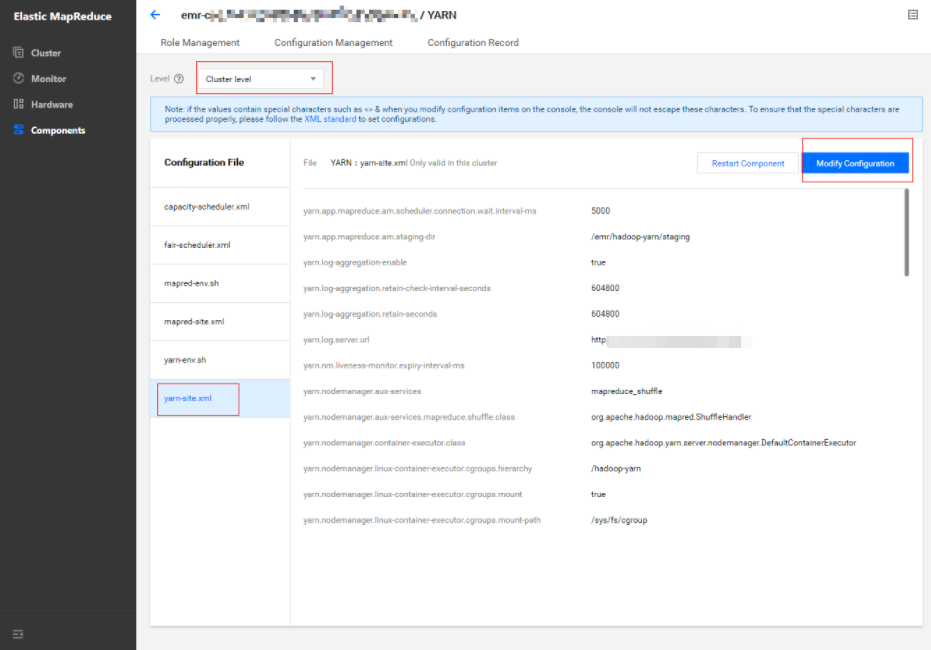
yarn.nodemanager.aux-services configuration item and add spark_shuffle.

yarn.nodemanager.aux-services.spark_shuffle.class and set it to org.apache.spark.network.yarn.YarnShuffleService.

spark.yarn.shuffle.stopOnFailure and set it to false.
Configuration Item | Value | Remarks |
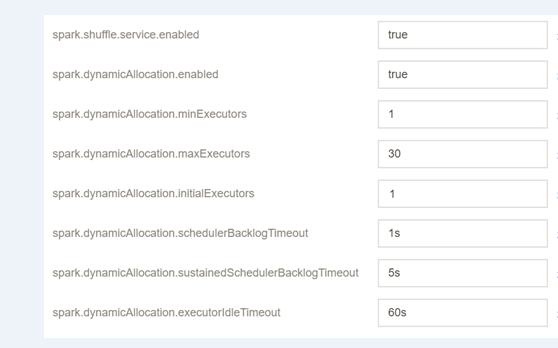
spark.shuffle.service.enabled | true | It starts the shuffle service. |
spark.dynamicAllocation.enabled | true | It starts dynamic resource allocation. |
spark.dynamicAllocation.minExecutors | 1 | It specifies the minimum number of executors allocated for each application. |
spark.dynamicAllocation.maxExecutors | 30 | It specifies the maximum number of executors allocated for each application. |
spark.dynamicAllocation.initialExecutors | 1 | Generally, its value is the same as that of `spark.dynamicAllocation.minExecutors`. |
spark.dynamicAllocation.schedulerBacklogTimeout | 1s | If there are pending jobs backlogged for more than this duration, new executors will be requested. |
spark.dynamicAllocation.sustainedSchedulerBacklogTimeout | 5s | If the queue of pending jobs still exists, it will be triggered again once every several seconds. The number of executors requested per round grows exponentially compared to the previous round. |
spark.dynamicAllocation.executorIdleTimeout | 60s | If an executor has been idle for more than this duration, it will be deleted by the application. |
/usr/local/service/spark directory, switch to the "hadoop" user, and run spark-submit to submit a job. The data needs to be stored in HDFS.[root@172 ~]# cd /usr/local/service/spark/[root@172 spark]# su hadoop[hadoop@172 spark]$ hadoop fs -put ./README.md /[hadoop@172 spark]$ spark-submit --class org.apache.spark.examples.JavaWordCount --master yarn-client --num-executors 10 --driver-memory 4g --executor-memory 4g --executor-cores 2 ./examples/jars/spark-examples_2.11-2.3.2.jar /README.md /output


/usr/local/service/spark directory, switch to the "hadoop" user, and run spark-sql to start the interactive SparkSQL Console, which is set to use most of the resources in the testing cluster. Configure dynamic resource scheduling and check resource allocation before and after the configuration.[root@172 ~]# cd /usr/local/service/spark/[root@172 spark]# su hadoop[hadoop@172 spark]$ spark-sql --master yarn-client --num-executors 5 --driver-memory 4g --executor-memory 2g --executor-cores 1
[root@172 ~]# cd /usr/local/service/spark/[root@172 spark]# su hadoop[hadoop@172 spark]$ spark-submit --class org.apache.spark.examples.SparkPi --master yarn-client --num-executors 5 --driver-memory 4g --executor-memory 4g --executor-cores 2 examples/jars/spark-examples_2.11-2.3.2.jar 500


spark.dynamicAllocation.executorIdleTimeout, idle executors will be released, and other jobs will get resources. In this test, the cluster resource utilization of the SparkSQL job decreases from 90% to 28%, and idle resources are allocated to the pi calculation job; therefore, automatic scheduling is effective.spark.dynamicAllocation.executorIdleTimeout affects the speed of dynamic resource scheduling. In the test, it is found that the resource scheduling duration is basically the same as this value. You are recommended to adjust this value based on your actual needs for optimal performance.フィードバック