Ghost is a Node.js-based framework for quickly building a blog website. You can use its official CLI tool to quickly generate your personal website and deploy it in CVM or Docker.
As a blog website, attachment upload is a necessary feature. Ghost stores attachments locally by default. This document describes how to save an attachment in COS through the plugin. Saving forum attachments in COS has the following benefits:
Higher reliability for your attachments.
No need to prepare additional storage capacity on your server for forum attachments.
Faster access to image attachments through the COS server rather than taking up downstream bandwidth/increasing the traffic on your own server.
Accelerated forum user access to image attachments through CDN.
3. Create a project and run the following command in the project's root directory:
ghost install local
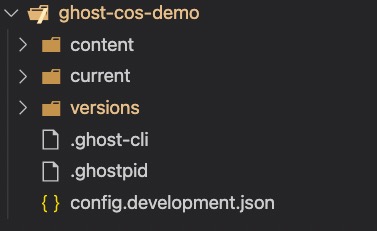
After successful creation, the project structure is as shown below:
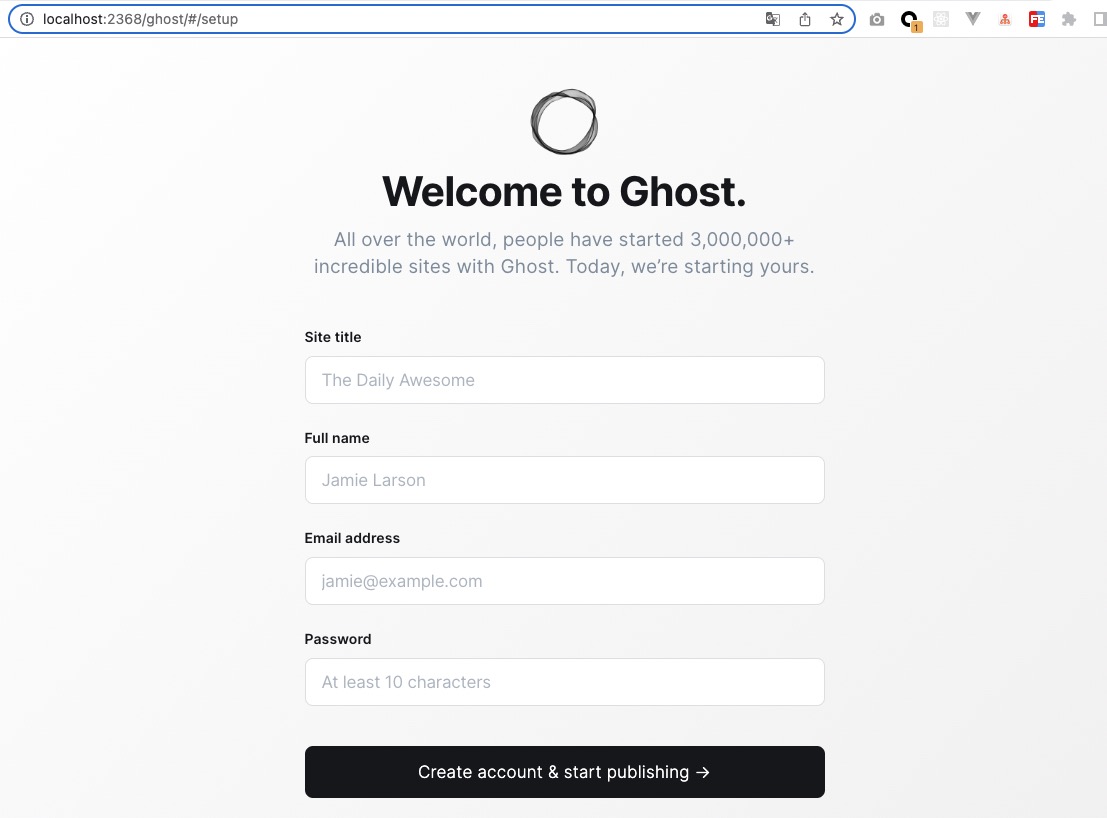
4. Open the browser and access localhost:2368. On the sign-up page, sign up for an account and go to the management backend.
Creating a COS bucket
1. In the COS console, create a bucket with access permissions of public read/private write as instructed in Creating Bucket.
2. Click Security Management > CORS (Cross-Origin Resource Sharing) and add a CORS configuration as instructed in Setting Cross-Origin Resource Sharing (CORS). You can use the following configuration to facilitate debugging:
Associating Ghost with a COS Bucket
Note:
We recommend you use a sub-account key and follow the principle of least privilege to reduce risks. For information about how to obtain a sub-account key, see Access Key.
1. Add the following configuration to the config.development.json configuration file in the Ghost project's root directory:
"storage":{
"active":"ghost-cos-store",
"ghost-cos-store":{
"BasePath":"ghost/",// You can change it to your directory name. If you leave it empty, the root directory will be used by default.
"SecretId":"AKID*************",
"SecretKey":"***************",
"Bucket":"xxx-125********",
"Region":"**-*******"
}
}
The parameters are described as follows:
Configuration Item
Value
BasePath
The COS path where files are stored. You can modify it as needed. If you leave it empty, the root directory will be used by default.
SecretId
Enter the access key information, which can be created and obtained on the Manage API Key page.
SecretKey
Your access key information, which can be created and obtained on the Manage API Key page.
Bucket
The name customized during bucket creation such as `examplebucket-1250000000`.
Region
The region selected during bucket creation
2. Create a custom storage directory and run the following command in the project's root directory:
mkdir -p content/adapters/storage
3. Install the ghost-cos-store plugin provide by Tencent Cloud.
3.1 Install it through npm.
npm install ghost-cos-store
3.2 Create the ghost-cos-store.js file with the following content in the storage directory:
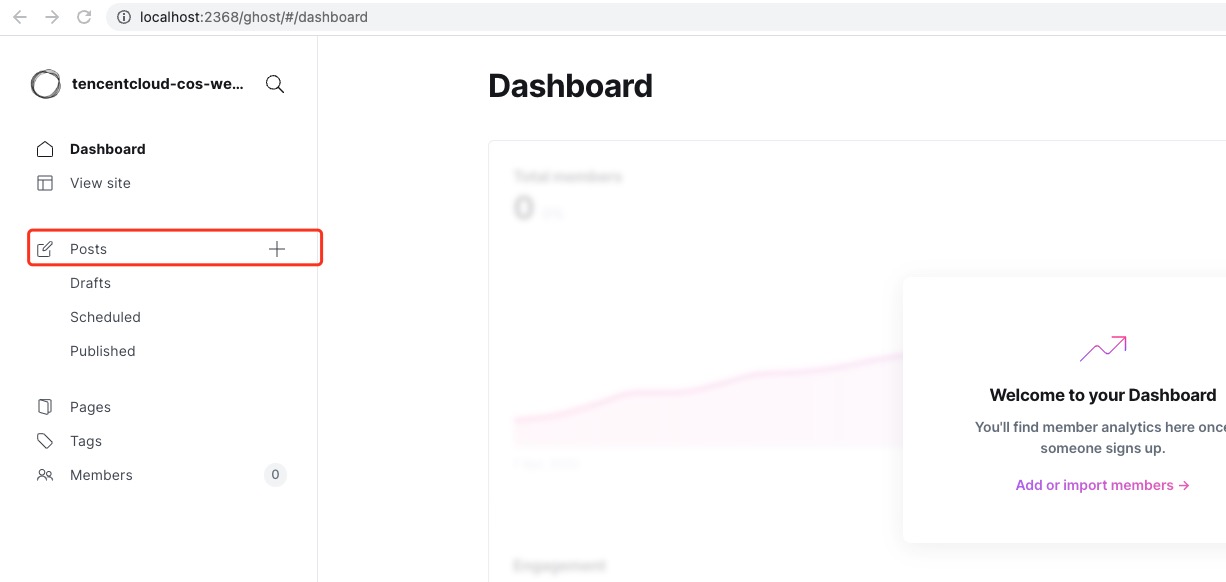
1. In the Ghost console, click + to publish a post.
2. Click + to upload an image. From the packets captured by the browser, you can see that the upload request succeeds and the COS URL of the image is returned.