You can use a custom keyword library for image and audio moderation. A custom library may contain keywords to allow or block. The configuration takes effect within 10 minutes.
Creating a New Library
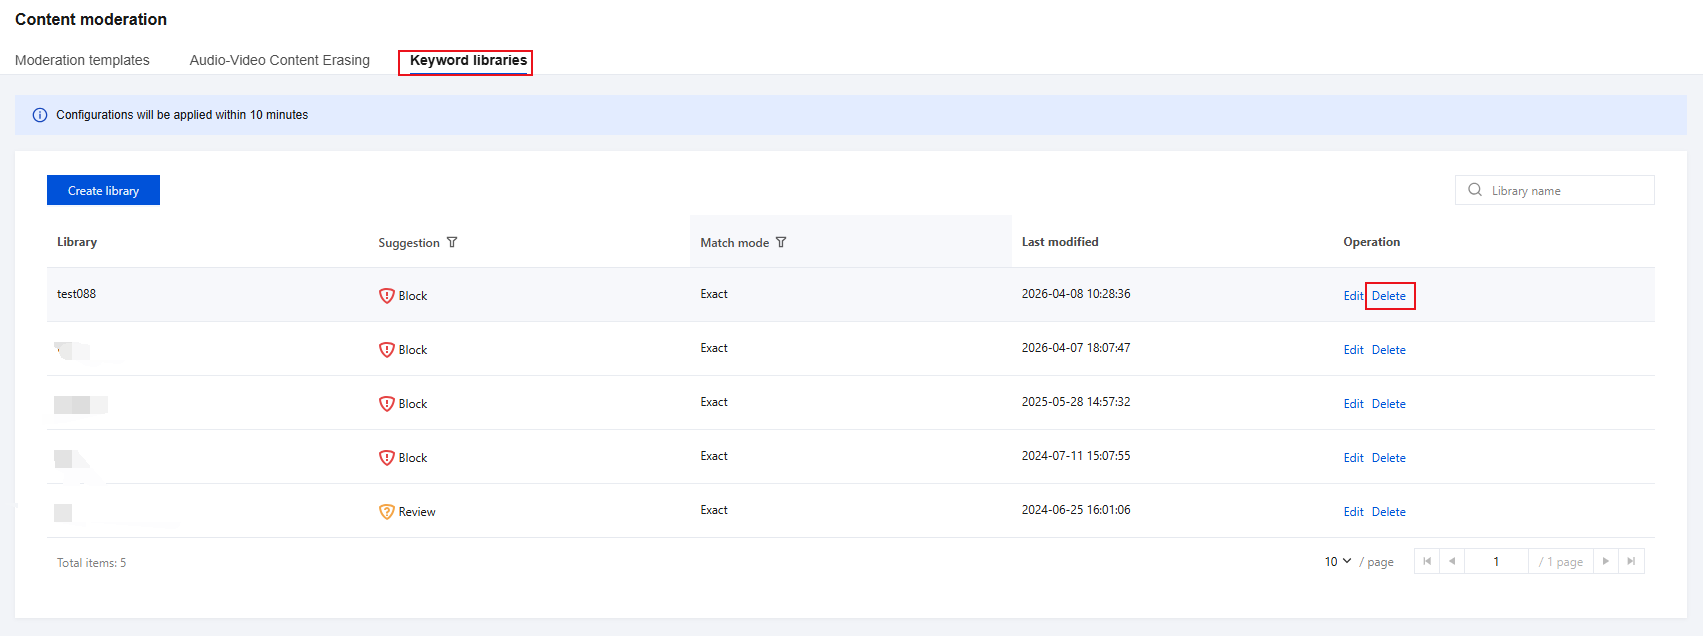
1. Log in to the CSS console and navigate to Feature Configuration > Content moderation > Keyword libraries.
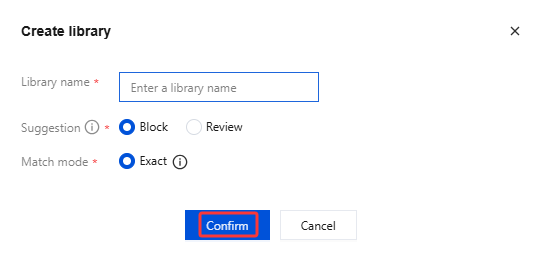
2. Click Create library. In the pop-up window, fill in the configuration items based on your actual business requirements.
Configuration Item
Required Item
Description
Library name
Yes
Library Name. It can contain up to 32 characters of Chinese characters, letters, digits, and underscores.
Suggestion
Yes
You can select Block or Review.
Block: The information is confirmed to be blocked.
Review: The information might be undesirable and requires manual recognition.
Note:
The handling of matched content varies with the suggestion you choose. This corresponds to the "Suggestion" parameter returned by the API.
Match mode
Yes
Exact matching only supports Chinese.
Exact matching identifies content that exactly matches the keywords specified.
3. Click Confirm to save the library configuration.
Modifying a Keyword Library
Steps
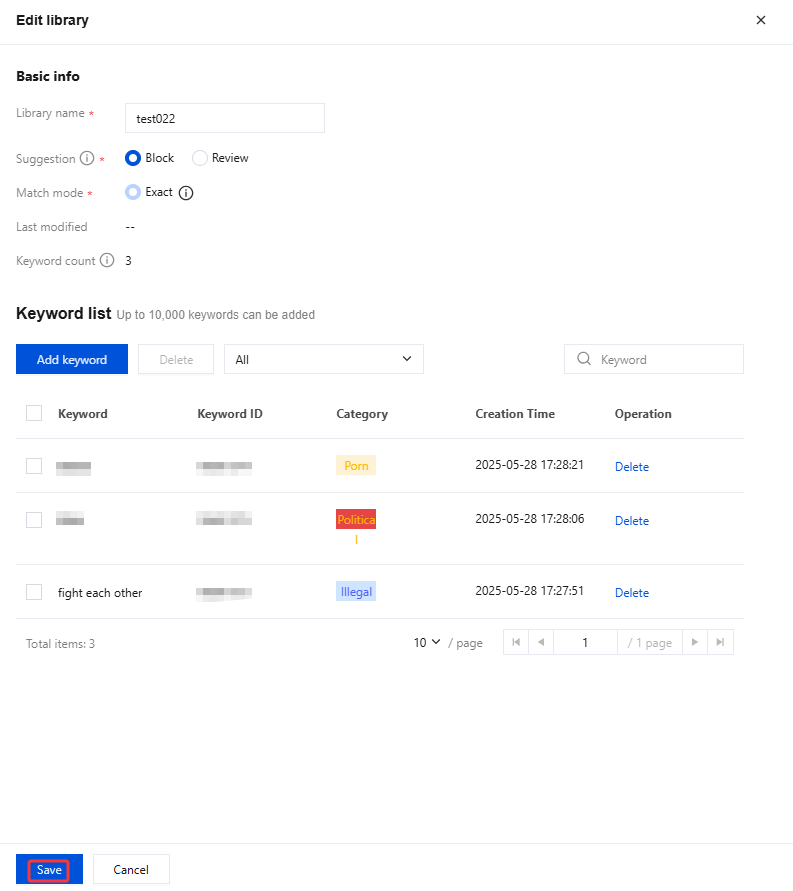
1. On the keyword libraries page, find the library you want to modify, click Edit on the right, and modify the configuration in the pop-up window on the right according to your business requirements.
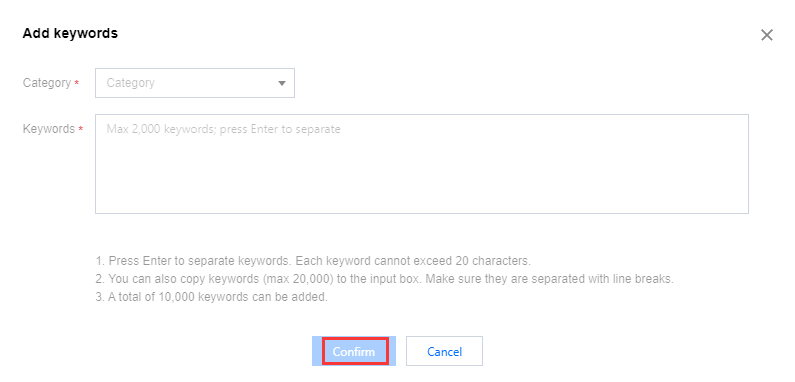
2. Click Add keyword and enter keywords in the pop-up window.
You can select a category for the keywords you add. Separate multiple keywords by pressing Enter. You can enter at most 2,000 keywords at a time.
Note:
Only supports the recognition of sensitive words in Chinese.
Keywords are confirmed by newline. Each keyword length is within 20 Chinese characters.
You can also copy keywords (max 2,000) to the input box. Make sure they are separated with line breaks.
The maximum number of sensitive words that can be added is 10,000.
3. Click Save at the bottom to save the new library information.
4. After the custom library is configured, when you create a moderation template, you can associate the custom library with image recognition or audio recognition in Recognition policy.
Deleting a Library
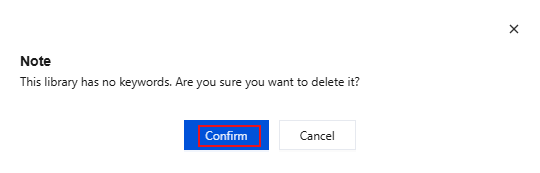
1. On the keyword libraries page, find the library you want to delete, and click Delete on the right.
2. A window will pop up asking you to confirm the deletion. Click Confirm.